Installing a sump pump in a finished basement is possible, and I'm here to show you exactly how. A lot of homeowners think finishing a basement means giving up flood protection.
It doesn't. In this post, I'll walk you through the process, the challenges, and the smart ways to keep your space protected without wrecking your floors or walls.
I've seen what water damage does to a finished basement, and trust me, a sump pump is worth every bit of the effort.
Understanding Sump Pump in a Finished Basement
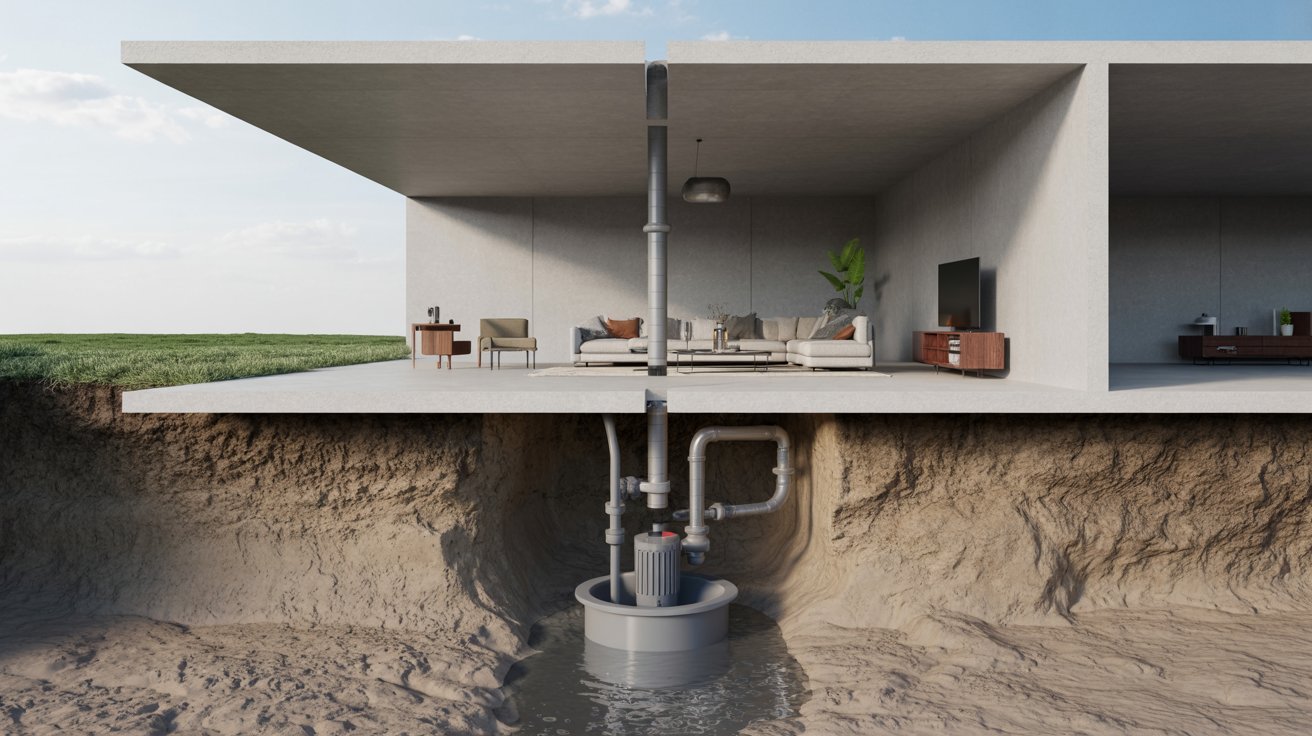
Here are the basics you need to know before you start planning anything. A sump pump is a device installed in a pit below your basement floor.
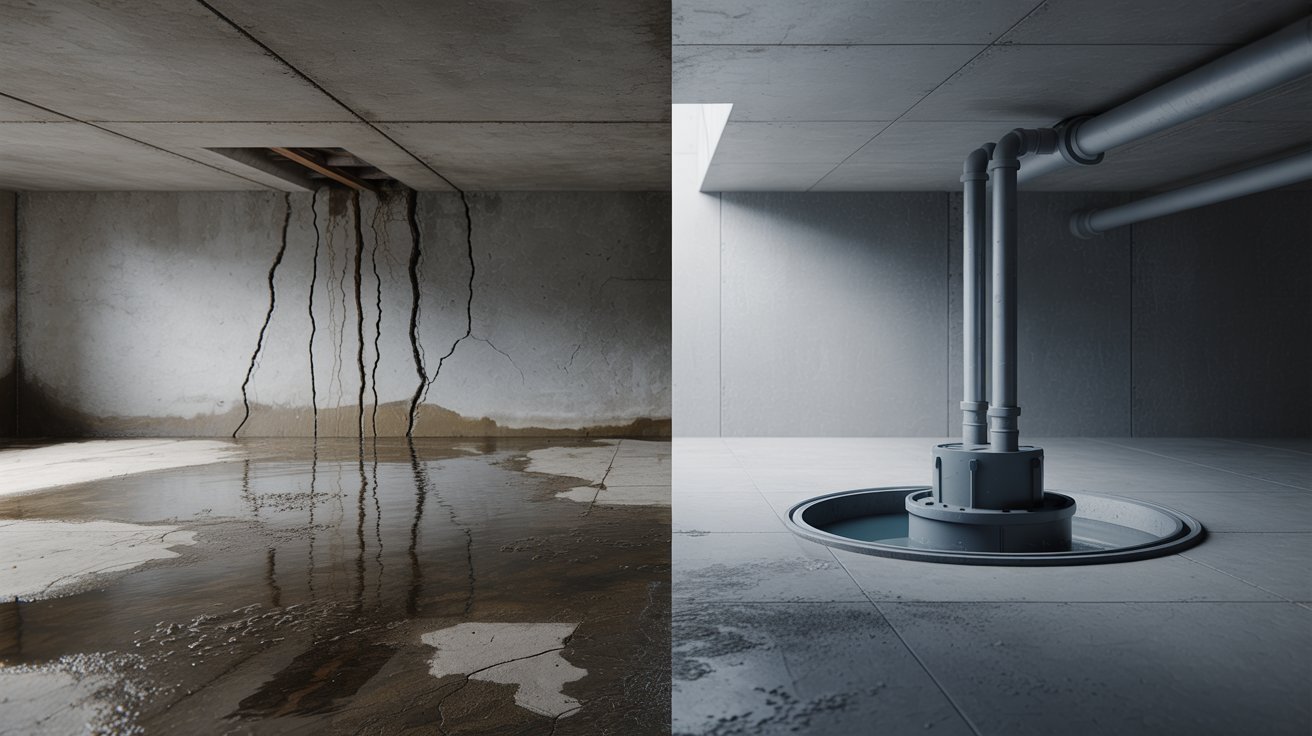
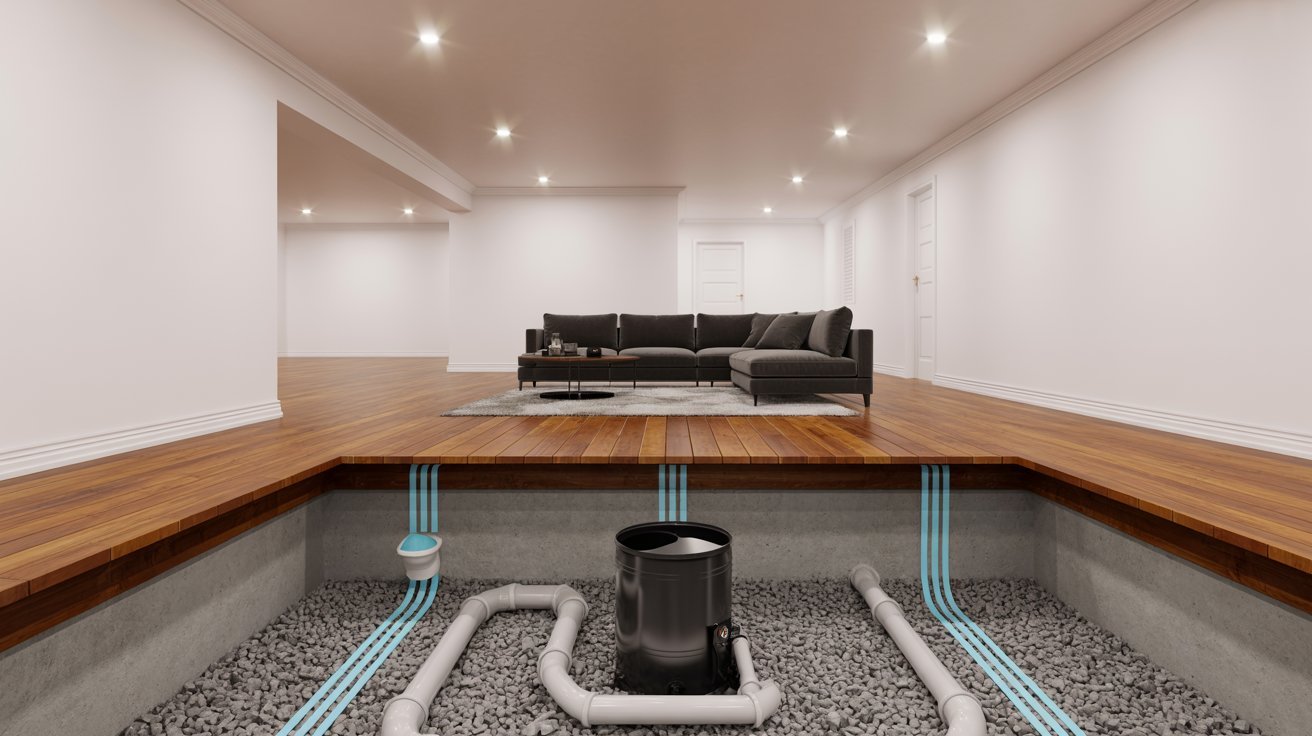
It collects groundwater and pumps it away before damage starts. In a finished basement, it sits beneath your flooring and still works the same way. Finishing your basement doesn't make it waterproof.
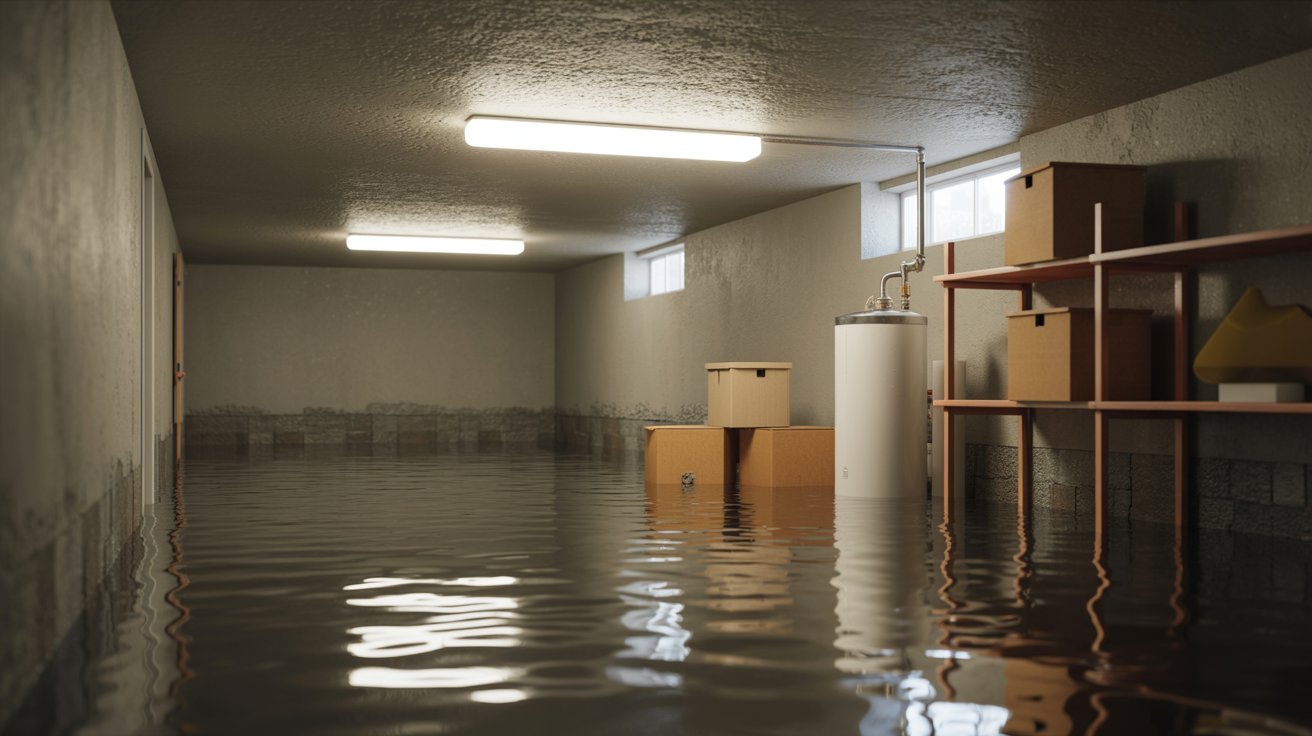
Groundwater rises from below, especially during heavy rain. Without a pump, water soaks into your floors, walls, and insulation. Mold grows fast. Wood warps. Drywall crumbles. The repair bills are always worse than the cost of installing a pump upfront.
Challenges of Installing a Sump Pump in a Finished Basement
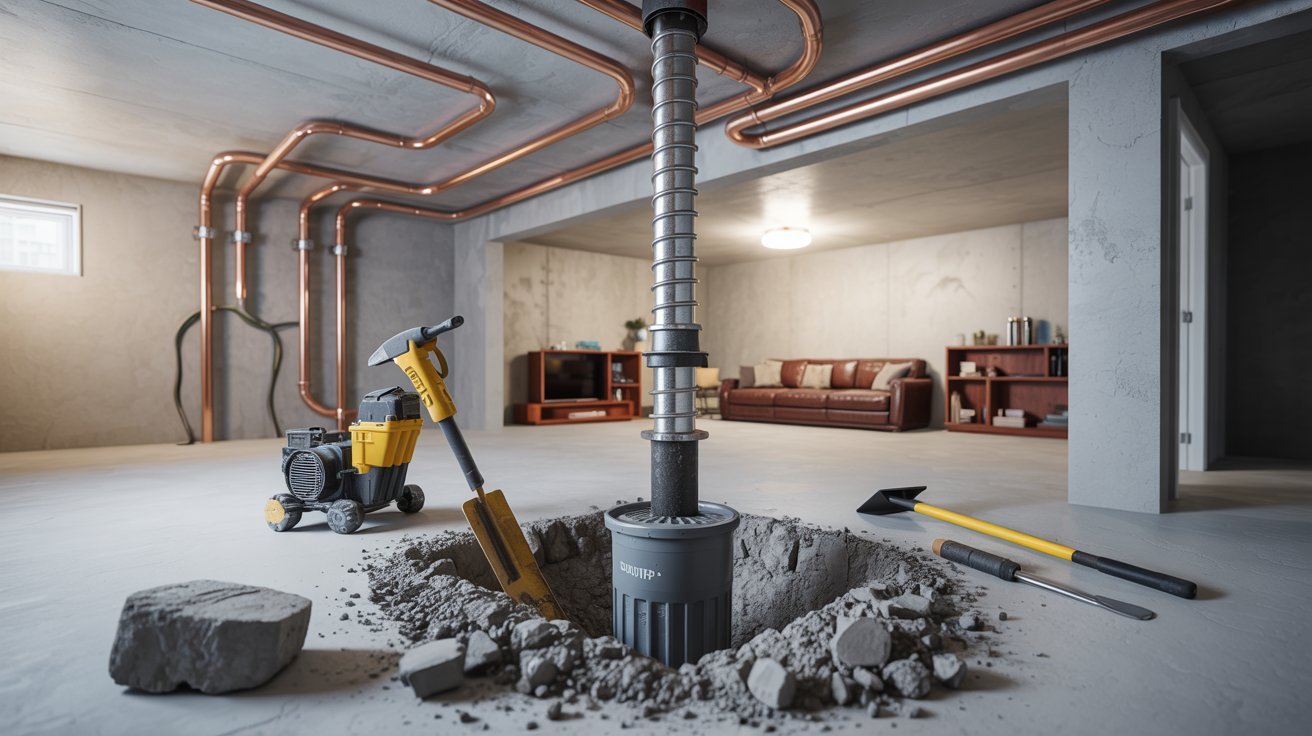
Real obstacles you'll face and what to expect going in.
Breaking Concrete and Flooring Disruption
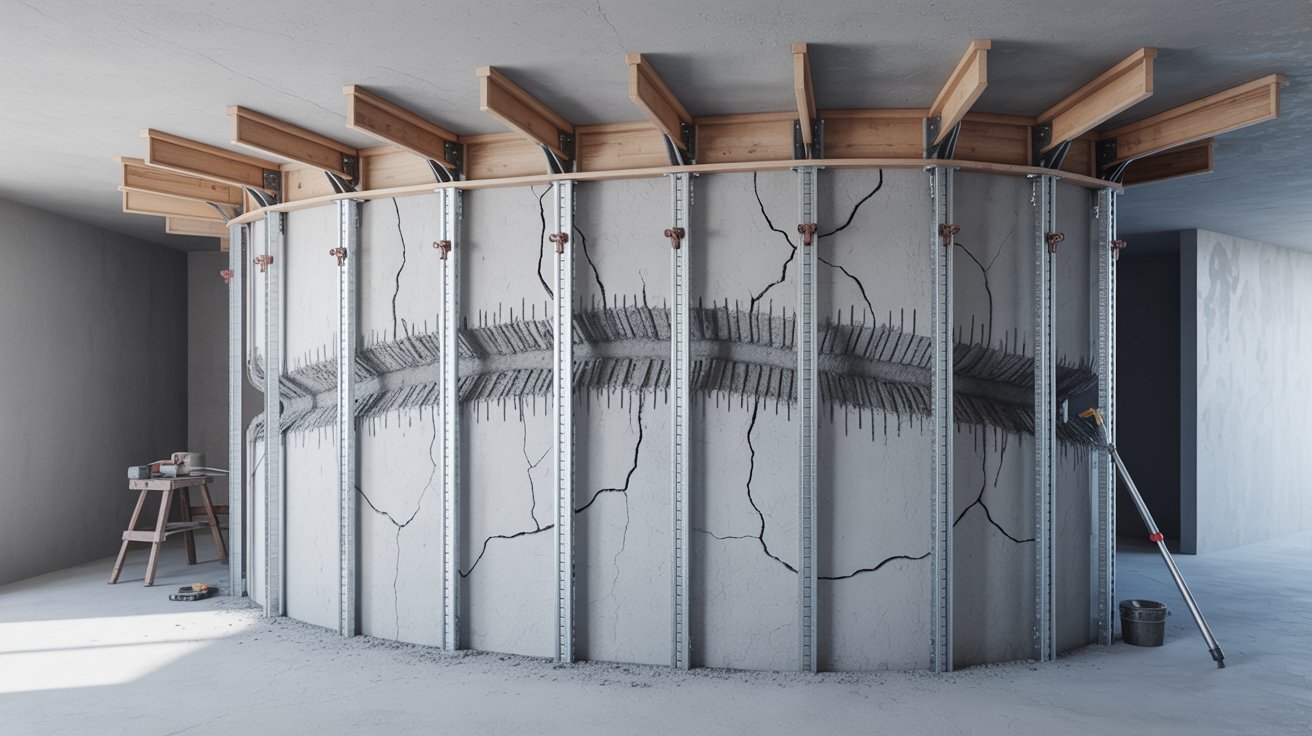
This is the biggest challenge. To install a sump pit, you need to cut through your finished floor and the concrete slab underneath.
That means removing flooring in the work area first. You'll use a concrete saw or jackhammer to cut out a section, then dig the pit by hand or with compact digging tools. It's messy and loud. Plan for cleanup and temporary disruption in that part of the basement.
Working Around Finished Walls and Utilities
Discharge pipes need a path to the outside. In a finished basement, that means routing pipes along walls or through them. You have to work around electrical outlets, HVAC vents, and any plumbing already in place. This requires some planning before you ever pick up a tool.
Always check for utility lines before digging. A quick call to your local utility service can save you from a serious mistake.
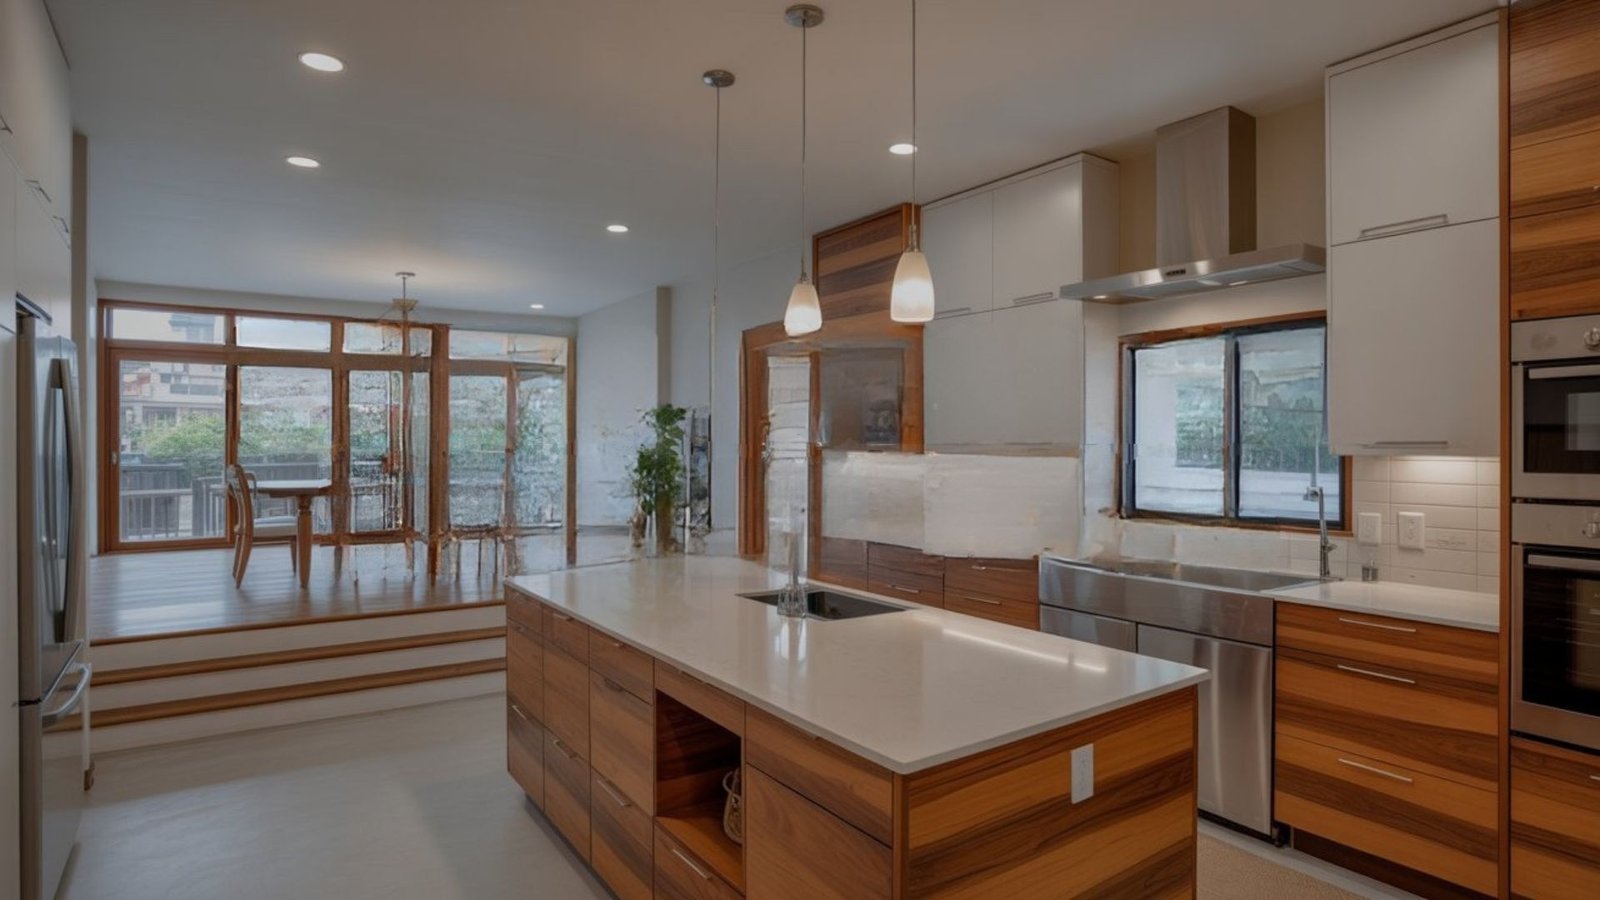
Maintaining Basement Appearance
Nobody wants an ugly pump pit sitting in the middle of a finished room. The good news is there are smart ways to cover and hide the pump while keeping it accessible. More on that in a later section.
How to Install a Sump Pump in a Finished Basement
A clear, step-by-step look at the full process.
Step 1: Choose the Right Location
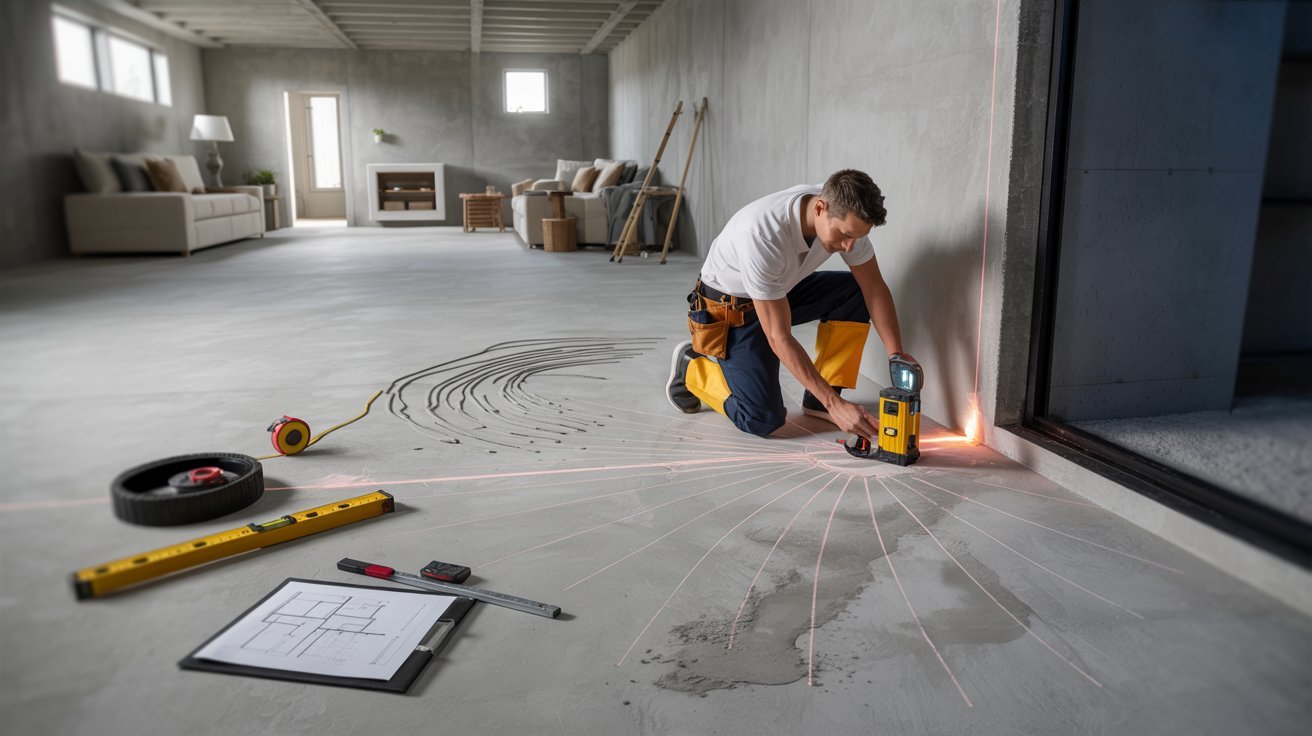
Pick the lowest point in your basement. Water naturally collects there. If your basement has a floor drain, that area is often a good spot.
Installing near an exterior wall also makes it easier to run the discharge pipe outside. Avoid placing the pit near load-bearing walls or major utility lines.
Step 2: Gather Your Tools and Materials
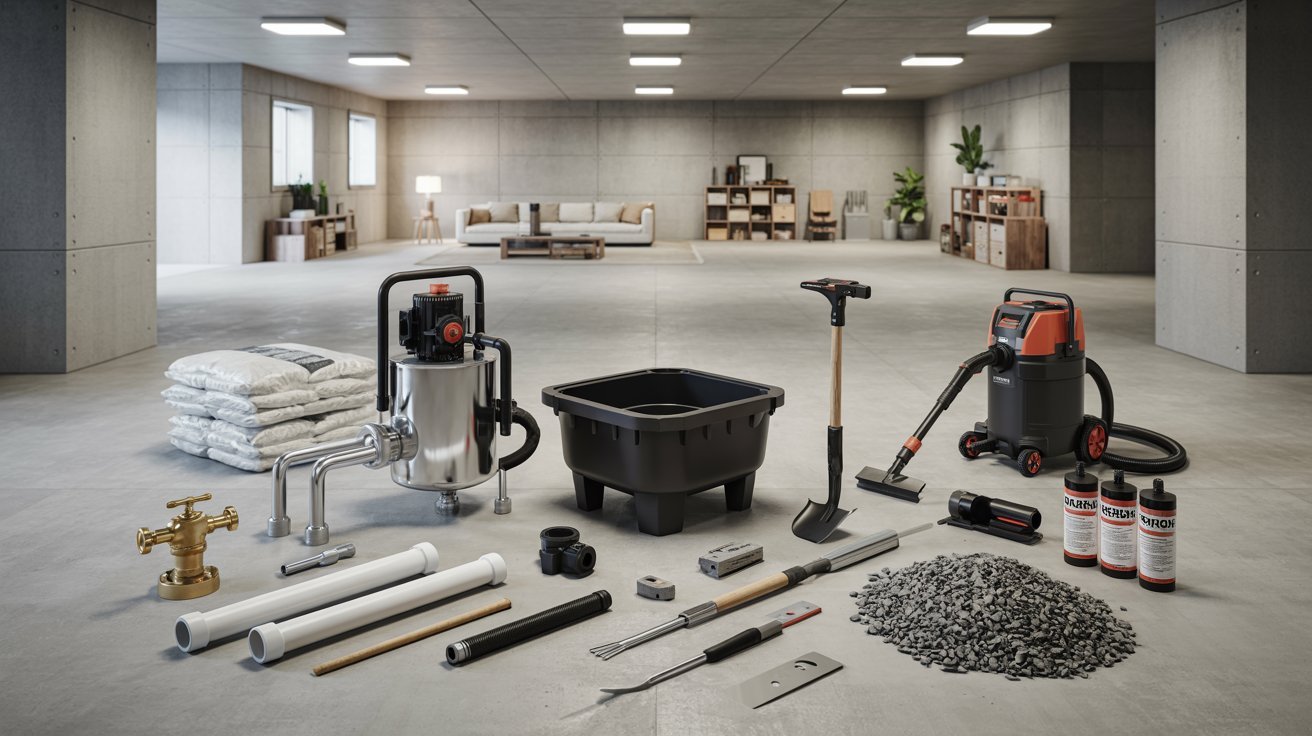
- Concrete saw or angle grinder
- Jackhammer or rotary hammer
- Shovel
- Sump basin and liner
- Submersible sump pump
- PVC discharge pipe and check valve
- Gravel
- Concrete mix for patching
- Safety gear (gloves, goggles, dust mask)
Step 3: Cut and Dig the Sump Pit
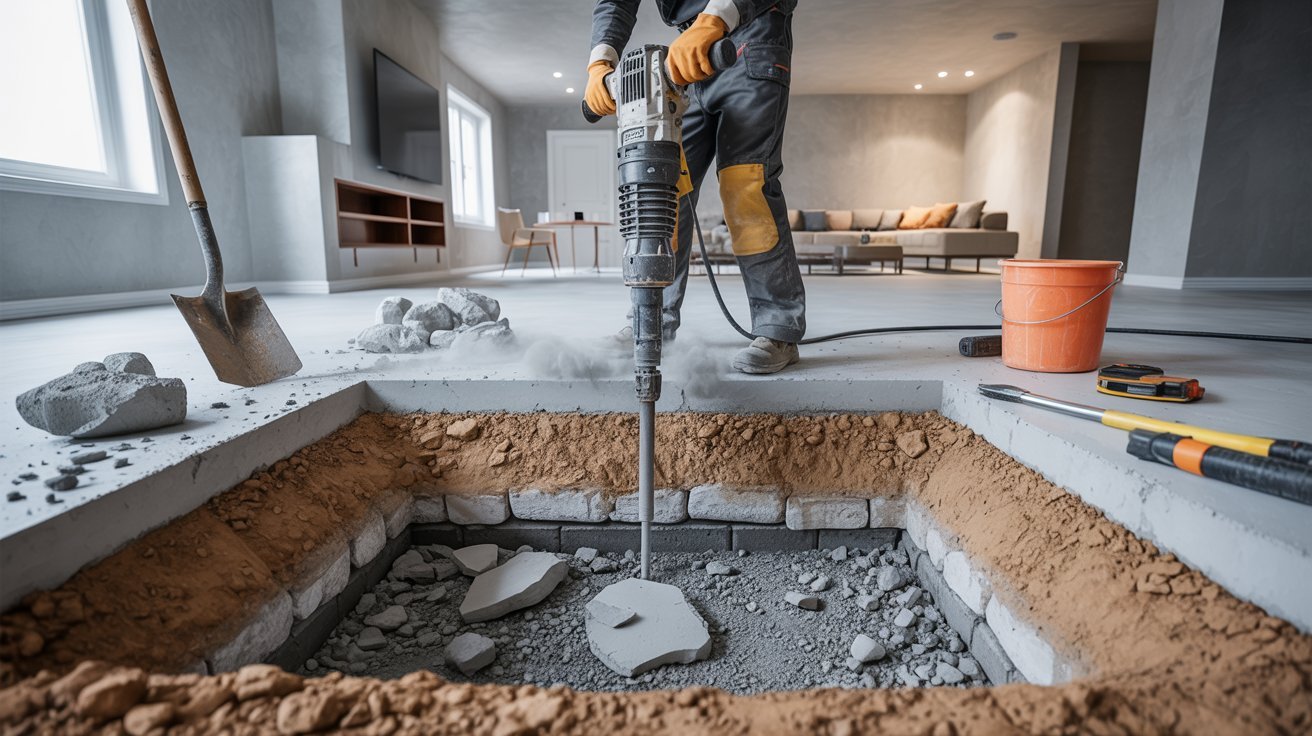
Mark a circle about 24 inches in diameter. Cut through the flooring and concrete. Dig down at least 24 inches deep, or as deep as the basin requires.
Step 4: Install the Basin and Pump
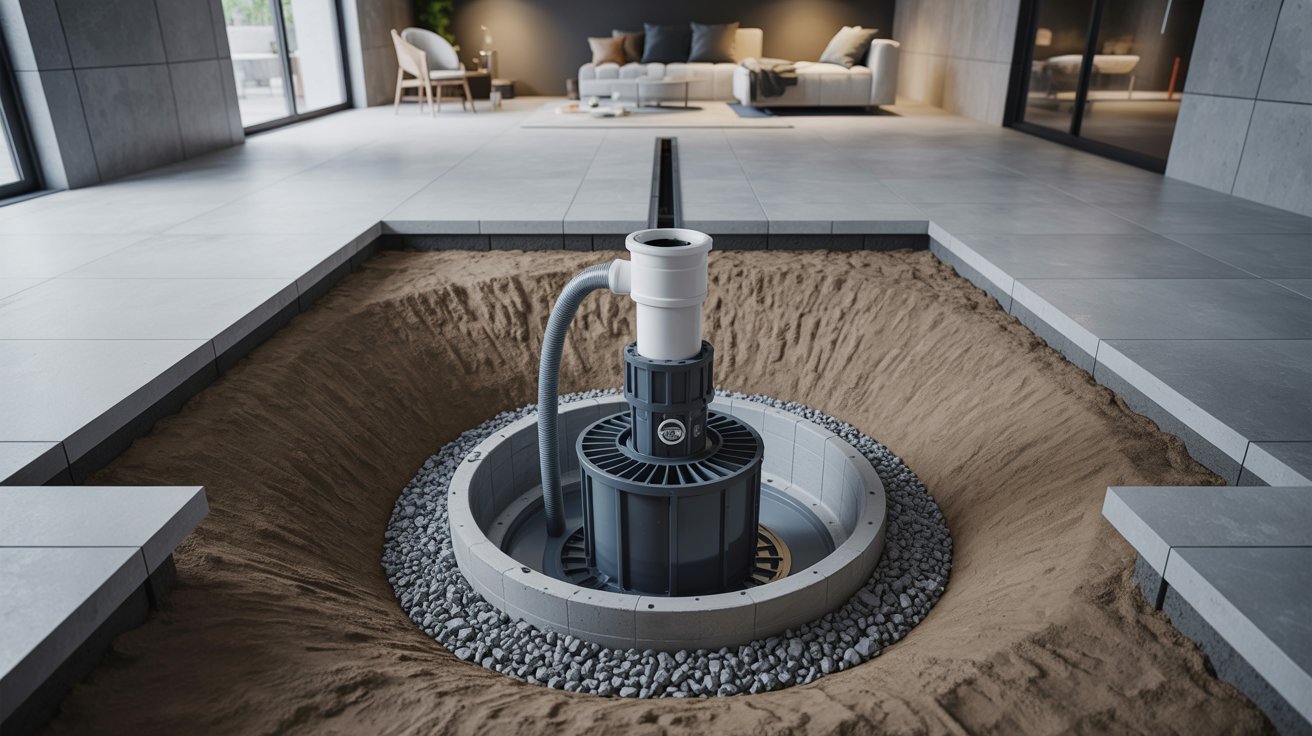
Add a layer of gravel at the bottom. Place the sump basin in the hole. Set the submersible pump inside the basin. Make sure it sits level.
Step 5: Connect the Discharge Pipe and Check Valve
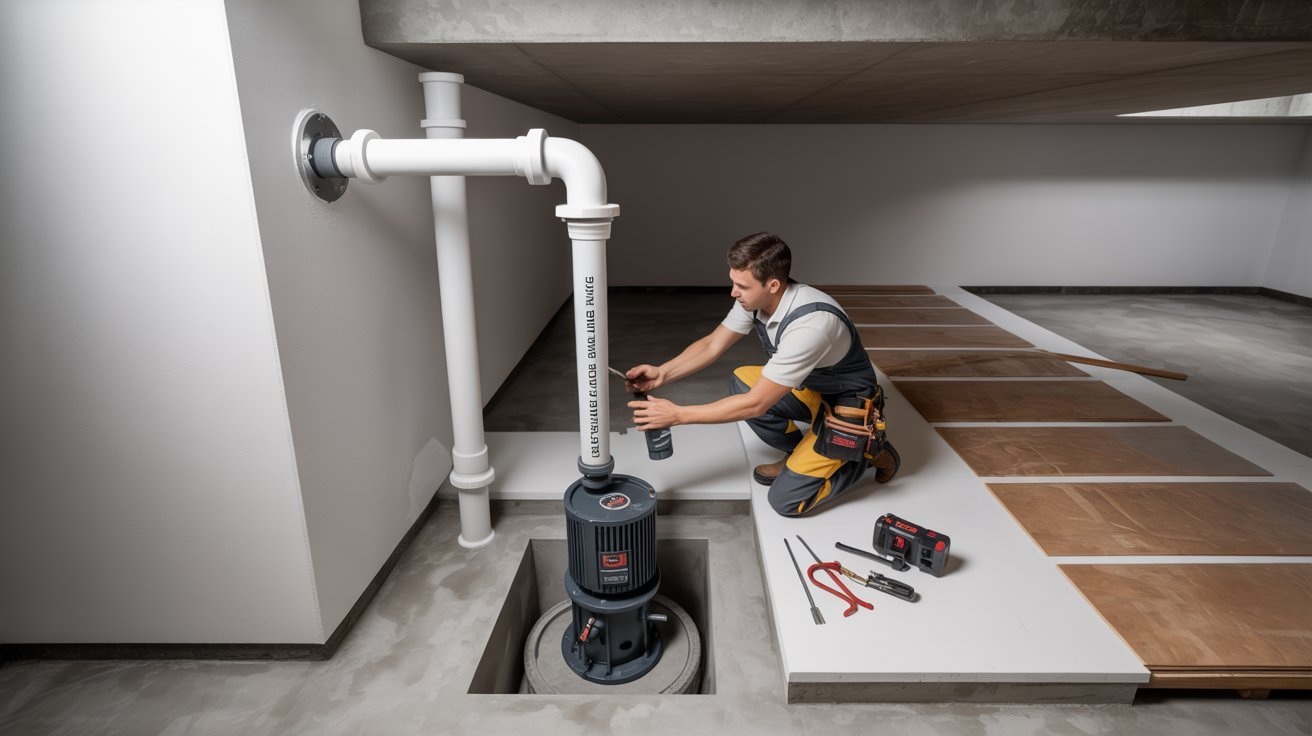
Run PVC pipe from the pump up and out through the wall. Install a check valve above the pump to stop water from flowing back in when the pump shuts off.
Step 6: Seal and Restore the Flooring
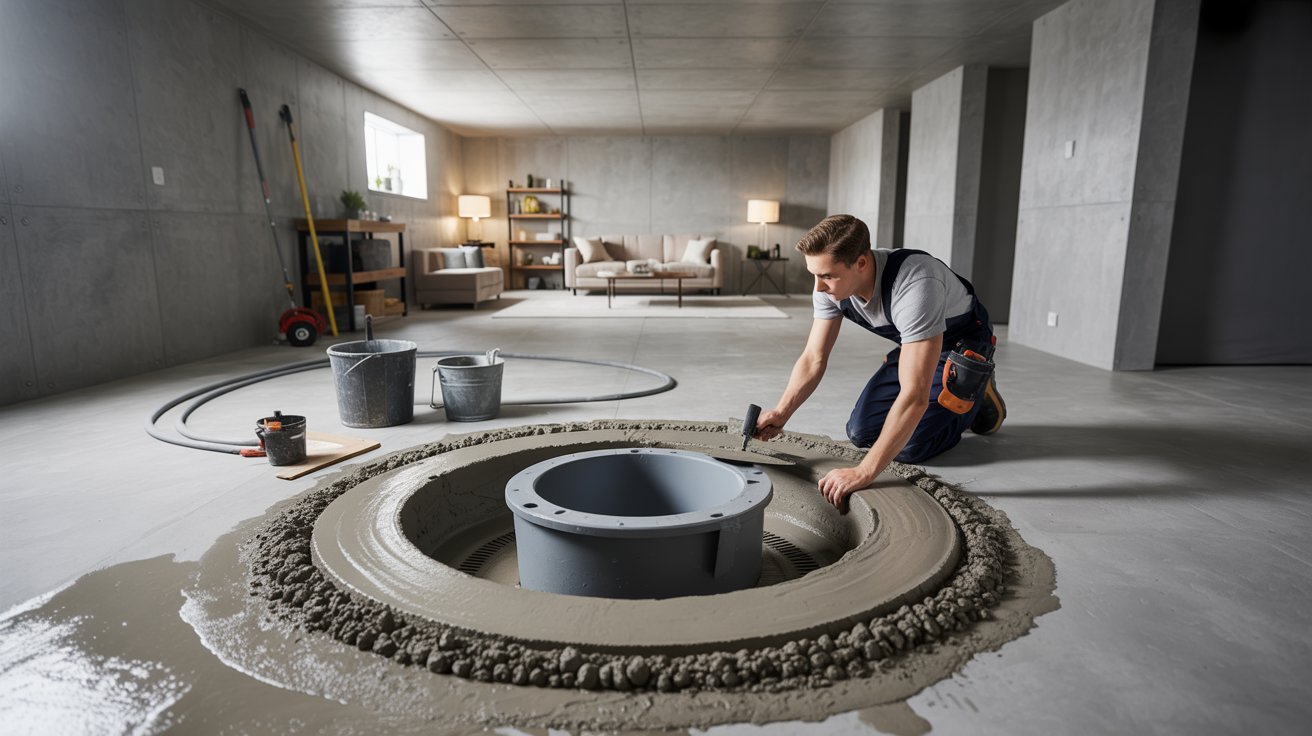
Fill the gap around the basin with concrete. Let it cure fully. Then restore your flooring around the pit cover.
Step 7: Test the System
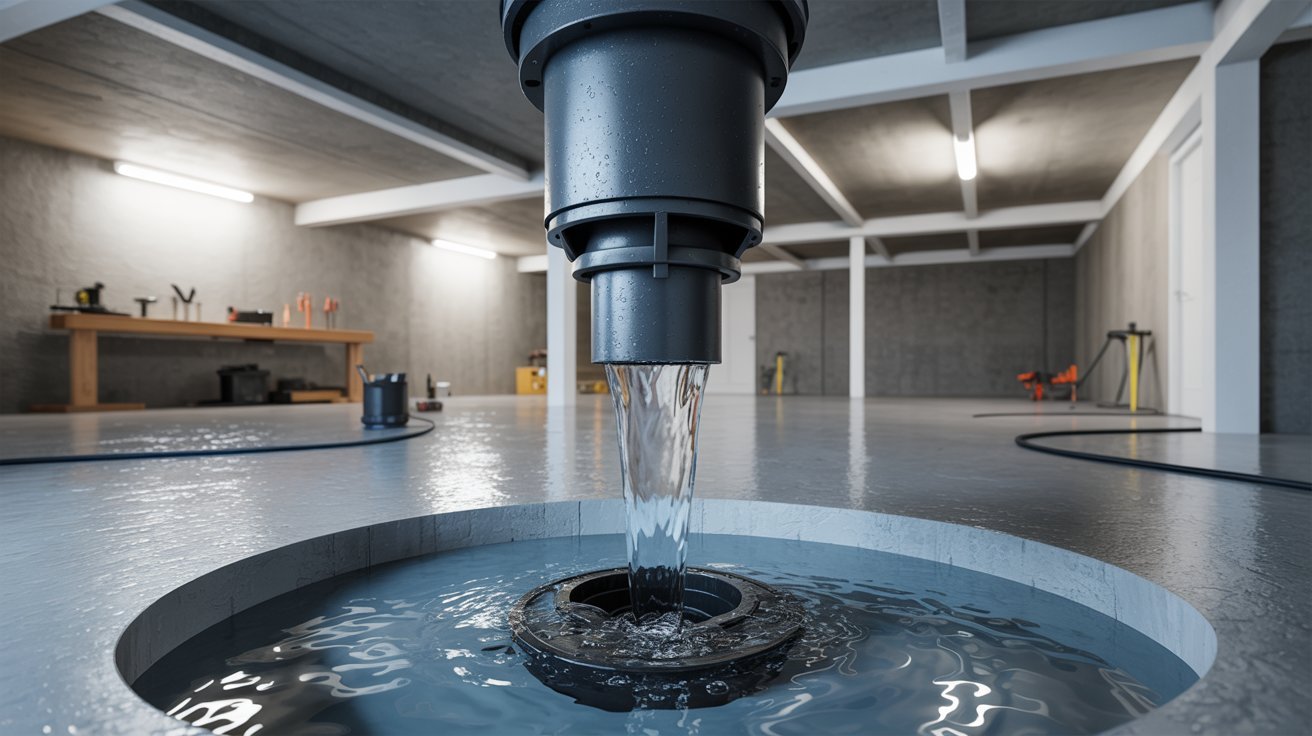
Pour water into the pit slowly. The float switch should trigger the pump to turn on. Watch the water level drop. Check all pipe connections for leaks. Run the test a couple of times to confirm everything works correctly.
Choosing the Right Interior Sump Pump for a Finished Basement
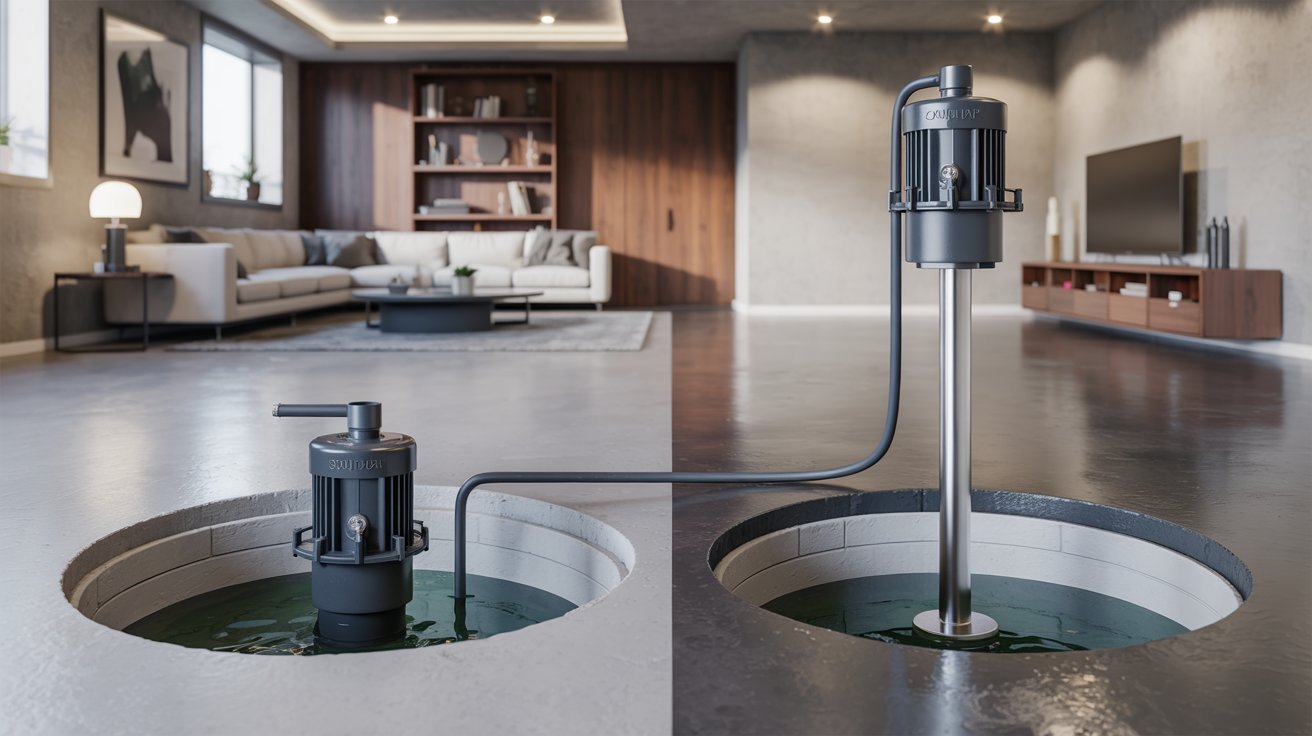
Not all pumps are built the same. Here's what fits your space best.
Submersible Pumps (Best for Finished Spaces)
Submersible pumps sit inside the pit, fully below the floor surface. They run quietly and take up no visible space. This makes them the top pick for finished basements where noise and appearance matter.
Pedestal Pumps (Pros and Cons)
Pedestal pumps have the motor mounted above the pit on a stand. They're easier to service and usually cheaper. But they're noisier and more visible. In a finished basement, this isn't ideal unless you plan to enclose them completely.
Why Battery Backup Is Necessary
Power outages often happen during the same storms that cause flooding. A battery backup system keeps your pump running even when the lights go out. It's a small extra cost that can prevent thousands of dollars in water damage.
Hiding a Sump Pump in a Finished Basement Without Ruining Design
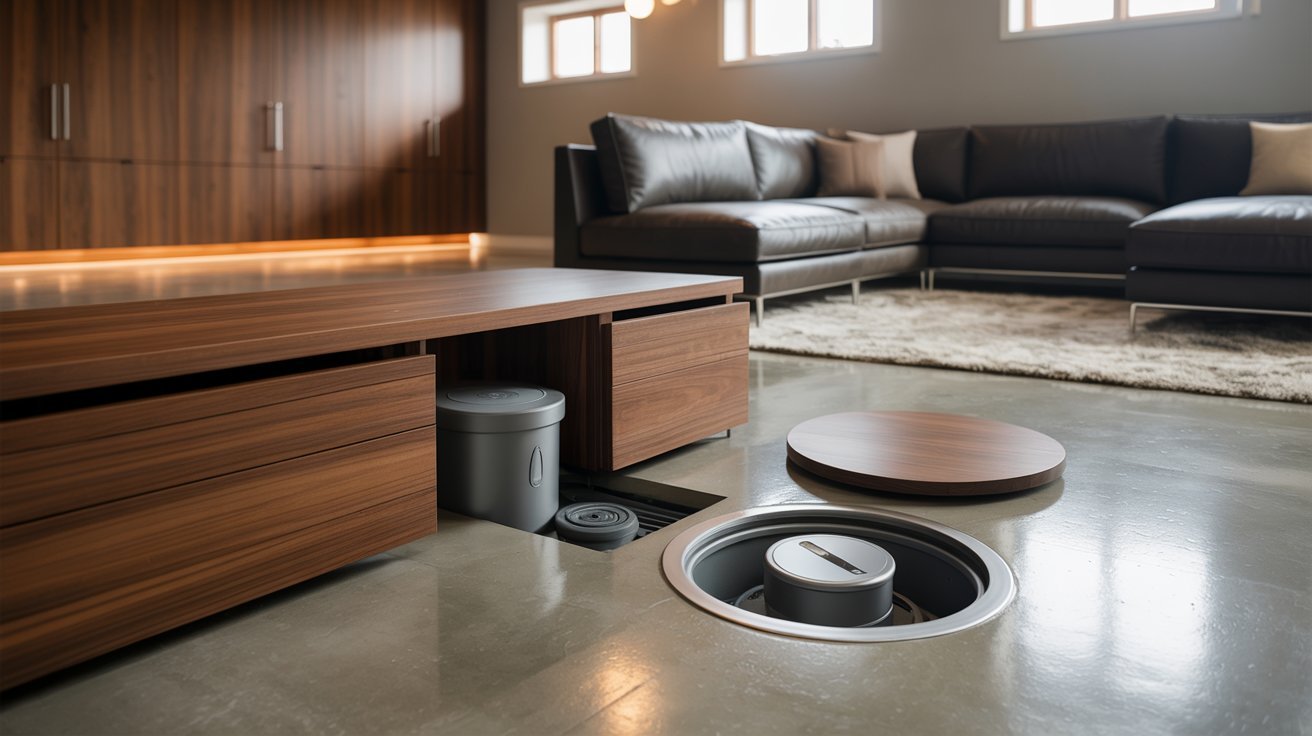
Keep your space looking sharp while staying fully protected.
Why Hiding a Sump Pump in a Finished Basement Matters
A visible sump pump breaks the look of a finished room. It also raises questions when you're selling the home. Hiding it properly keeps the space looking intentional without sacrificing function.
How to Hide a Sump Pump in a Finished Basement
- Sealed lids: Most sump basins come with a tight-fitting lid. A sealed lid keeps odors and humidity in check while hiding the pump below the floor.
- Cabinets or benches: Build a small cabinet or storage bench over the pit area. Keep one panel removable for access. It blends into the room and serves double duty as storage.
- Utility closets: If your basement layout allows it, place the pump inside a small utility closet. Keep it separate from the main living space entirely.
Balancing Accessibility and Appearance
Whatever you use to hide the pump, make sure you can access it quickly. You'll need to check it seasonally and replace it every 7 to 10 years. A cover that takes 20 minutes to remove isn't practical.
Tips for Installing a Sump Pump in a Finished Basement Successfully
Practical advice to get it right the first time.
- Map out your drainage path before anything else. The discharge pipe needs a clear, downward slope away from your foundation.
- Always install a check valve. Skipping it lets water flow back into the pit when the pump shuts off.
- Don't place the pit too shallow or use undersized pipe. Both cause pump failure at the worst possible time.
- If your basement has complex flooring or multiple utility lines, hire a licensed contractor instead of going DIY.
- Test your pump every six months, clean the pit once a year, and replace the battery backup every three years.
Conclusion
Yes, absolutely. I know the process sounds like a lot, but once it's done, you can stop worrying every time it rains.
A finished basement is an investment worth protecting. Whether you go the DIY route or call in a pro, getting a sump pump installed is one of the smartest moves you can make.
If this post helped you, drop a comment below or share it with someone dealing with a damp basement. I'd love to hear how your project goes.
Frequently Asked Questions
Can I install a sump pump myself in a finished basement?
Yes, it's a doable DIY project if you're comfortable with concrete work and basic plumbing. That said, hiring a pro reduces the risk of costly mistakes.
How much does it cost to install a sump pump in a finished basement?
DIY installation typically costs between $300 and $600 for materials. Professional installation ranges from $1,000 to $3,000, depending on your location and basement setup.
Will installing a sump pump damage my finished floors permanently?
Only a small section of flooring needs to be removed near the pit. Most flooring types can be patched or replaced around the basin lid with minimal visible disruption.
How loud is a sump pump in a finished basement?
Submersible pumps are very quiet. You'll hear a low hum when they run, but it's not disruptive during everyday use.
How often should I check my sump pump in a finished basement?
Test it every six months by pouring water into the pit. Do a full inspection before the rainy season each year to make sure it's working properly.