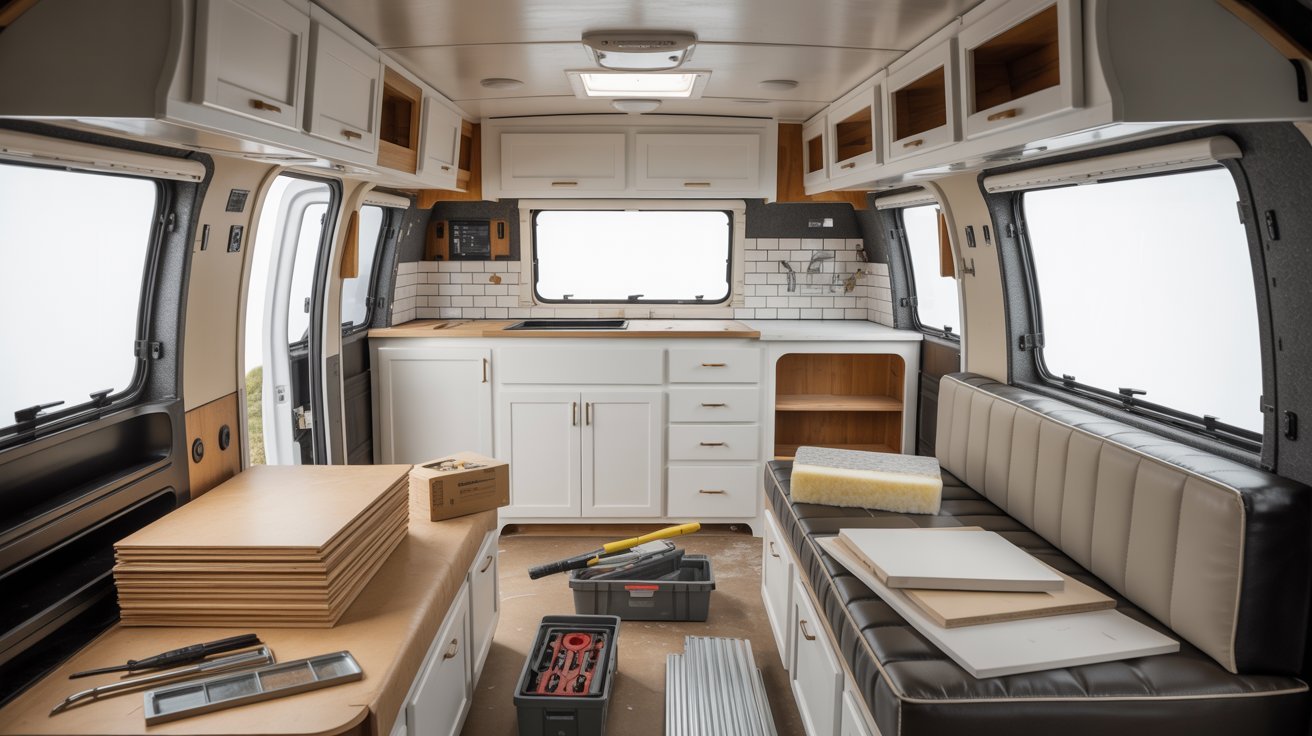
Tired of your RV feeling outdated and cramped? You’re not alone.
I’ve spent time researching and writing about home and RV makeovers, and I know how overwhelming it can feel to start.
That’s why I put this guide together to make it simple for you. You’ll find a step-by-step DIY renovation guide, 15 practical RV renovation ideas, and budget tips for beginners. No fluff.
Just clear, actionable steps you can actually follow.
I’ll walk you through everything from planning to the final styling touches.
RV Renovation Ideas: Quick Overview
A full RV makeover doesn’t happen overnight. It takes time, planning, and a clear budget.
A basic refresh with new paint, updated fixtures, and fresh flooring can take a weekend or two. A deeper renovation could take several weeks.
Most DIY renovations cost between $500 and $3,000. If you’re new to this, start small. Paint cabinets, swap hardware, lay peel-and-stick flooring.
Experienced DIYers can tackle electrical upgrades or full kitchen overhauls. The key is to match the project to your skill level and build from there.
Step-by-Step DIY RV Renovation Guide
Follow these steps in order and the whole process becomes much easier.
Step 1: Plan Your RV Renovation
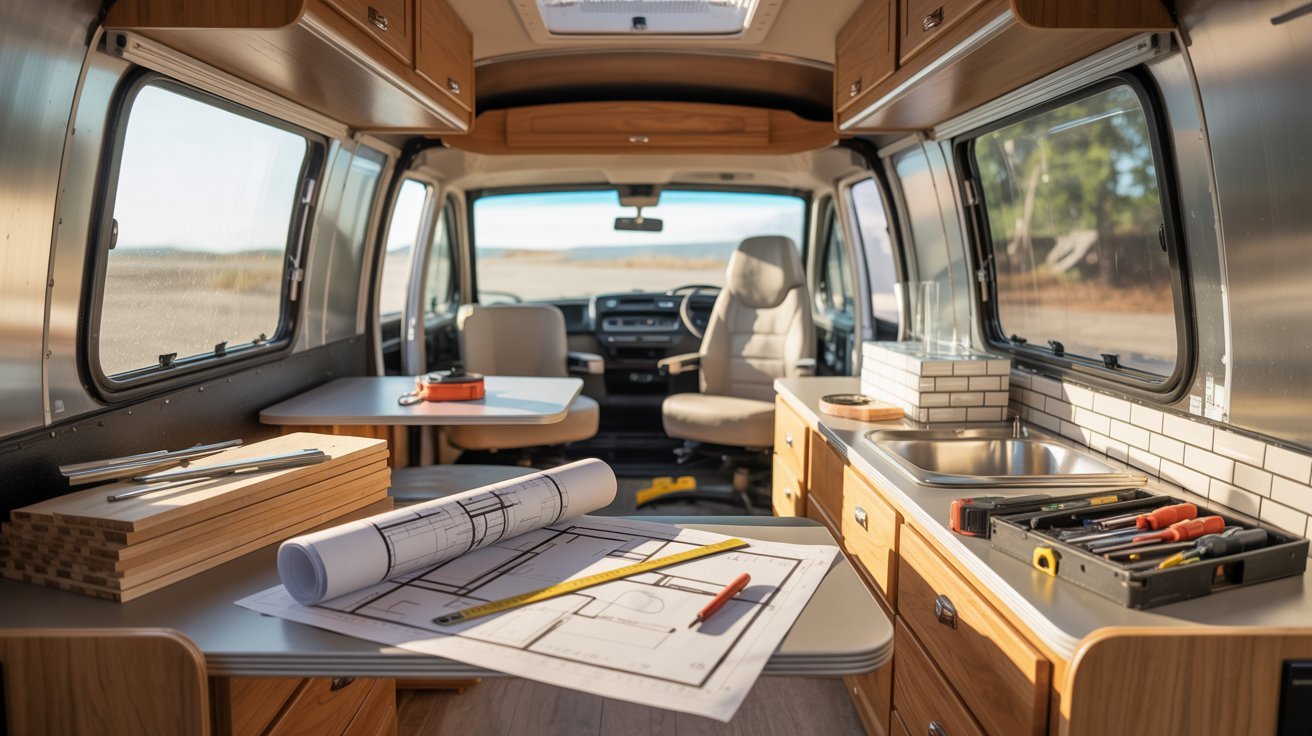
Write out your goals before buying a single thing. Think carefully about style, function, and how much you want to spend. Pick a design theme you actually like and stick to it throughout the whole project.
Step 2: Set a Budget
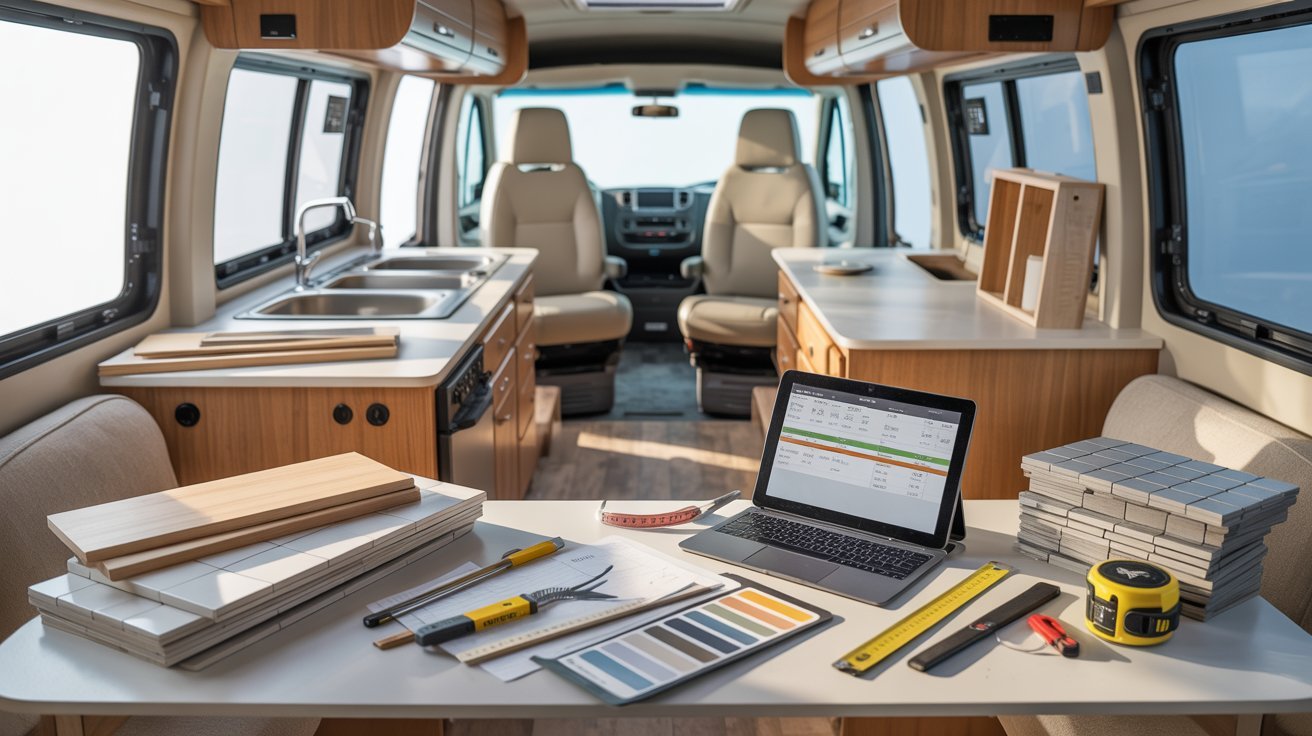
List every area you want to update and assign a realistic cost to each one. Always leave 10-15% extra in the budget for unexpected surprises. Focus on high-impact, low-cost upgrades first so your money goes further.
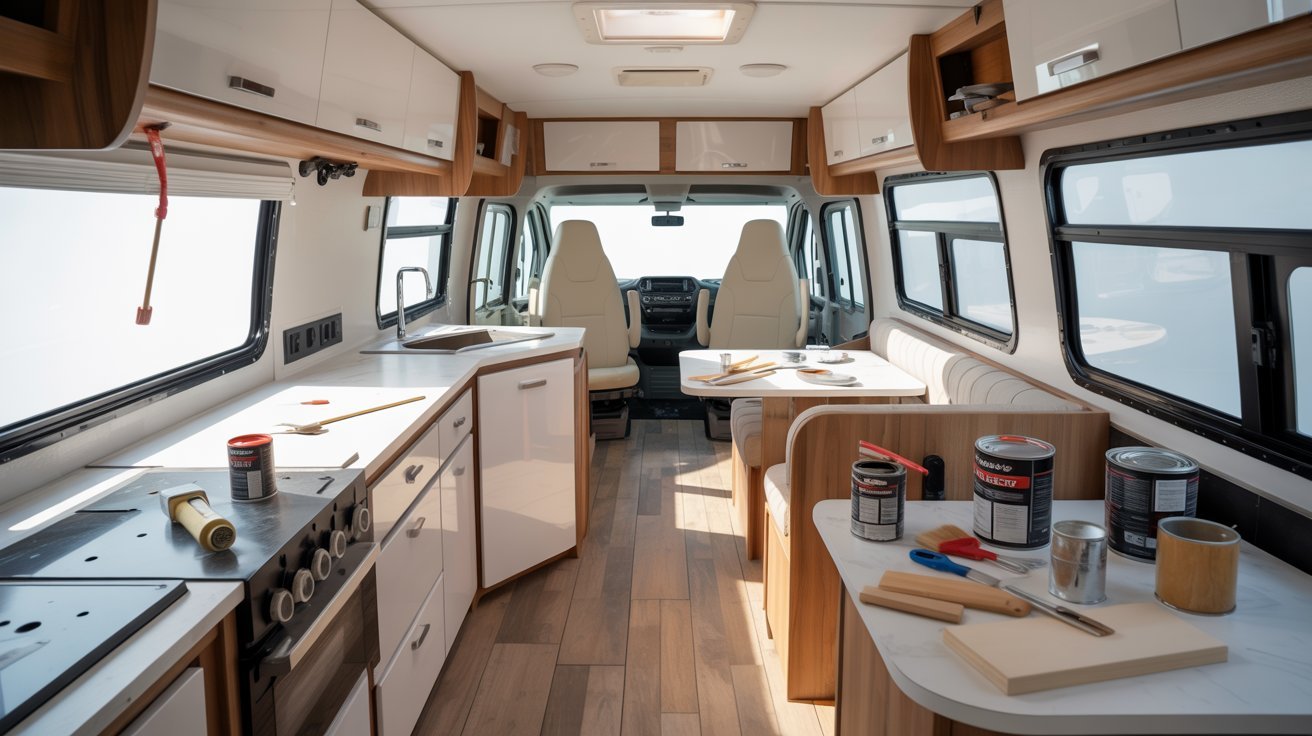
Step 3: Empty and Deep Clean the RV
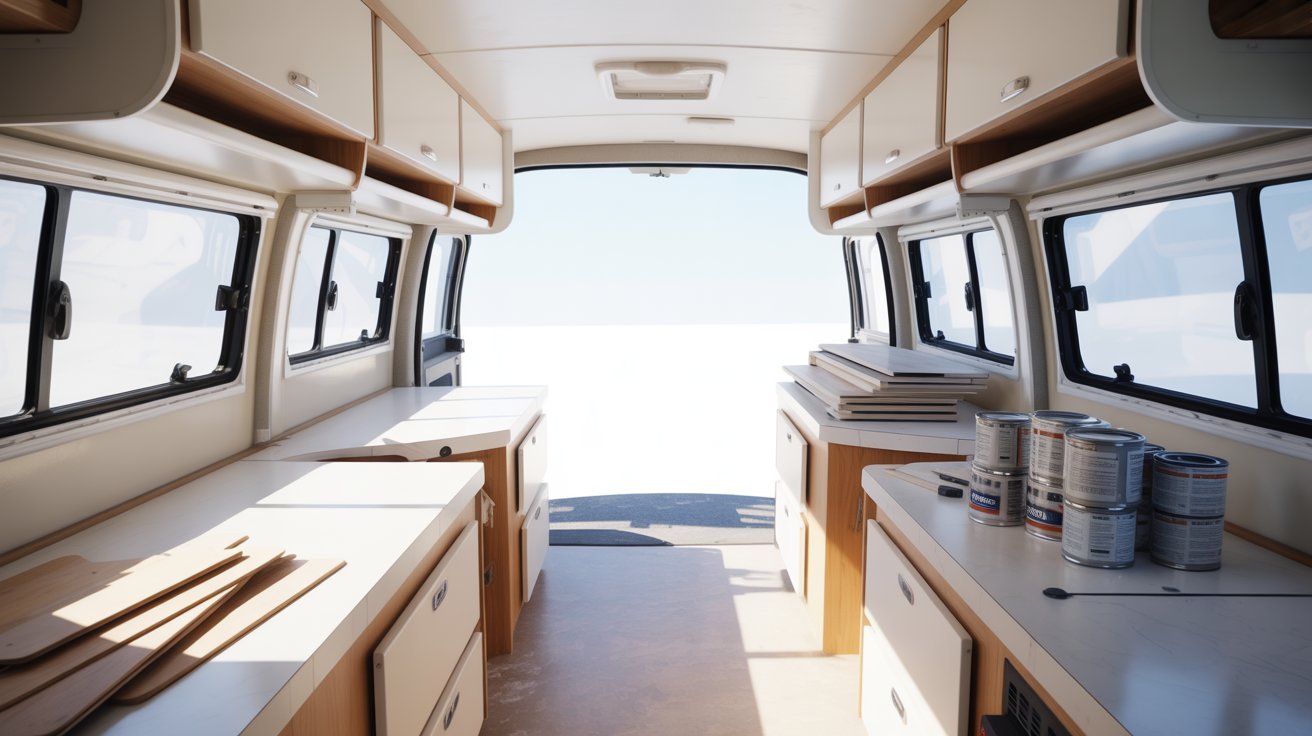
Clear everything out of every drawer, every shelf, and every cabinet. Do a thorough deep clean from top to bottom, including walls and corners. You simply can’t do good work on a dirty or cluttered surface.
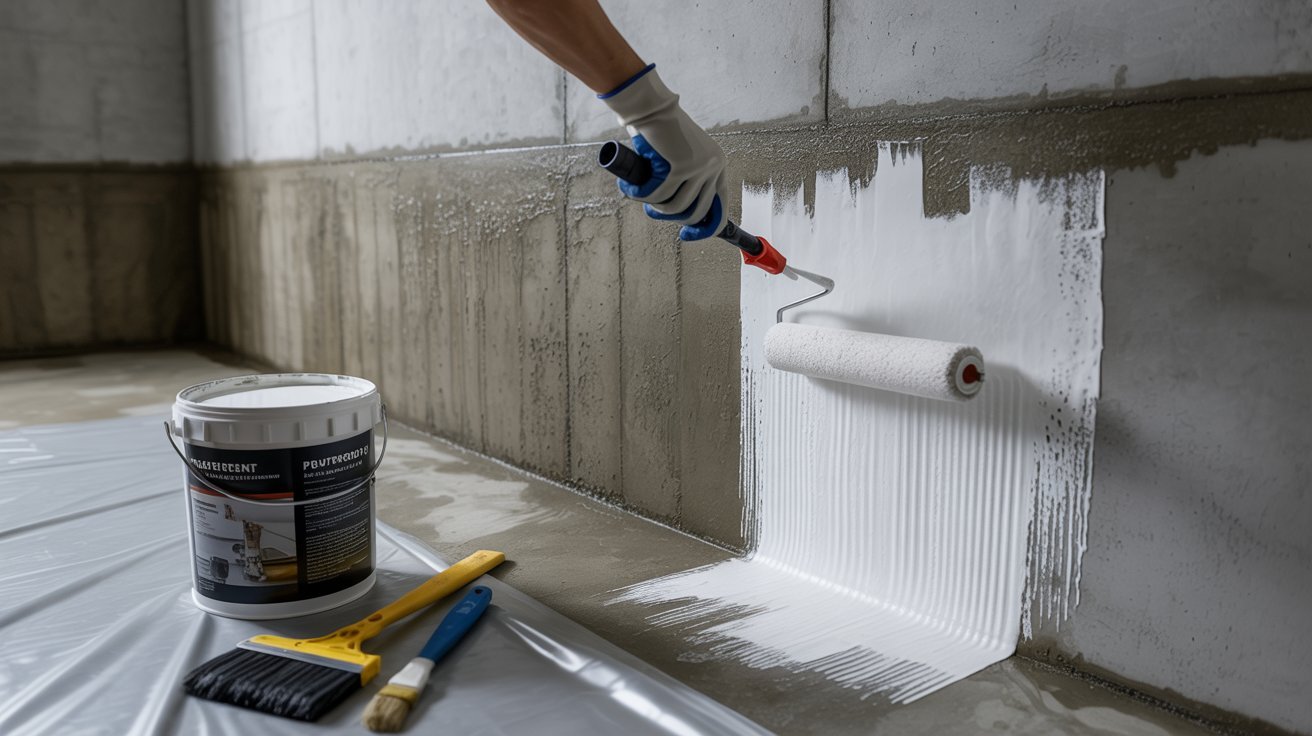
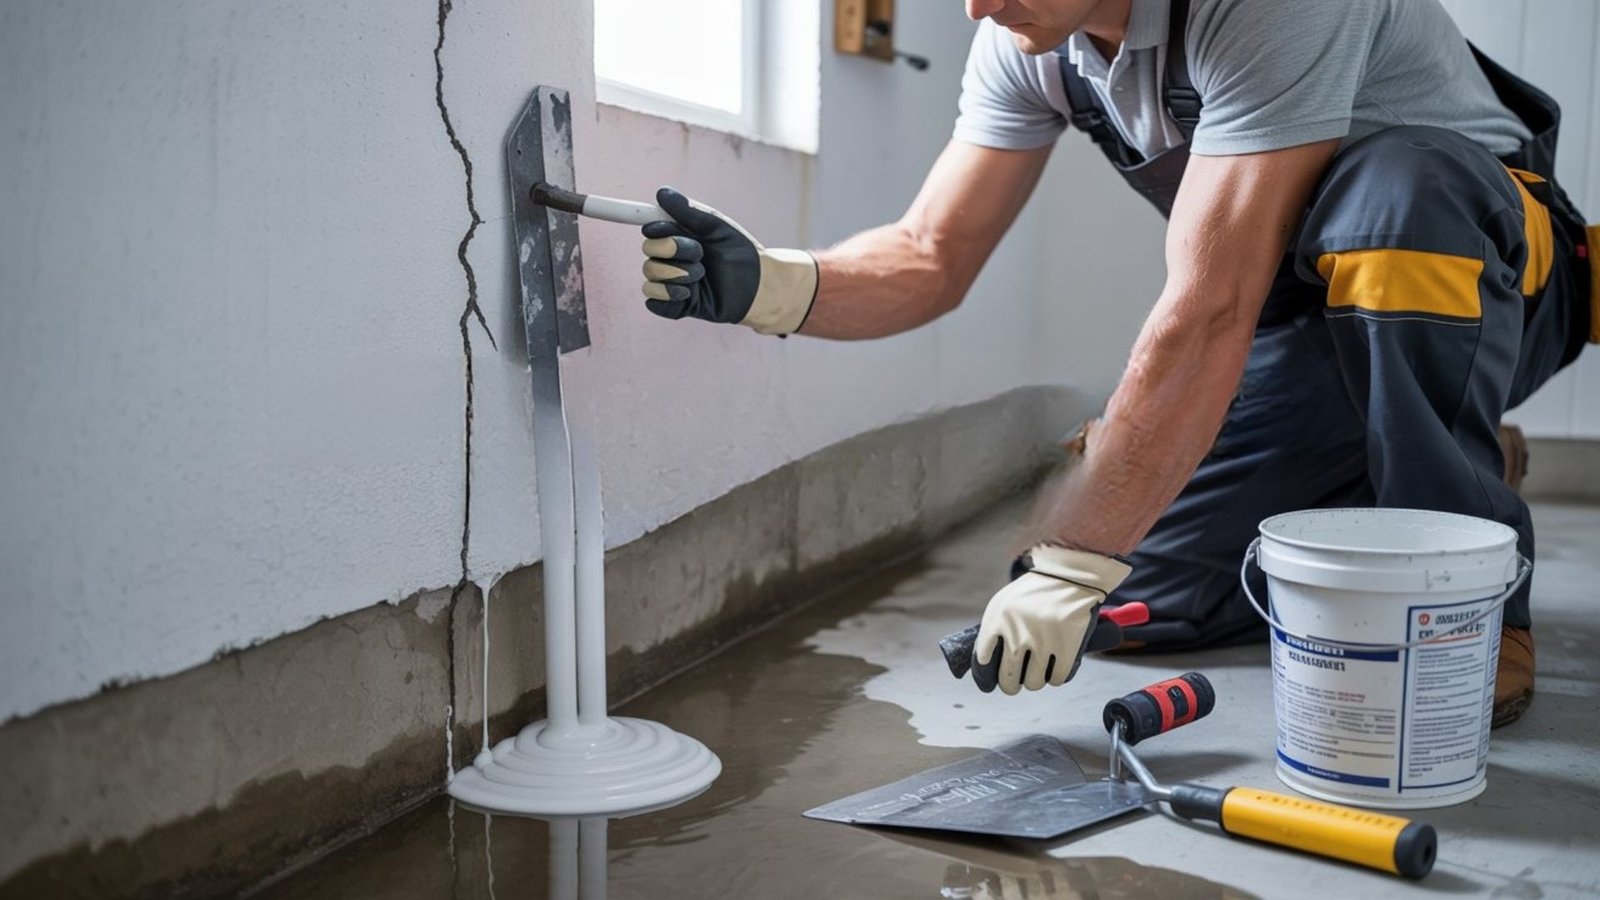
Step 4: Repair and Prep Surfaces
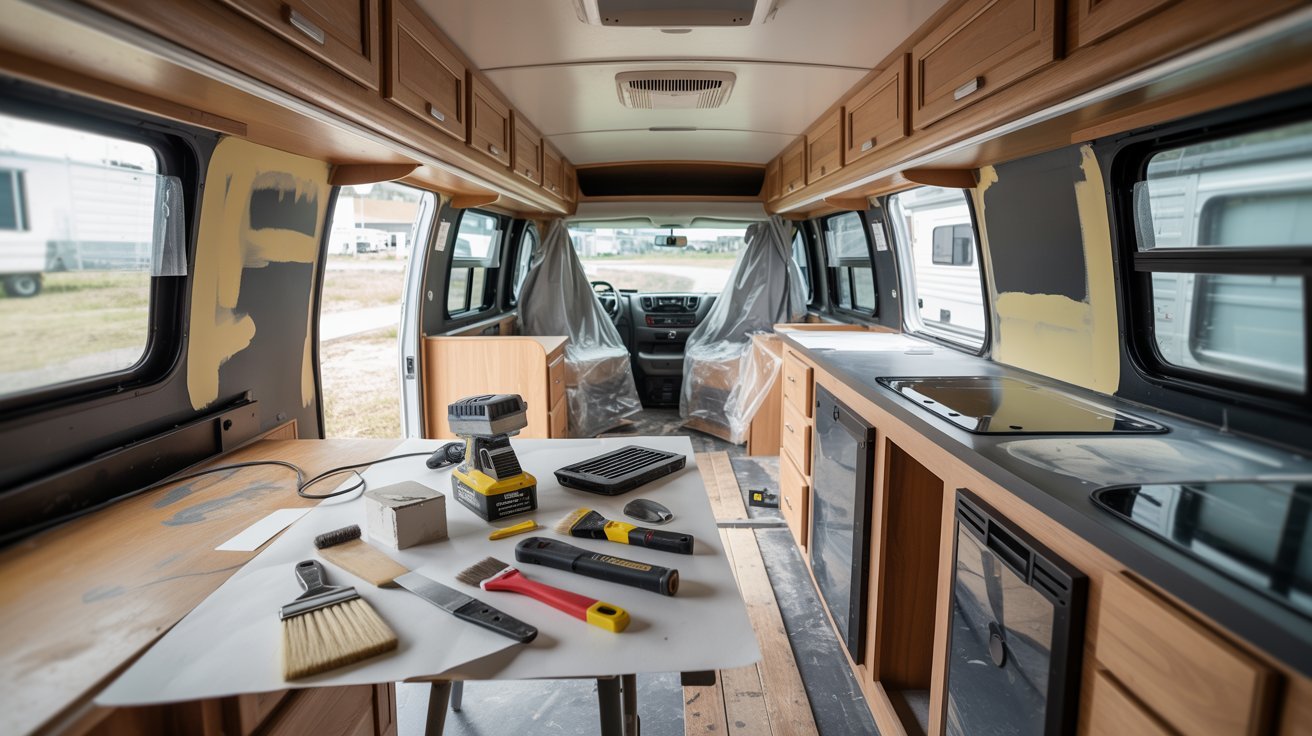
Check for leaks, soft spots, cracks, and water damage and fix them first. Sand down rough surfaces, fill holes, and smooth out any uneven areas. Prime all walls and cabinets properly before applying any paint.
Step 5 : Paint Walls and Cabinets
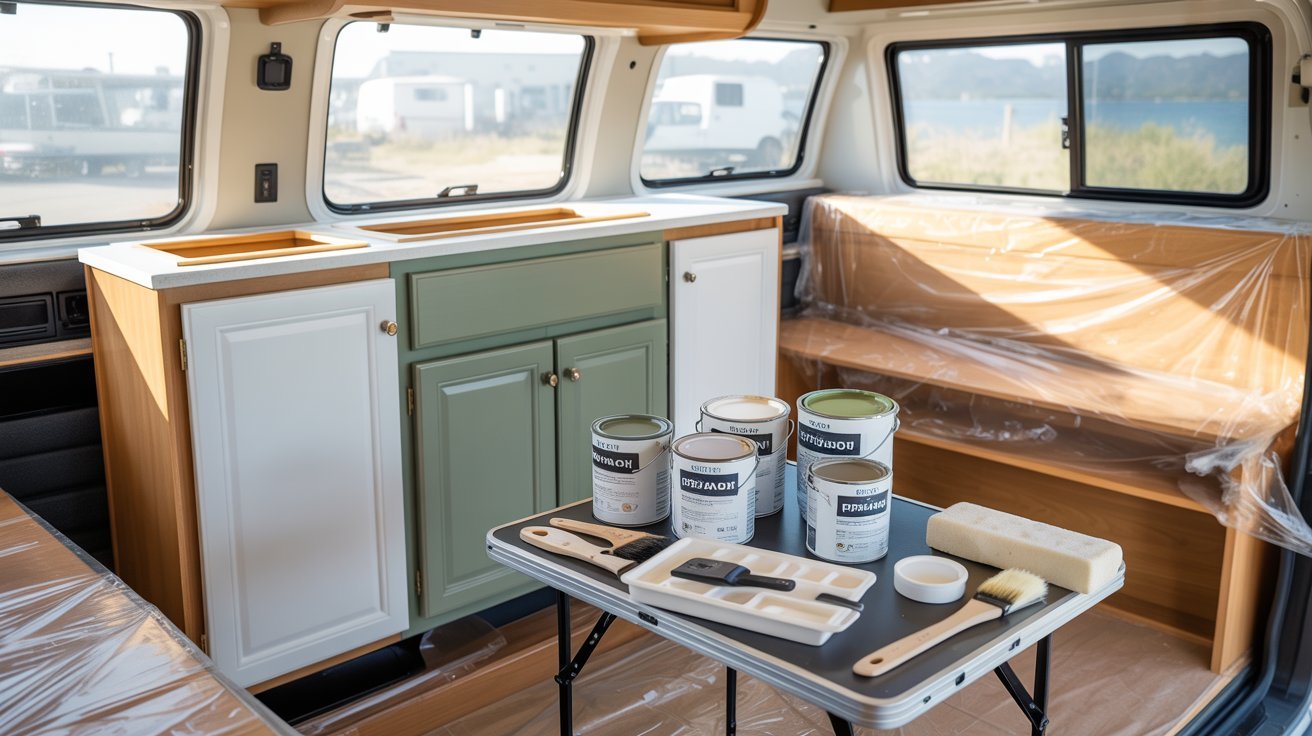
A fresh coat of paint is one of the quickest ways to change how a space looks and feels. Use light, neutral tones to make the interior feel brighter and more open. A foam roller gives a much smoother finish on cabinets than a regular brush.
Step 6: Upgrade Flooring
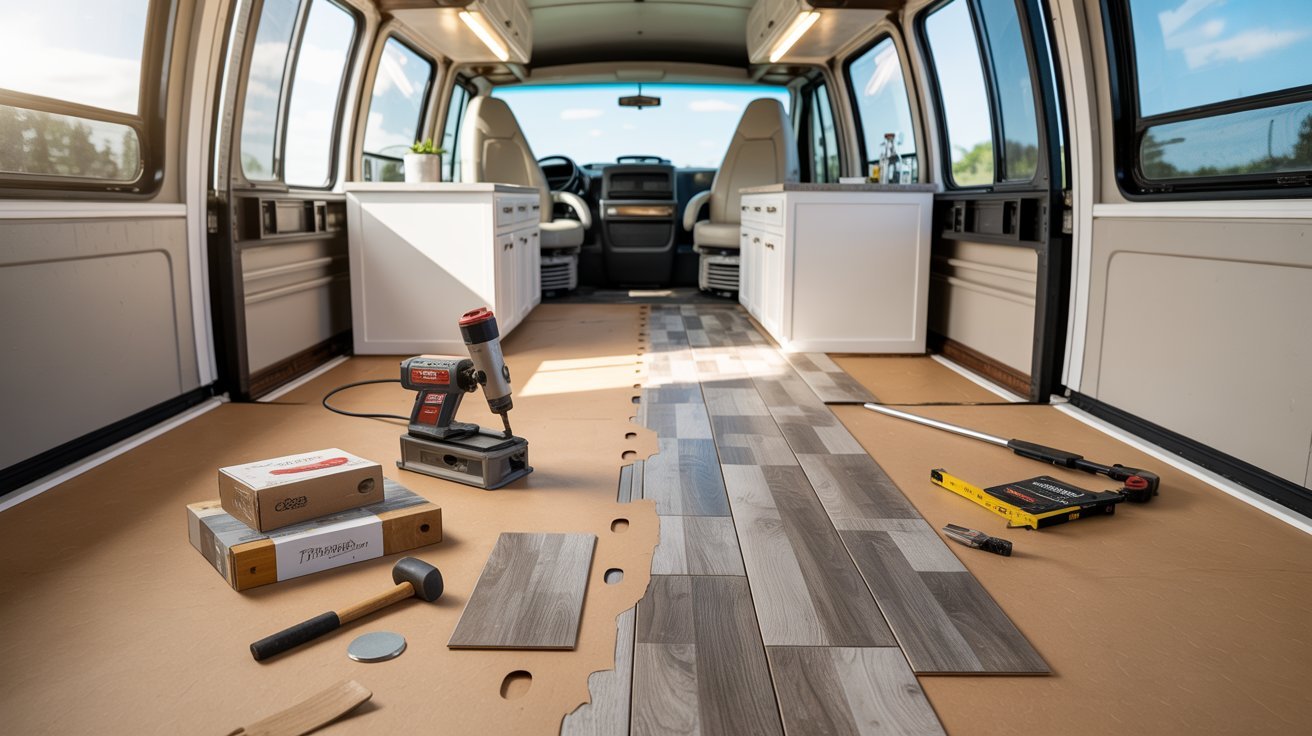
Rip out old carpet and replace it with vinyl plank or peel-and-stick flooring. Both options are lightweight, waterproof, and hold up well in an RV. Most installs don’t require special tools, making this a great beginner project.
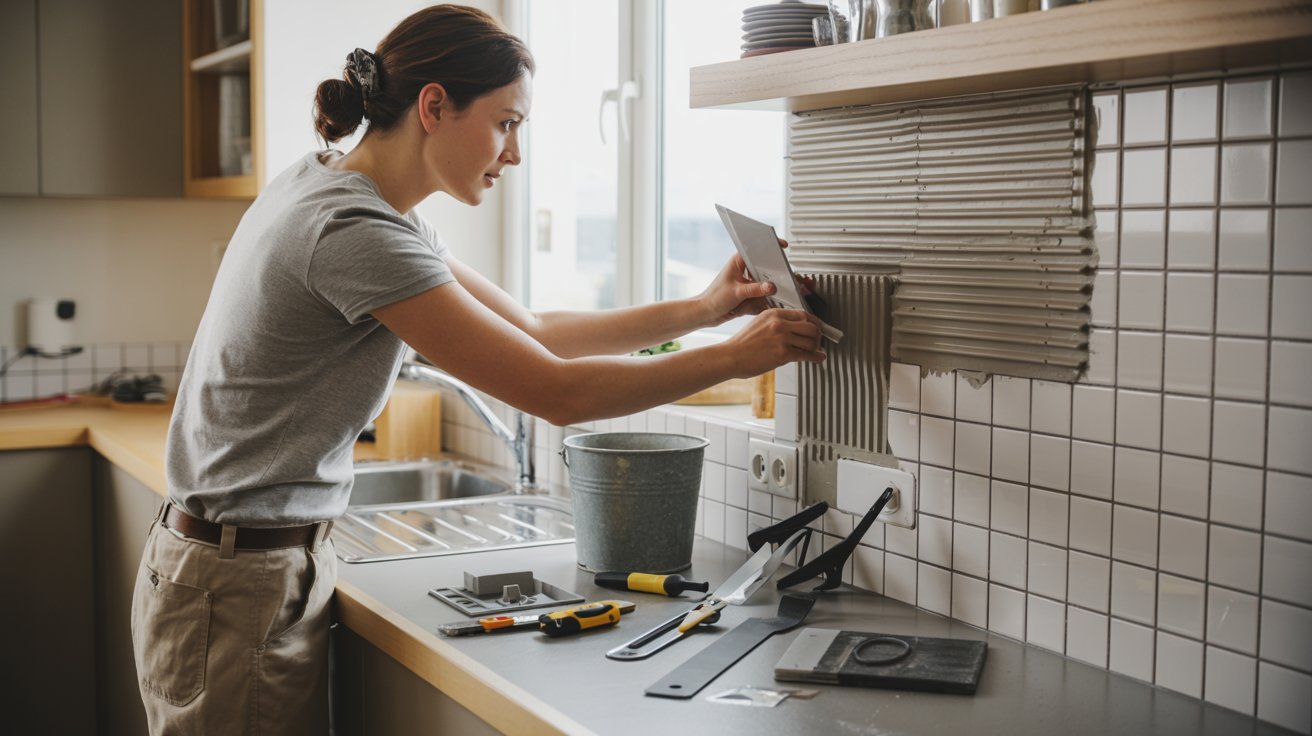
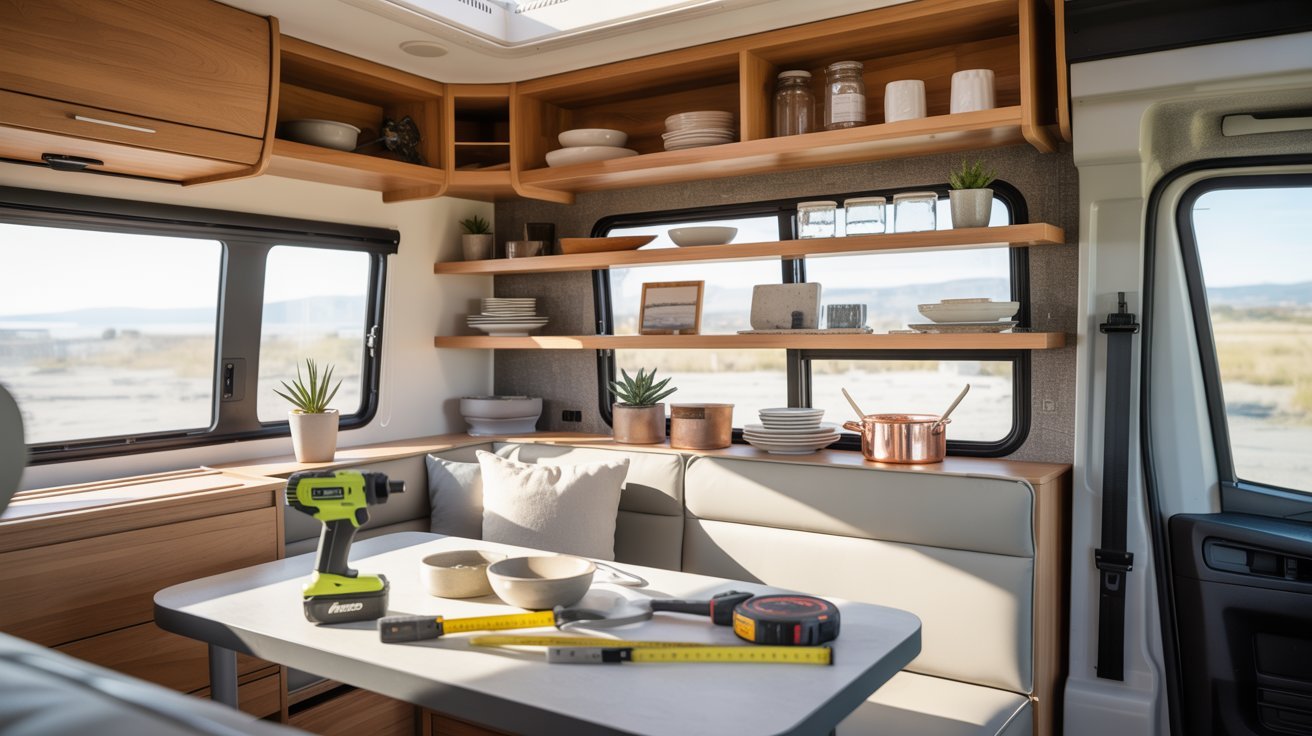
Step 7: Update the Kitchen Area
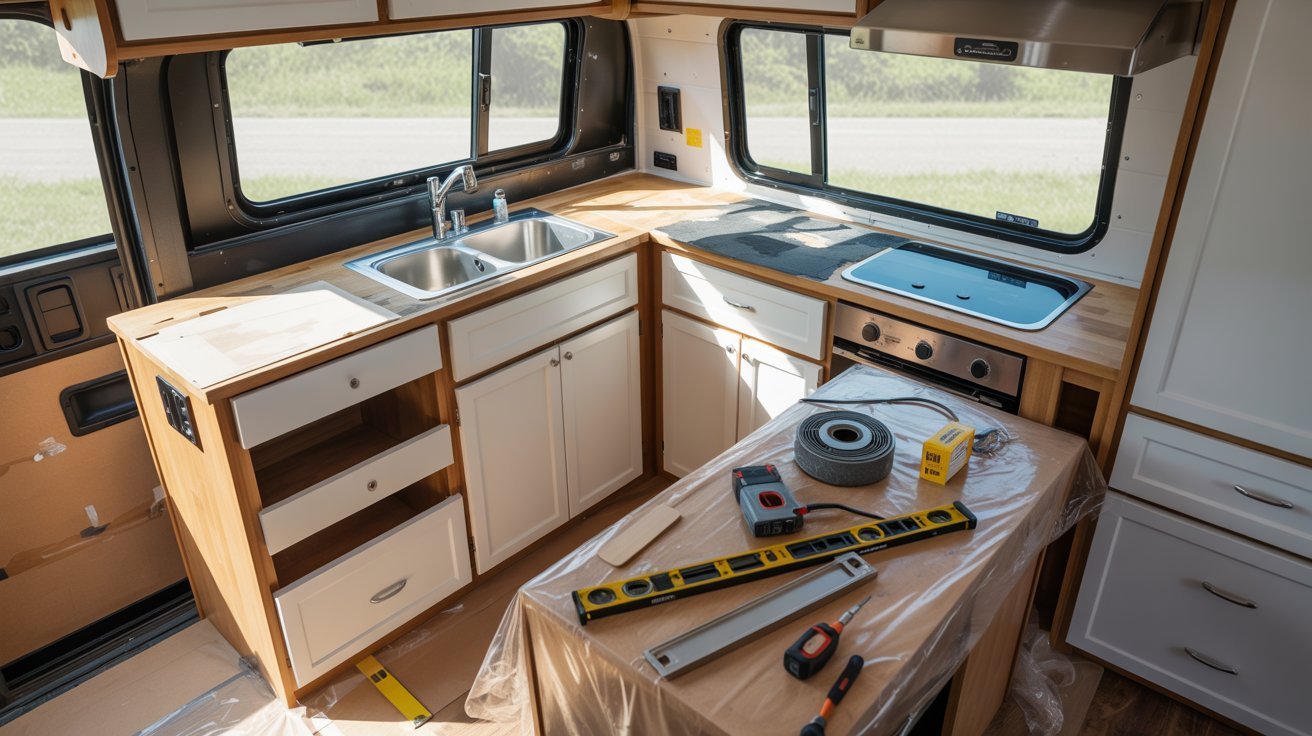
Repaint the cabinets and swap out the faucet, handles, and small hardware. Add a peel-and-stick backsplash to give the kitchen a completely different look. These small changes together create a big impact for a very low cost.
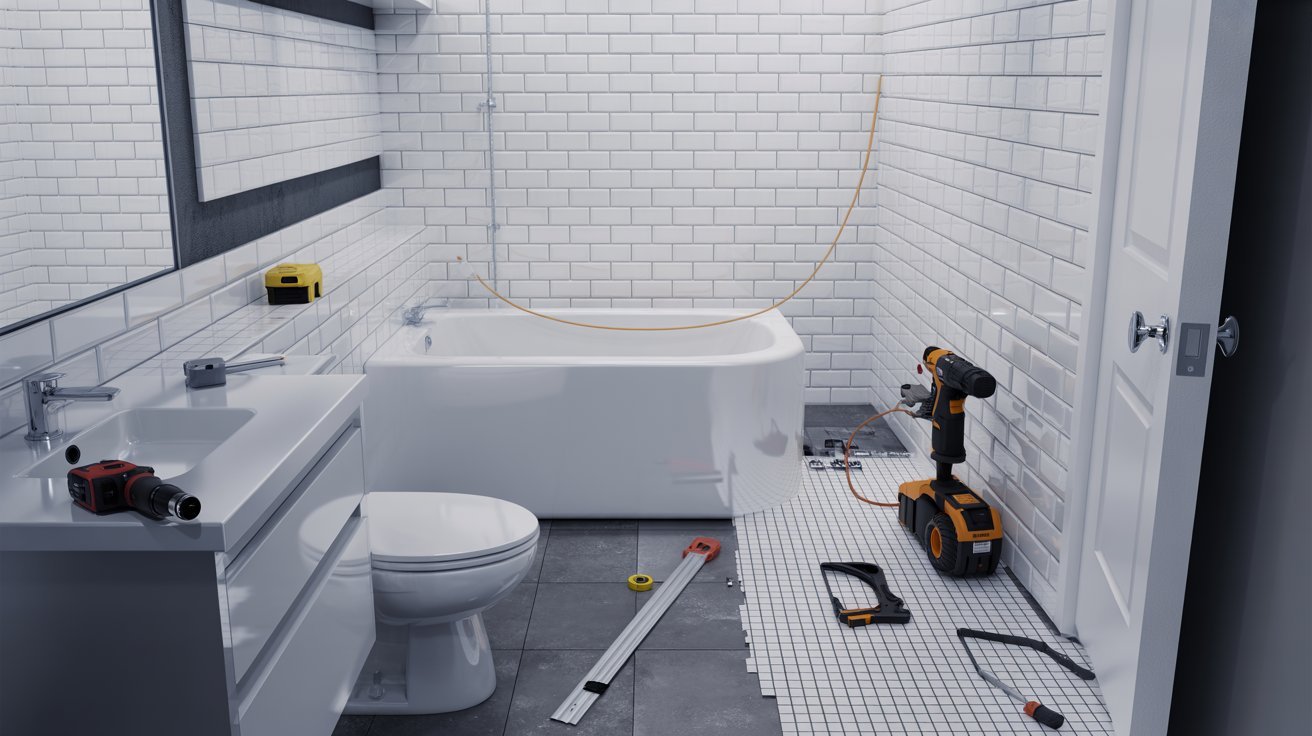
Step 8: Renovate the Bathroom
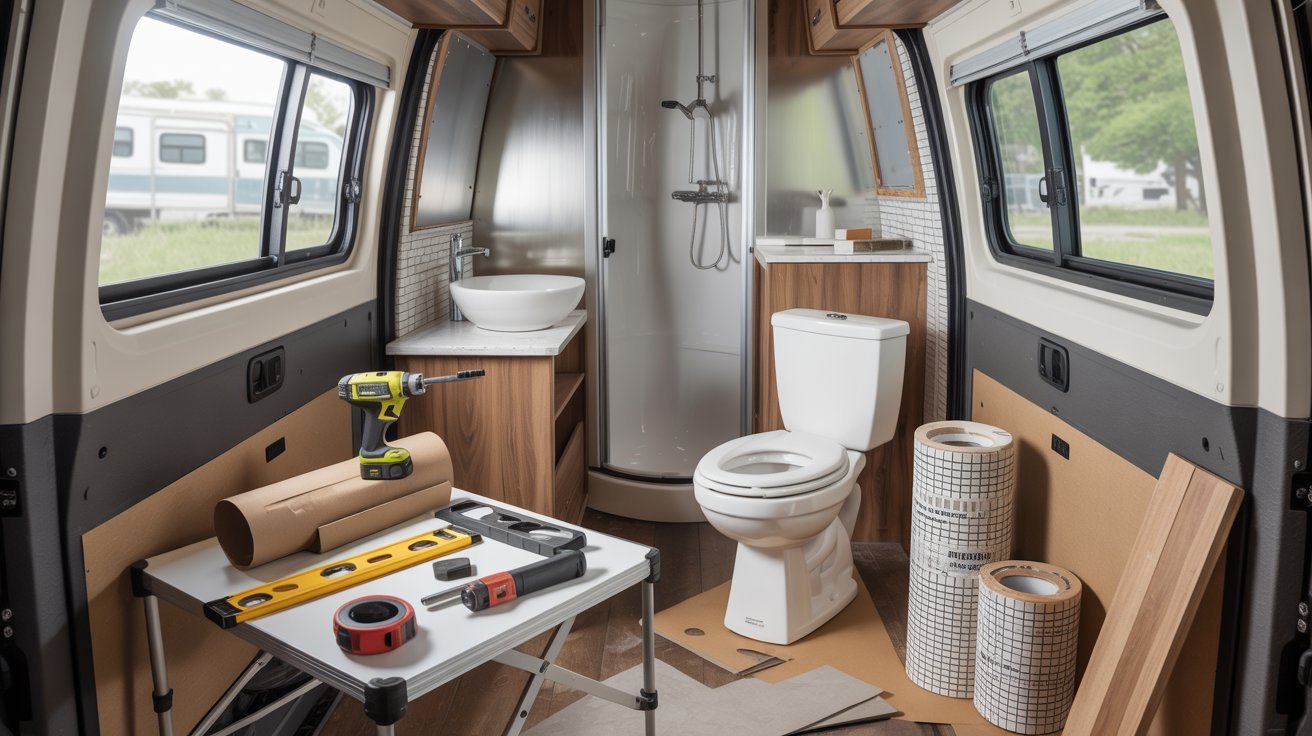
Replace the toilet seat, faucet, and showerhead with newer, cleaner options. Add a small floating shelf to gain extra storage without taking up floor space. Use light-colored paint on the walls to make the bathroom feel more open.
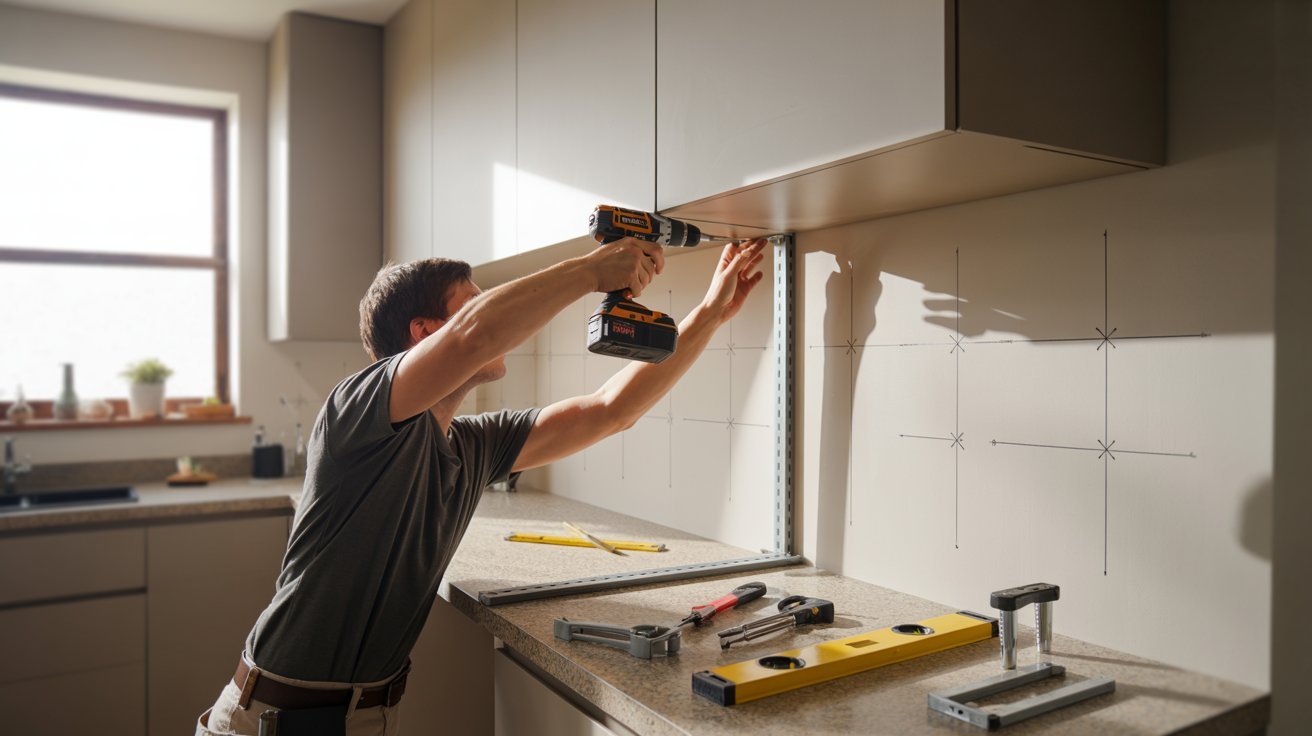
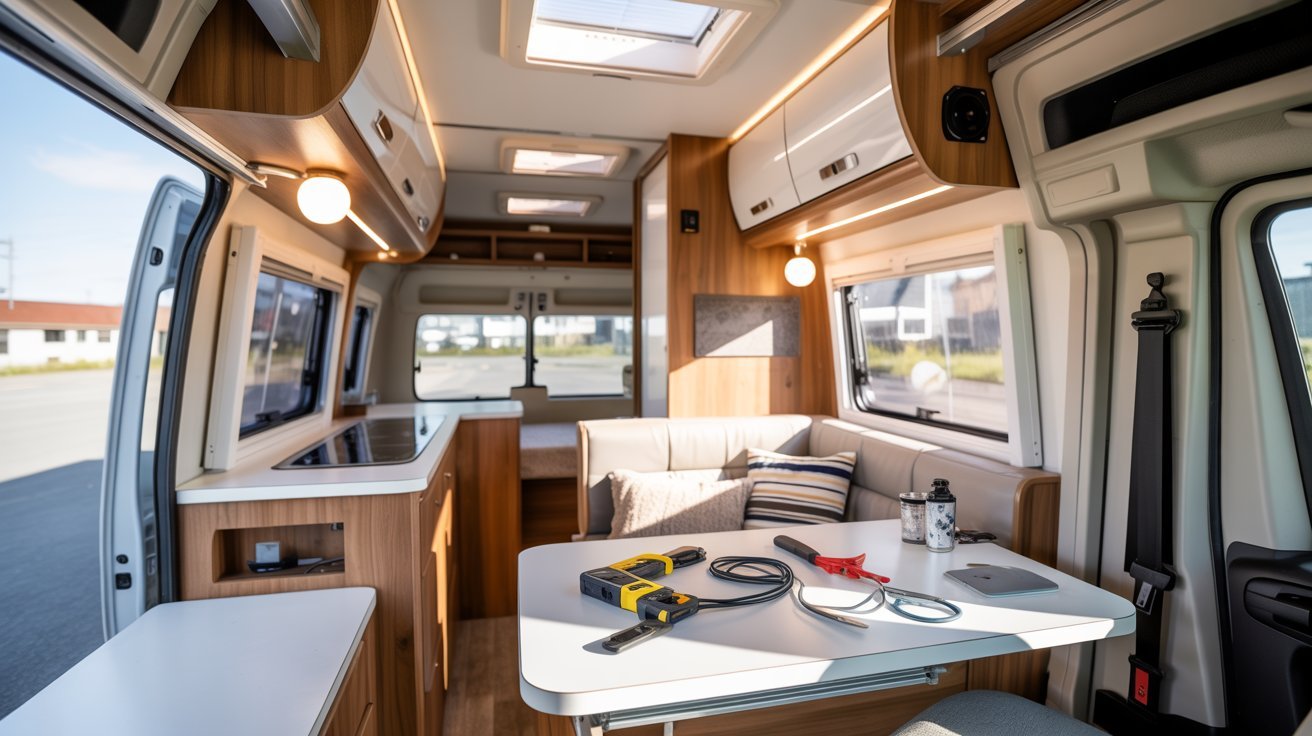
Step 9: Improve Lighting and Electrical
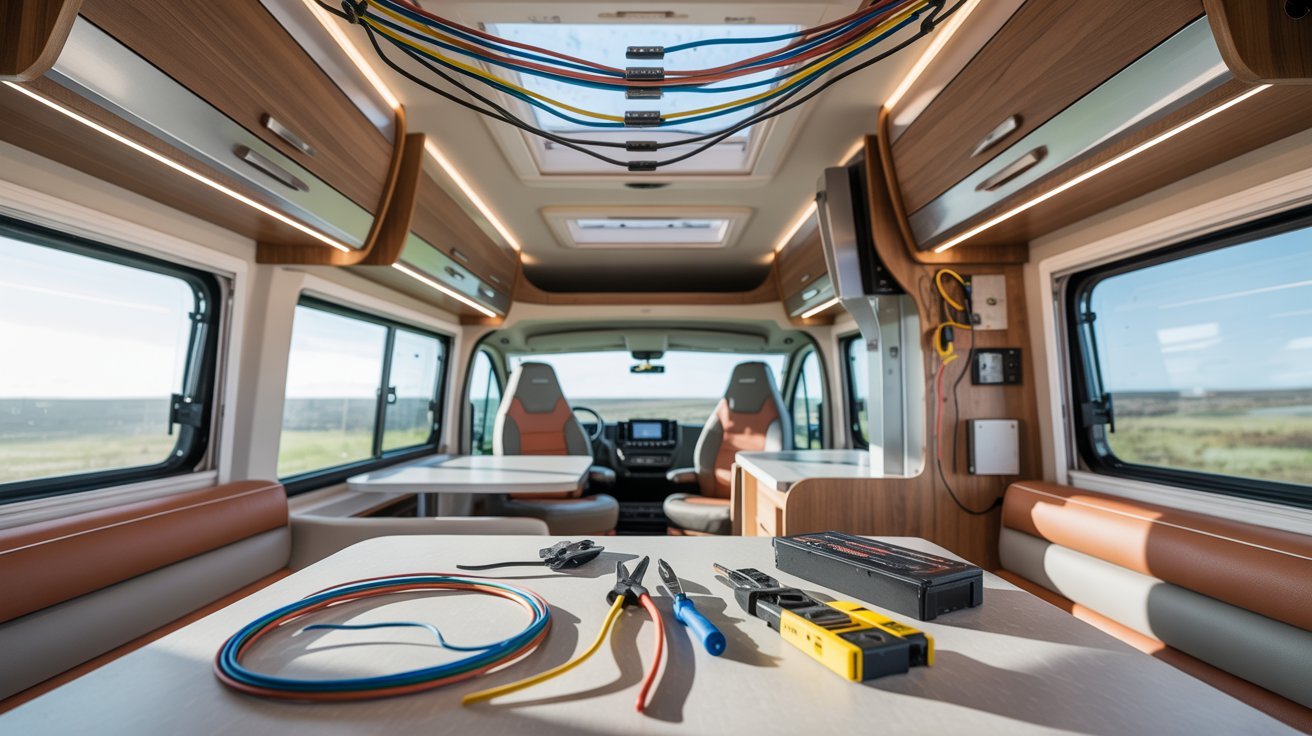
Switch every bulb in the RV to LED; they use less power and last much longer. Add under-cabinet lighting in the kitchen to brighten up the work area. If anything feels beyond your skill level, bring in a licensed professional.
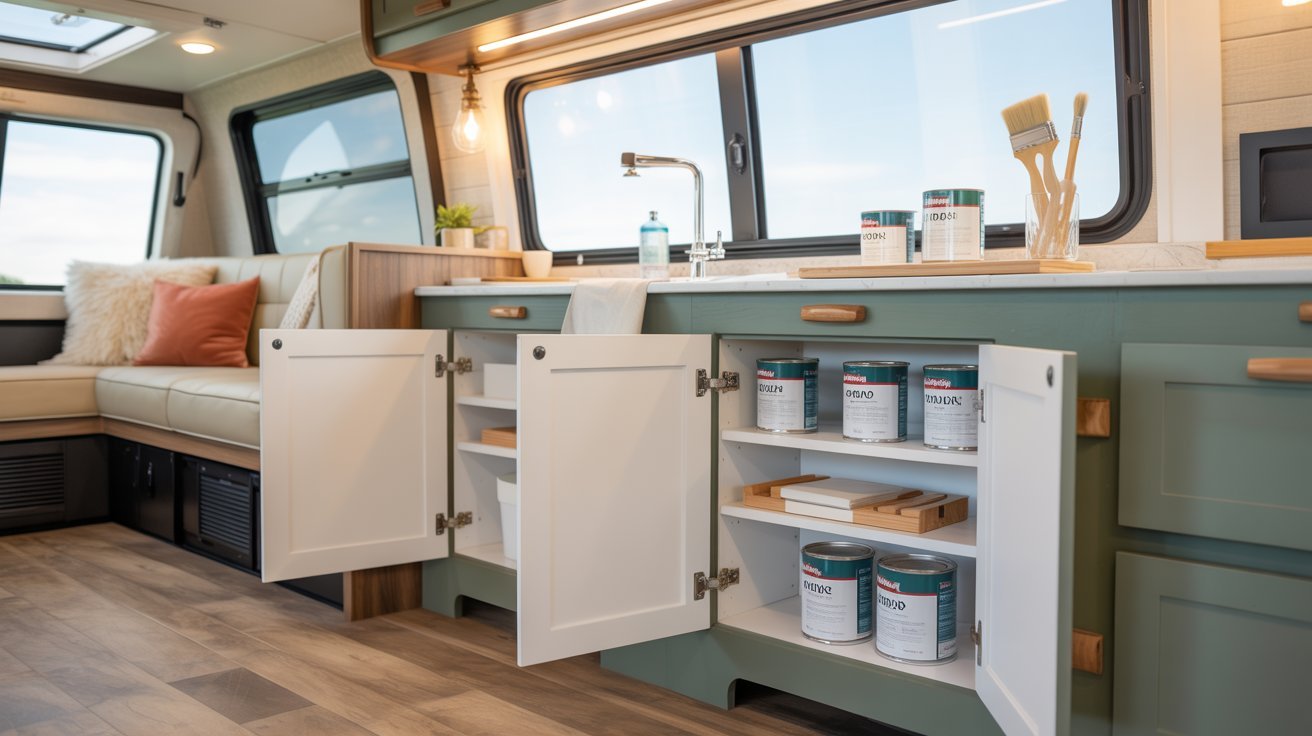
Step 10: Add Storage Solutions

Install hooks, floating shelves, and over-door organizers wherever you can. Think vertically and use wall space that usually goes to waste in most RVs. Even small storage additions make a big difference in day-to-day living.
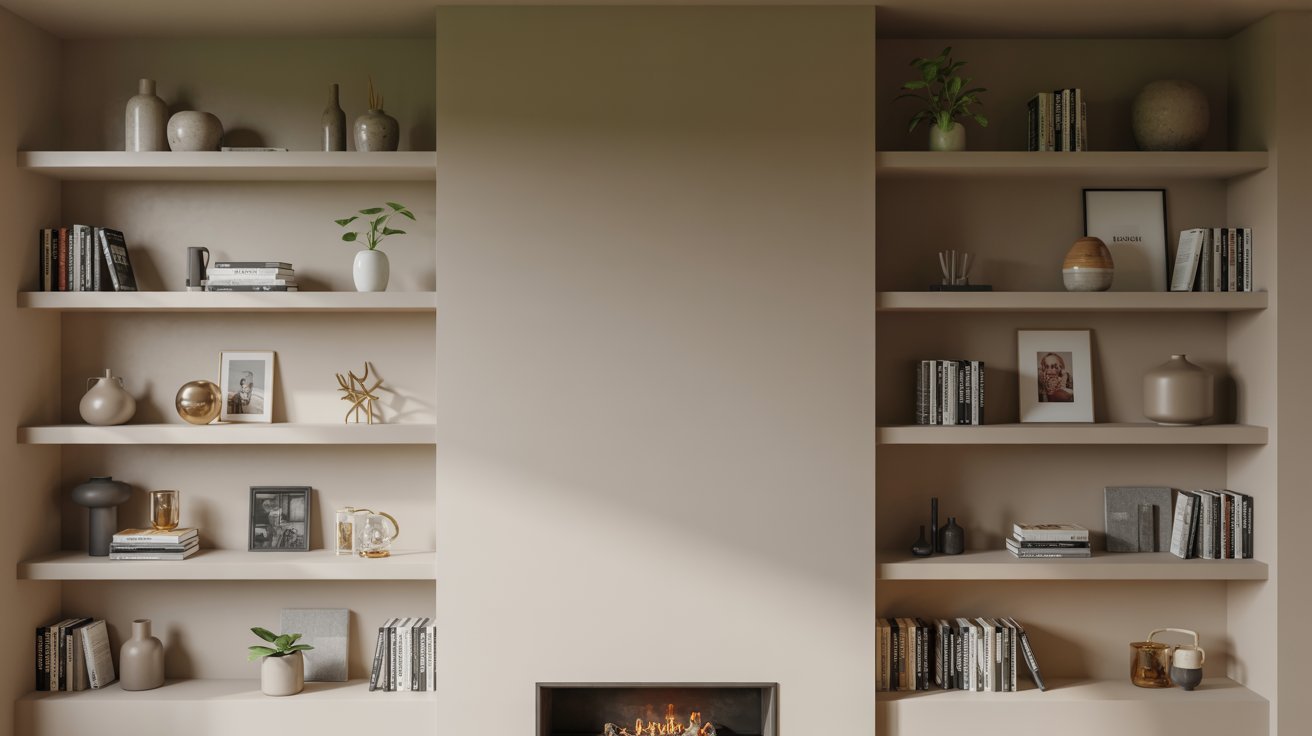
Step 11: Decorate and Personalize
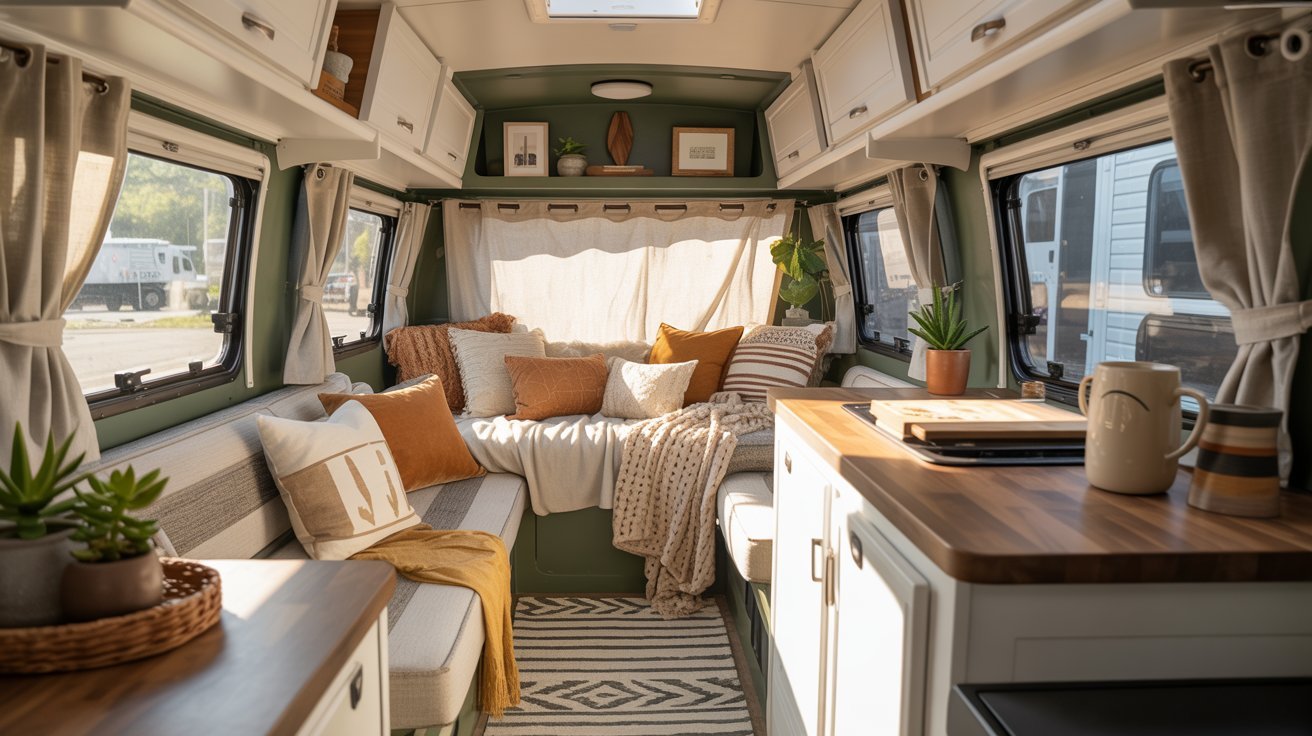
Add curtains, a small rug, throw pillows, and a plant or two to finish the space. Keep the colors and patterns simple so everything feels cohesive and calm. These final touches are what make the RV feel less like a vehicle and more like home.
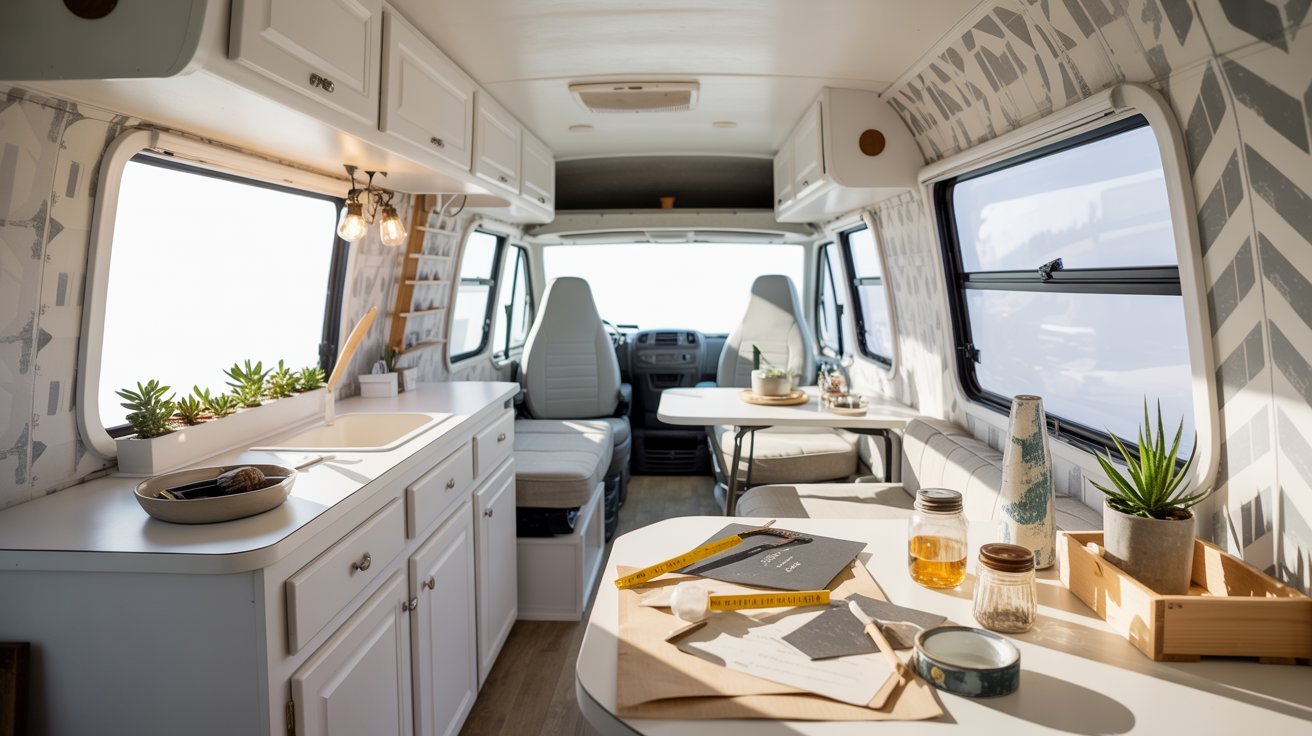
15 Best RV Renovation Ideas for a Fresh Makeover
Small changes add up fast here are the best ones to start with.
1. Paint RV Cabinets for a Fresh Look
A coat of white or soft gray paint on old cabinets instantly refreshes the whole interior. Use a primer first and a foam roller for the smoothest finish.
2. Add Peel-and-Stick Wallpaper
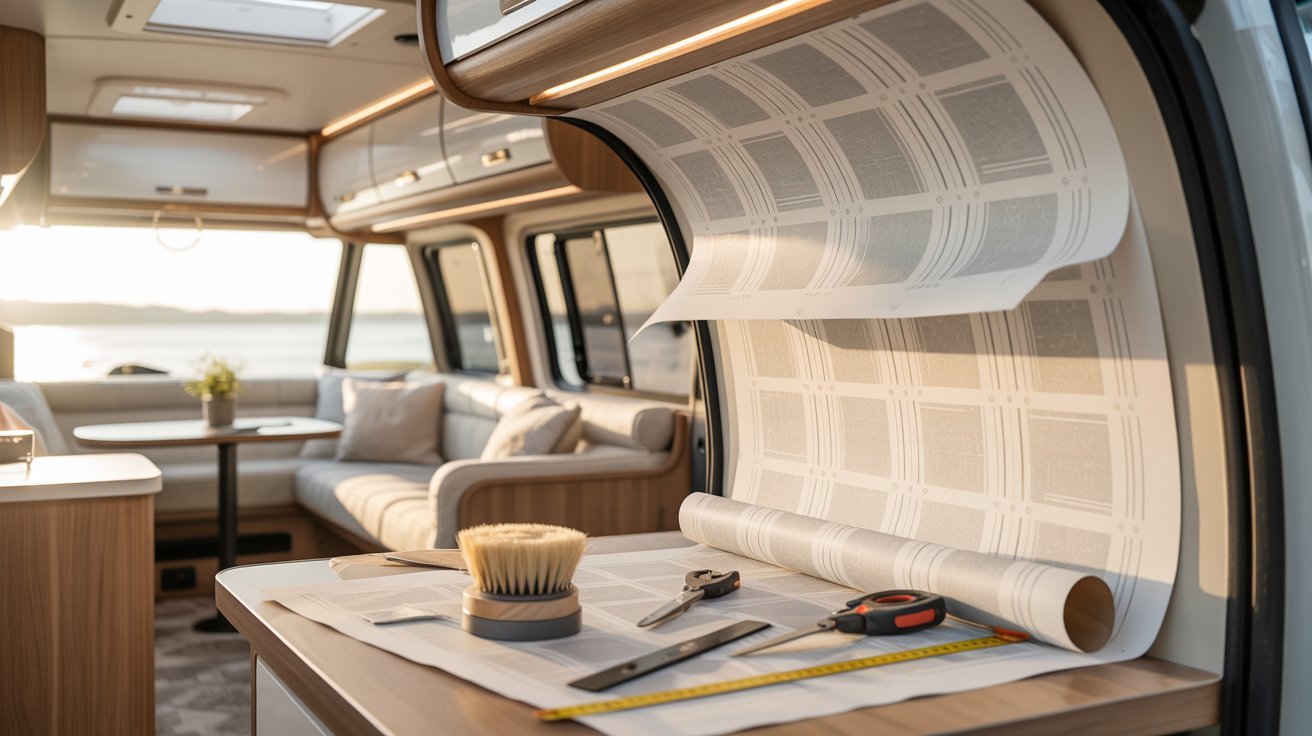
This is a renter-friendly and RV-friendly way to add pattern and color. It’s removable, affordable, and takes just a few hours to install.
3. Install a Stylish Backsplash
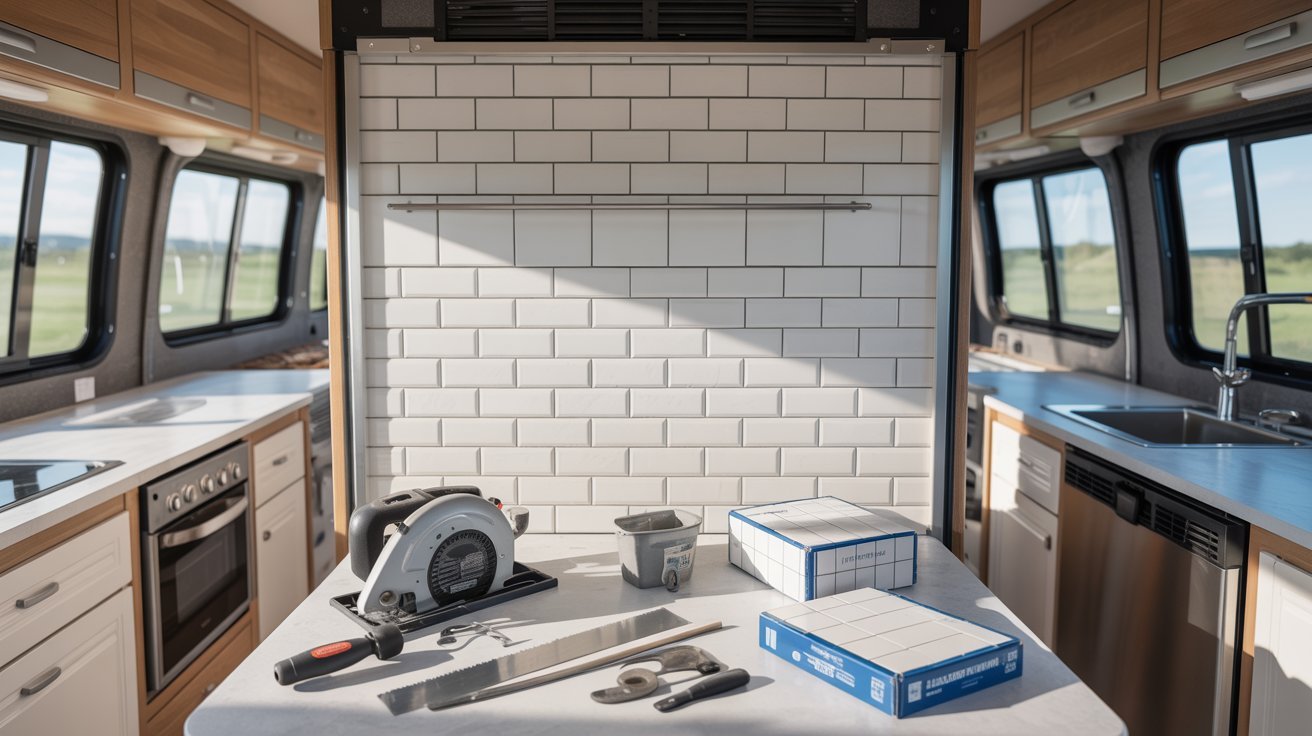
Peel-and-stick tile sheets work perfectly in RV kitchens. They come in subway tile, mosaic, and stone patterns with no grout needed.
4. Upgrade Cabinet Handles and Fixtures
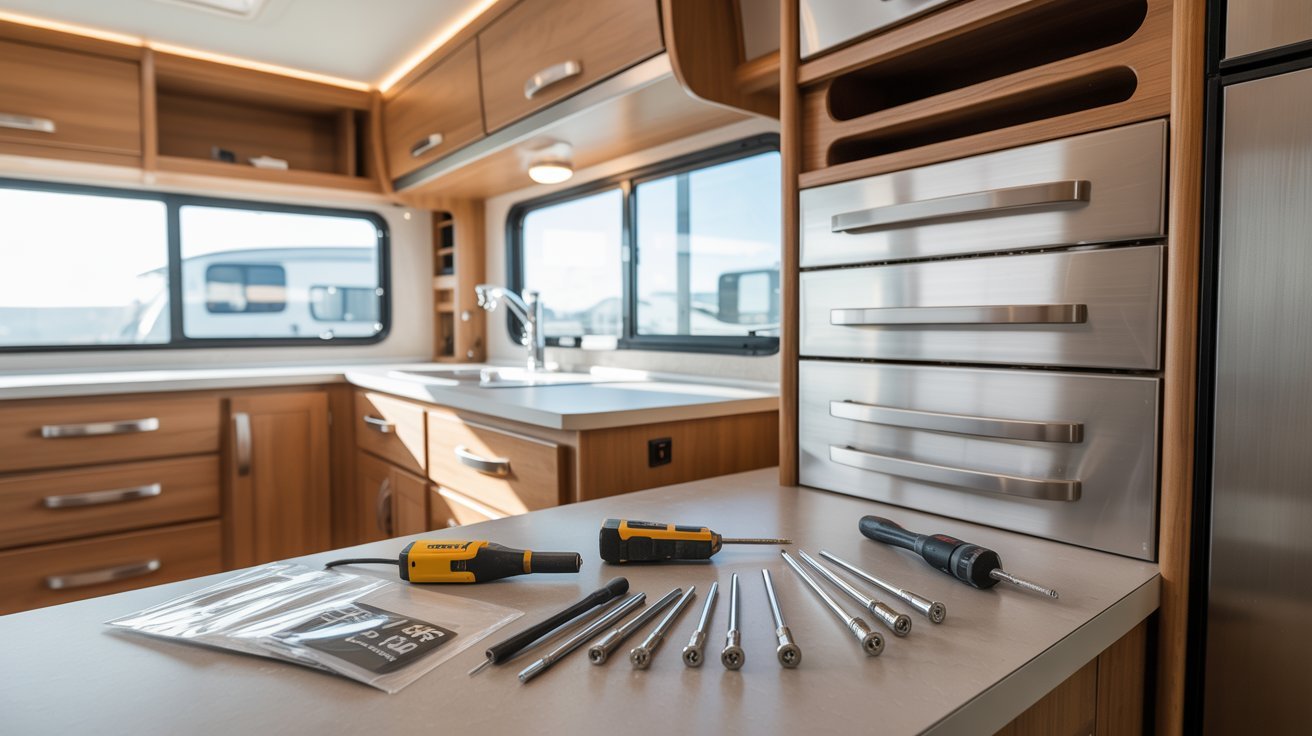
New handles are cheap and make a big difference. Go for brushed gold, matte black, or chrome depending on your color scheme.
5. Use Light Colors for Small Spaces

White, cream, and soft beige reflect light and make tight spaces feel more open. Dark colors do the opposite.
6. Create an Accent Wall
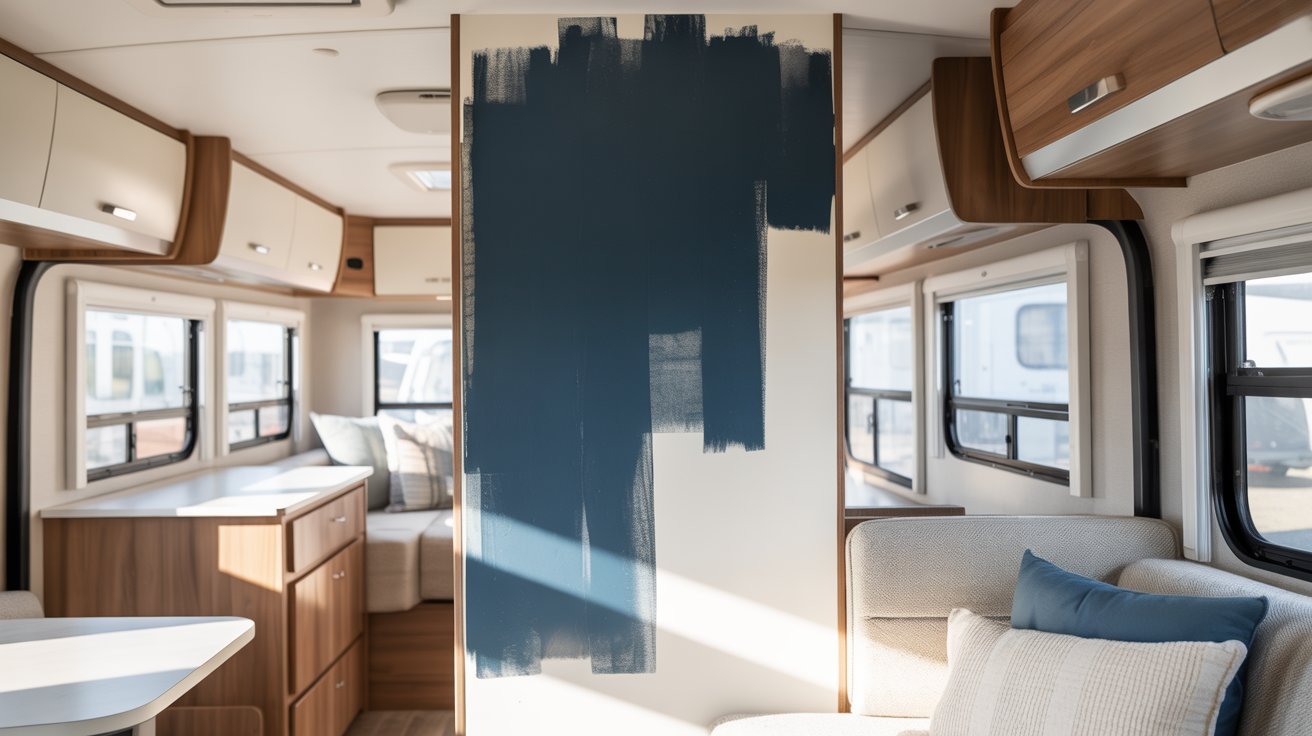
Pick one wall and give it a different treatment: shiplap, bold paint, or peel-and-stick wallpaper. It adds depth without making the space feel heavy.
7. Replace Old Flooring with Vinyl Planks
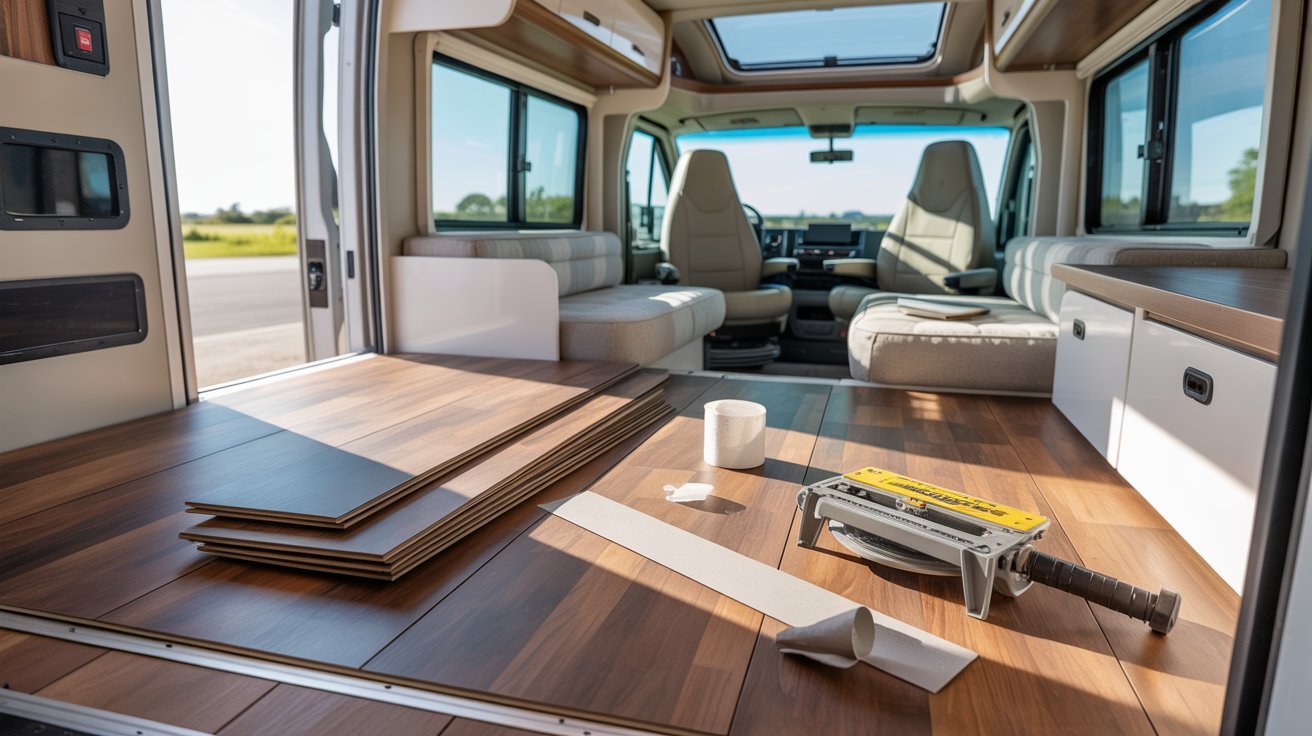
Vinyl plank flooring is durable, waterproof, and looks great. It’s one of the best upgrades you can make for the cost.
8. Add Open Shelving
Remove upper cabinet doors and add a small floating shelf instead. It opens up the space and makes items easy to reach.
9. Upgrade Lighting Fixtures
Swap outdated light fixtures for modern LED options. Even a simple pendant light above the table makes a big visual difference.
10. Add Multi-Functional Furniture
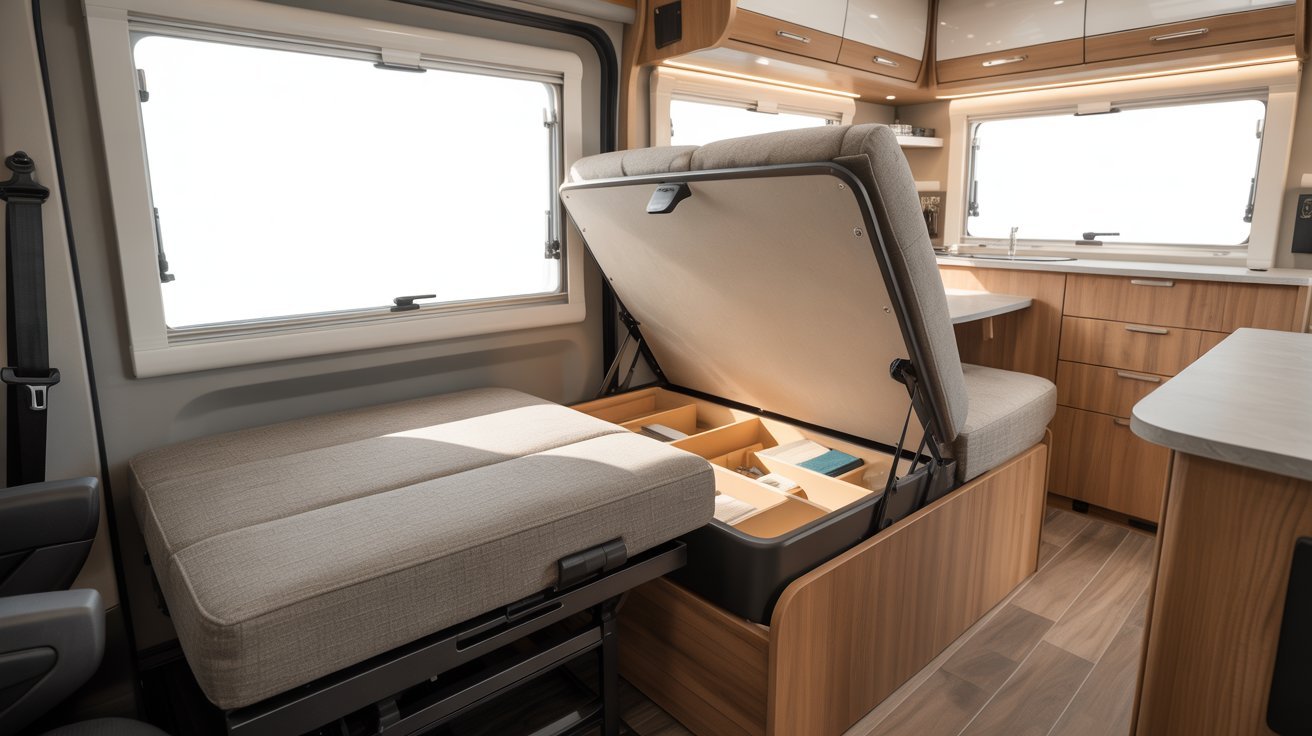
Look for pieces that serve double duty: a bench with storage inside, a fold-down table, or a Murphy bed.
11. Refresh the Bathroom
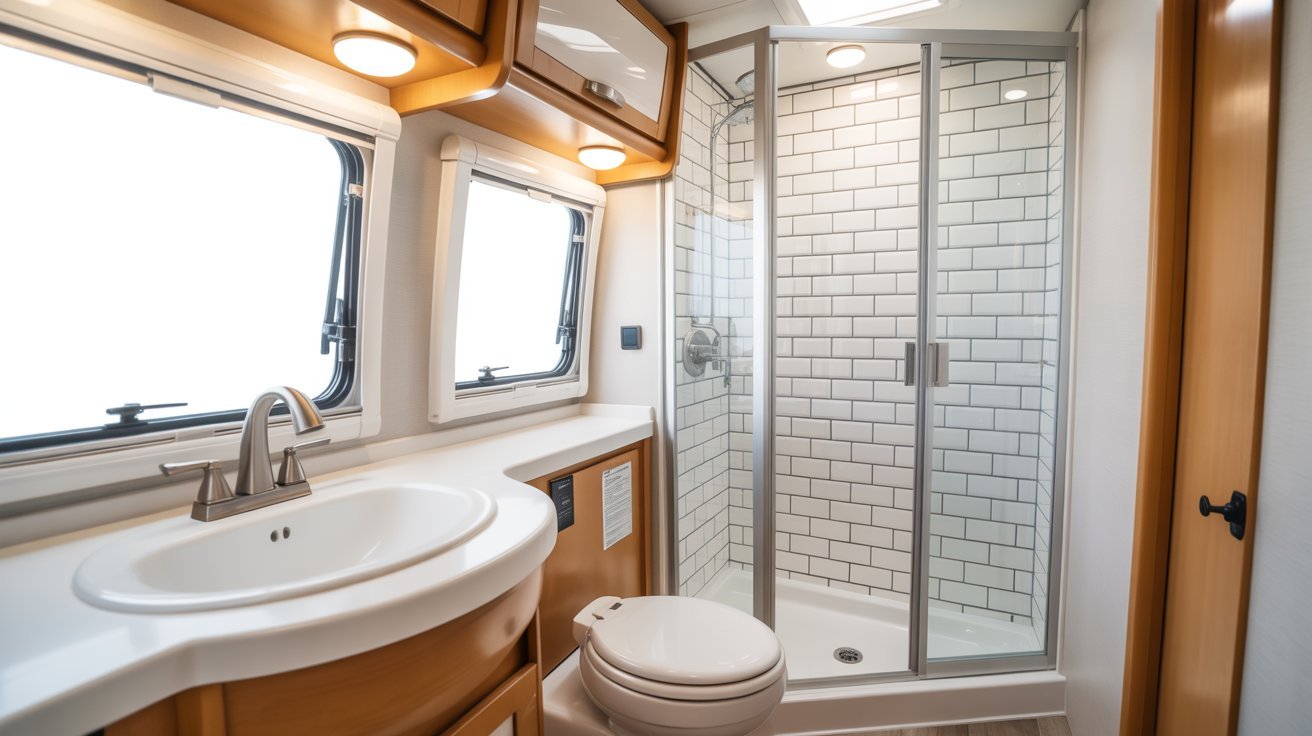
New fixtures, a fresh coat of paint, and a coordinated set of towels and accessories can completely change how the bathroom looks and feels.
12. Add Curtains, Rugs, and Cushions
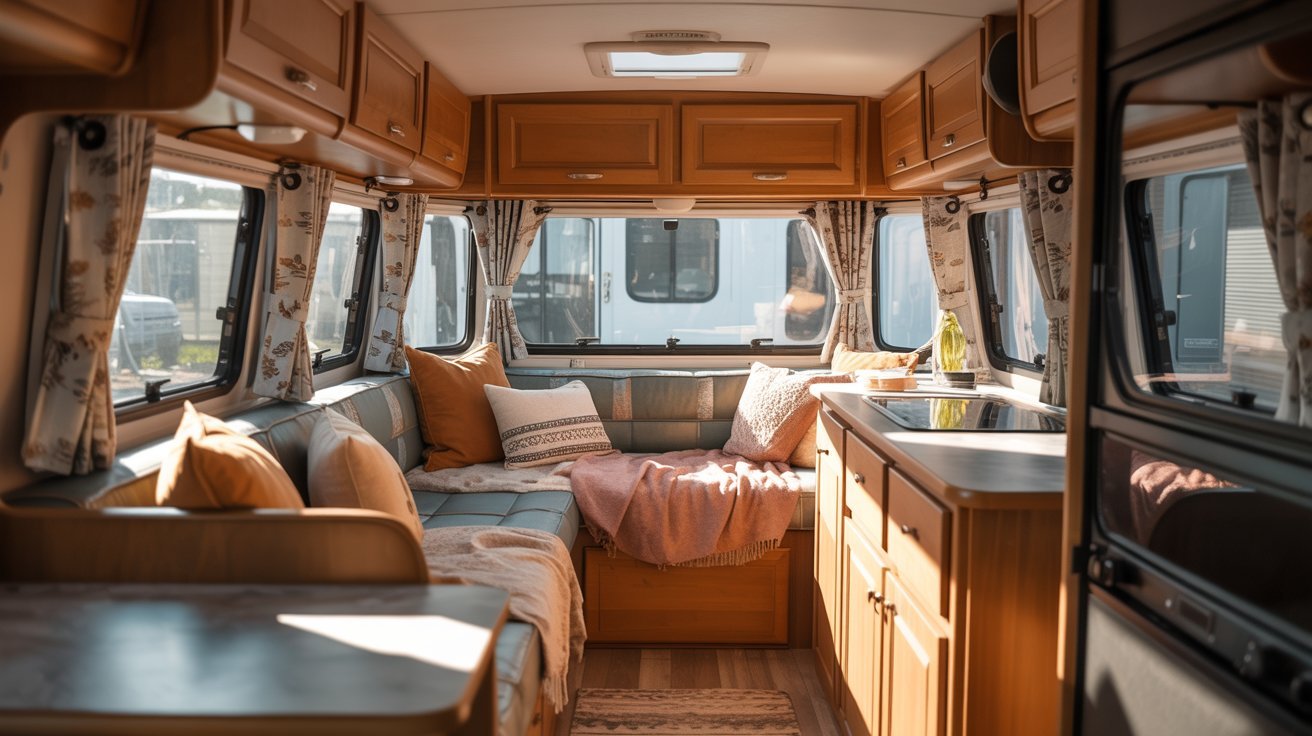
Soft furnishings add warmth. A small rug, some cushion covers, and curtains in a coordinating color make the space feel pulled together.
13. Install Smart Storage Solutions
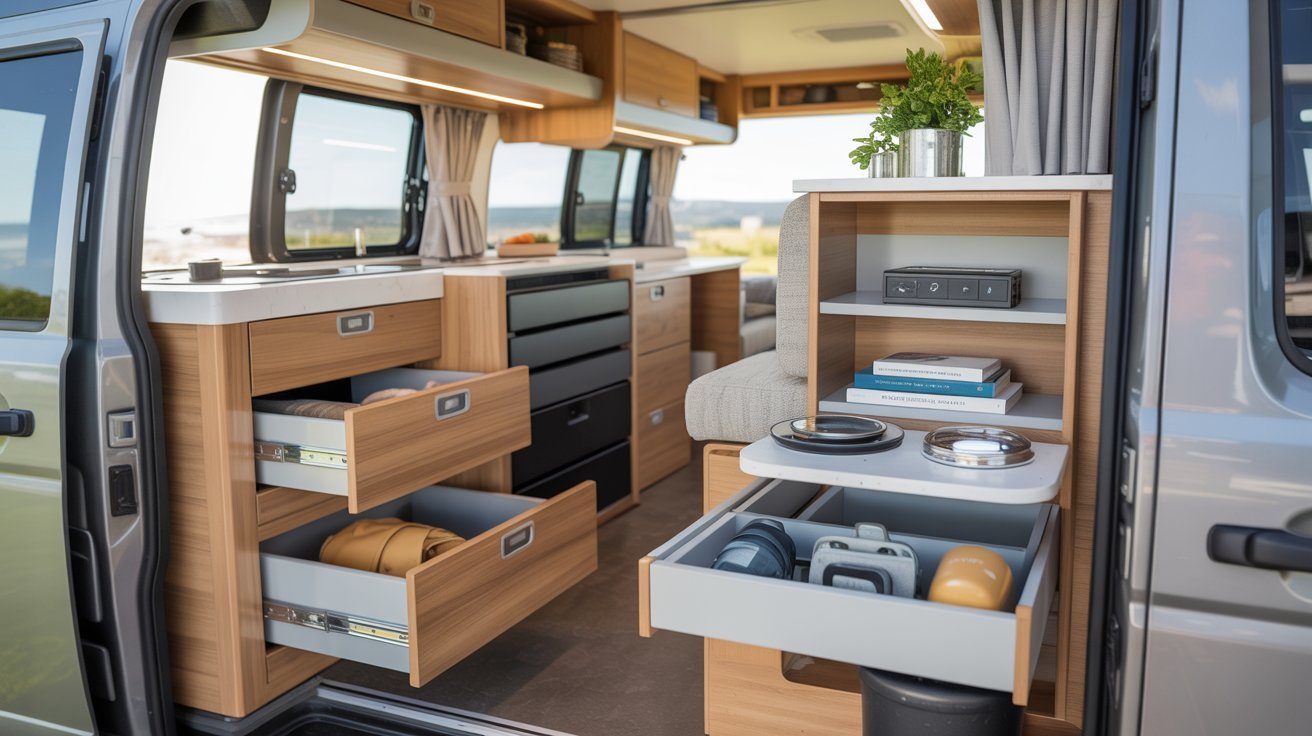
Use tension rods inside cabinets to hold lids. Add a magnetic knife strip. Use clear bins so you can see what’s inside. Small changes, big payoff.
14. Add Plants and Natural Decor
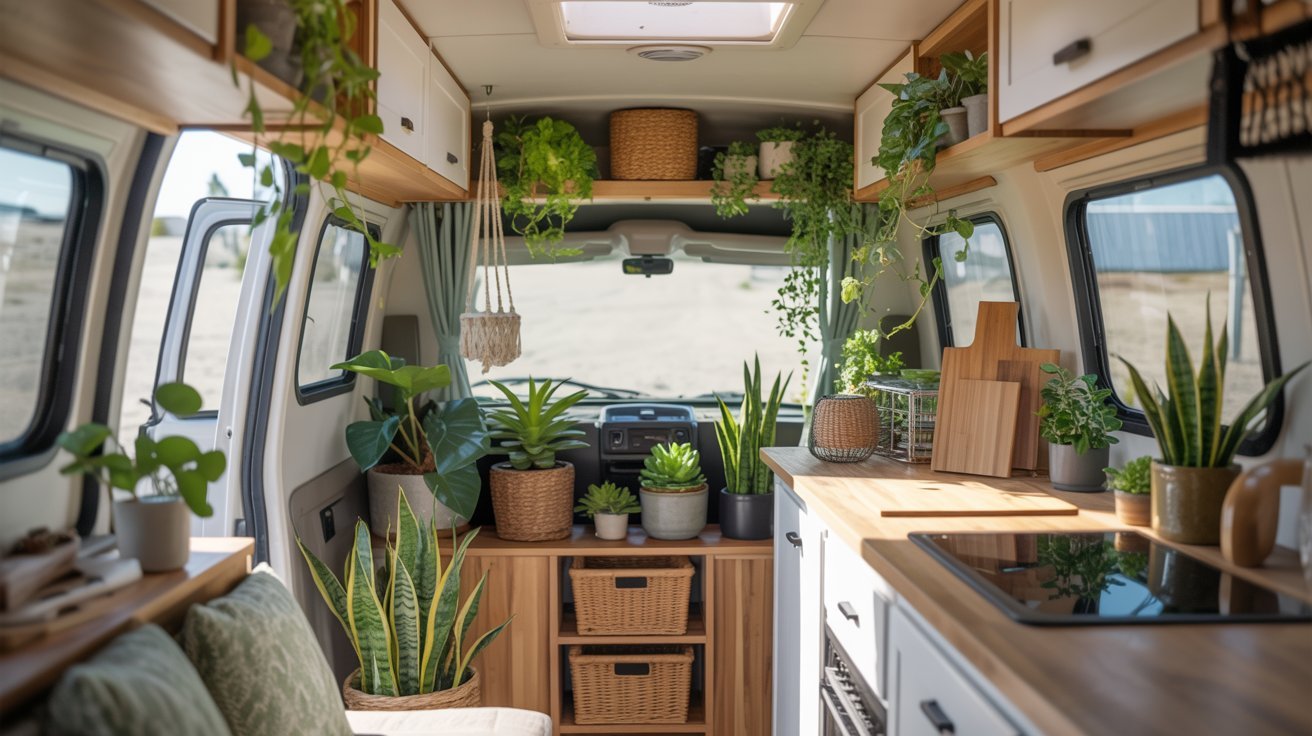
A small succulent or trailing plant adds life to the space. Use lightweight pots and make sure they won’t tip over while driving.
15. Try Budget-Friendly DIY Decor
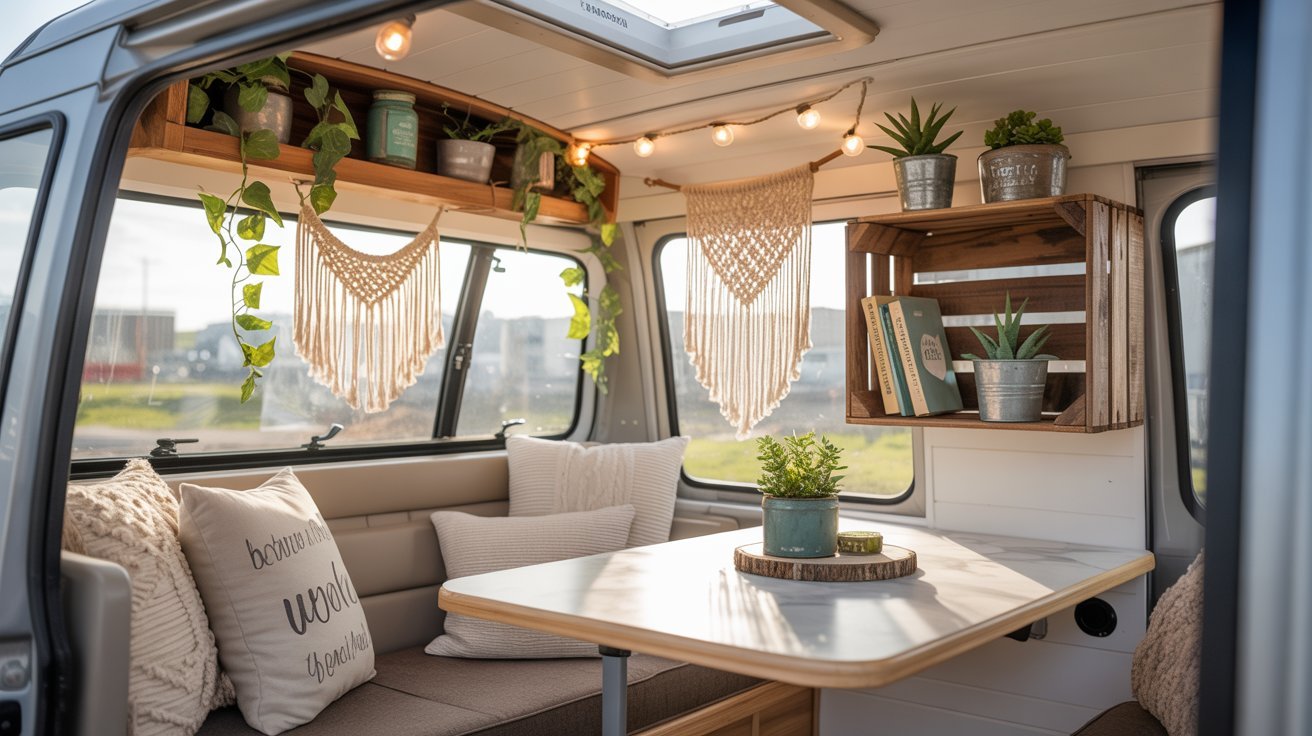
Make your own wall art. Paint an old tray. Reupholster cushion covers with fabric from a discount store. DIY decor adds personality without a big price tag.
RV Renovation Ideas on a Budget
You don’t need a big budget to make real changes inside your RV.
Focus on High-Impact Upgrades
Start with the changes that do the most work visually. Paint on walls and cabinets, new hardware, peel-and-stick flooring, updated lighting, and soft furnishings all make a big difference without a big price tag.
Use Affordable Materials
Peel-and-stick products are your best friend. They’re cheap, easy to install, and easy to remove if you change your mind. Thrift stores and discount home goods shops are great for decor finds.
DIY vs. Hiring
Do the cosmetic work yourself and save the skilled jobs for someone qualified. For electrical, plumbing, or structural repairs, bring in a professional. Cutting corners on safety-related work isn’t worth the risk.
Common RV Renovation Mistakes to Avoid
Avoid these common mistakes before you spend a single dollar.
Ignoring Weight Limits
Every RV has a weight limit. New flooring, furniture, and added storage all add up. Check your RV’s GVWR before adding heavy materials or furniture.
Poor Planning
Starting without a clear plan leads to mismatched finishes, wasted money, and half-finished projects. Write everything down before you buy a single thing.
Overspending Early
It’s easy to blow the budget on one area and have nothing left for the rest. Spread your budget across all sections and stick to it.
Tips for a Successful DIY RV Renovation
Keep these simple rules in mind and the whole process will go much smoother.
- Start with one section and finish it before moving to the next.
- Pick the lowest-cost, highest-impact projects first.
- Test paint and flooring samples before committing to anything.
- Check colors in both natural and artificial light before buying.
- Stick to two or three main colors throughout the whole RV.
- Keep patterns and textures simple so the space doesn’t feel chaotic.
Conclusion
RV renovation ideas don’t have to be complicated or costly.
Start with what bugs you most, maybe it’s the old flooring or the dark cabinets and go from there.
I genuinely believe small changes make the biggest difference in how a space feels day to day. You don’t need a massive budget or professional skills to pull this off.
Just a clear plan and a willingness to try. Have you started your RV makeover yet? Drop a comment and tell me what you’re working on I’d love to hear!
Frequently asked questions
What is the easiest RV renovation idea?
Painting the cabinets is one of the simplest ways to refresh an RV interior. It requires minimal tools, costs very little, and makes a noticeable difference right away.
How much does a DIY RV renovation cost?
A basic DIY renovation can cost anywhere from $500 to $3,000, depending on how much you change. Sticking to paint, flooring, and hardware keeps costs low.
Can beginners renovate an RV?
Yes, absolutely. Start with beginner-friendly projects like painting, swapping hardware, or laying peel-and-stick flooring. These don’t require advanced skills and deliver great results.
What adds the most value to an RV renovation?
Updated flooring, fresh cabinet paint, and improved lighting tend to have the highest impact. These upgrades make the space look newer and feel more comfortable.
How long does it take to renovate an RV?
A basic refresh can be done on a weekend. A full renovation covering multiple areas kitchen, bathroom, flooring, and electrical can take several weeks depending on your pace and skill level.