Installing a backsplash in the kitchen sounds intimidating, but it does not have to be.
This guide covers every step, from picking the right tiles to finishing the grout. I have included the tools you need, mistakes to avoid, and tips that make the job easier.
I have helped many homeowners get this right on their first try. You will learn how to plan, prep, and install like a pro, even if you have never done it before. By the end, you will feel ready to start.
What Is a Backsplash in the Kitchen
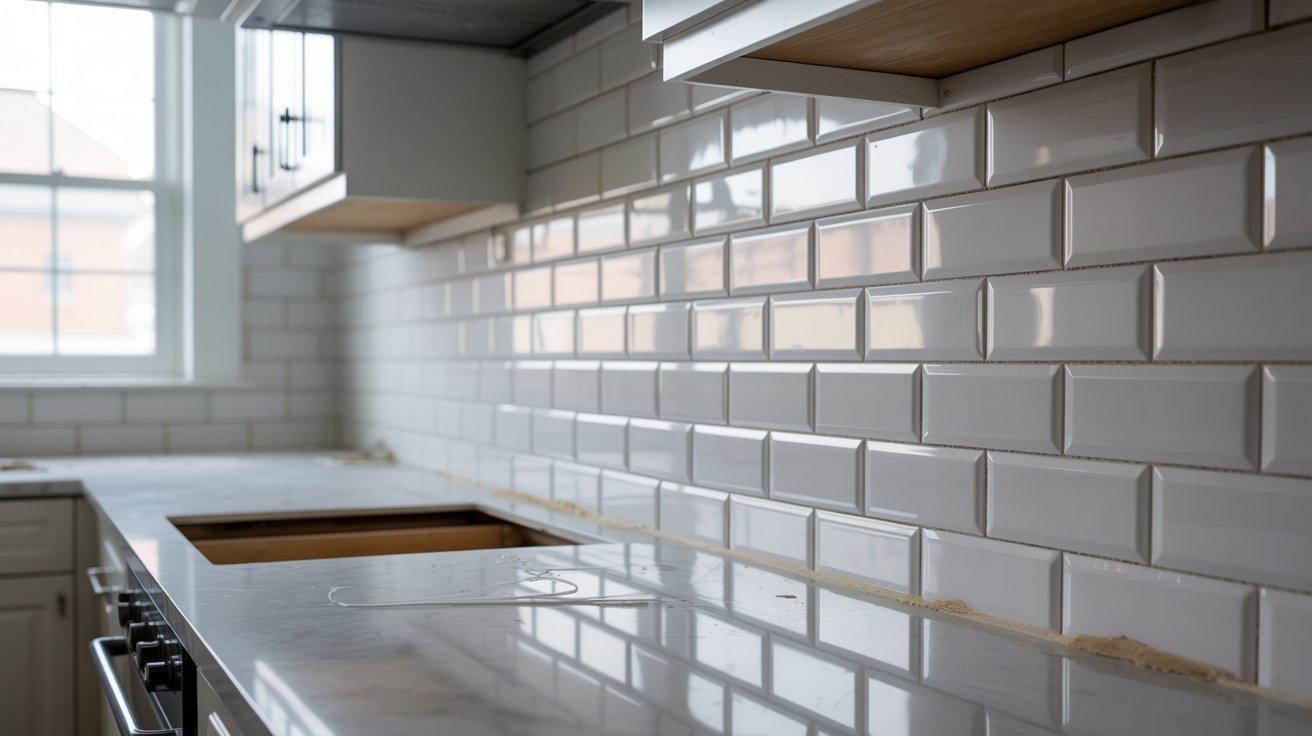
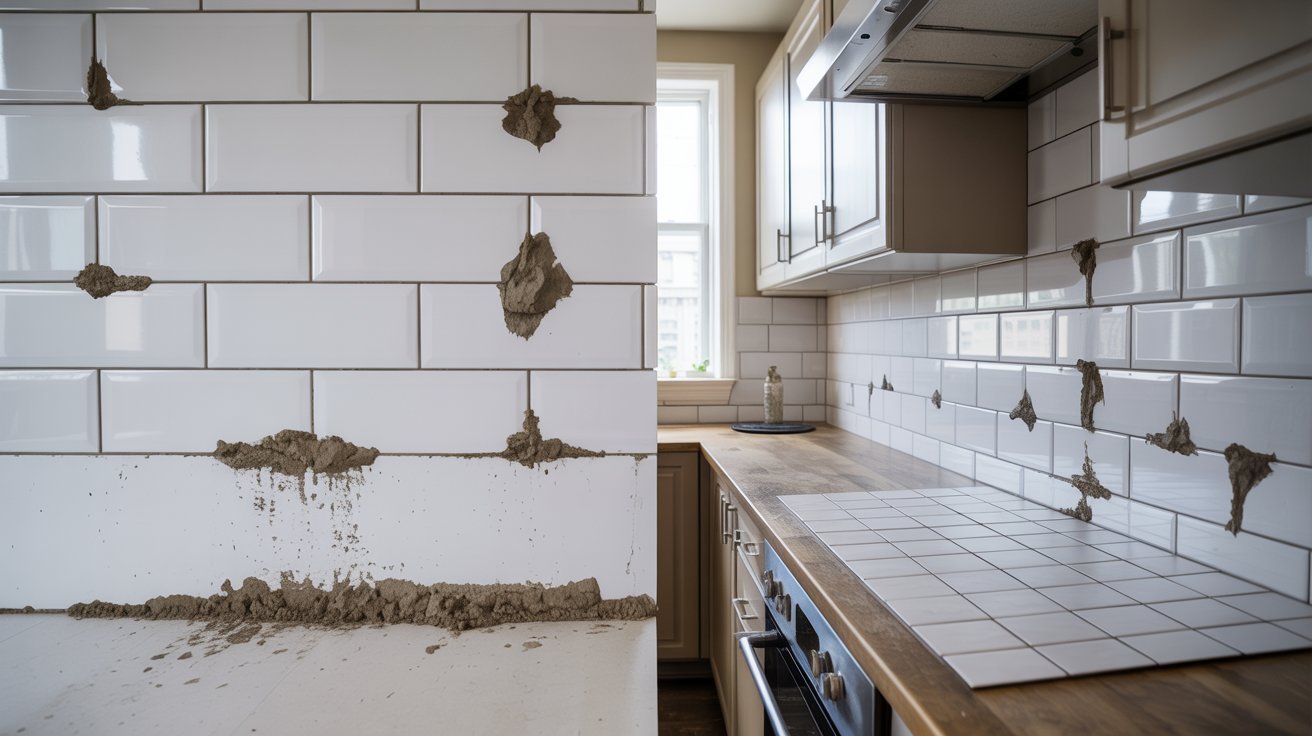
A backsplash is a wall covering installed between your countertop and cabinets. Here is why it matters.
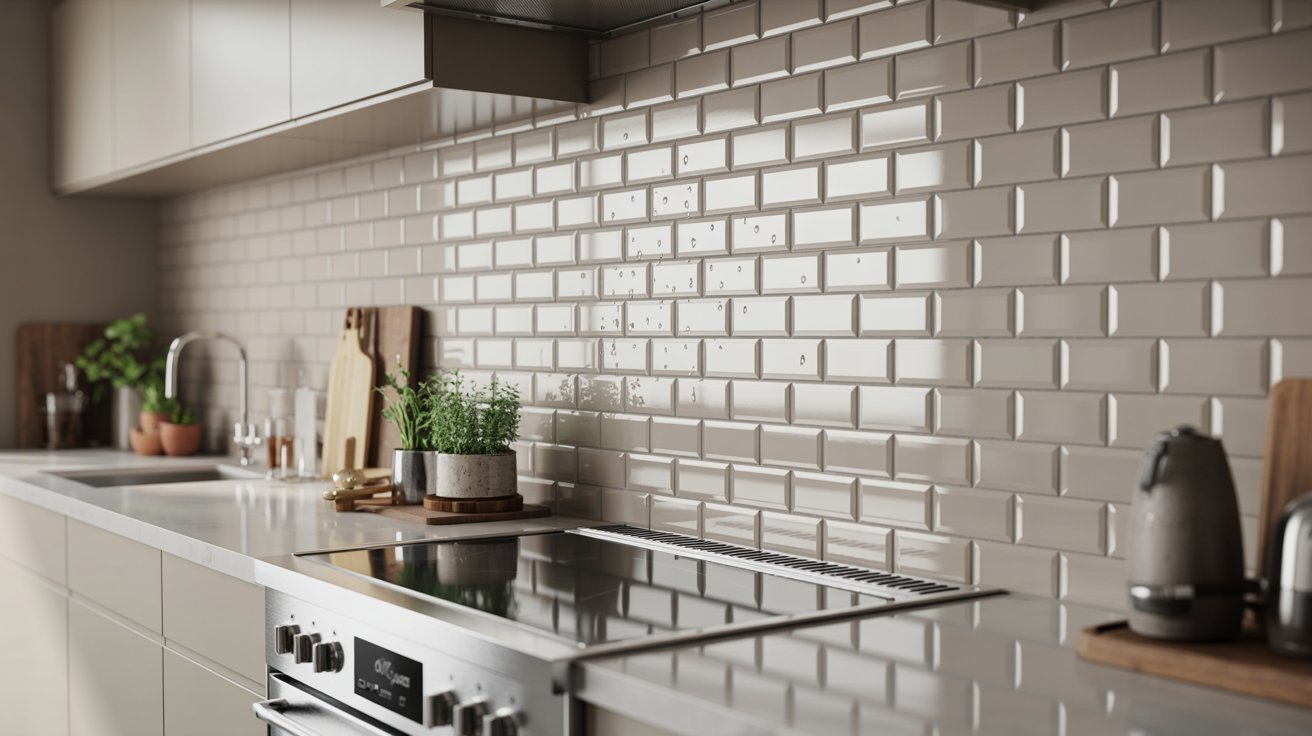
A kitchen backsplash protects your walls from water, grease, and food splashes. It also adds a finished look to the space. Most backsplashes sit behind the stove or sink, where walls take the most damage.
Beyond protection, a backsplash pulls the kitchen design together. It is both a practical upgrade and a visual one. Whether you go with classic subway tiles or peel-and-stick options, the result makes a noticeable difference.
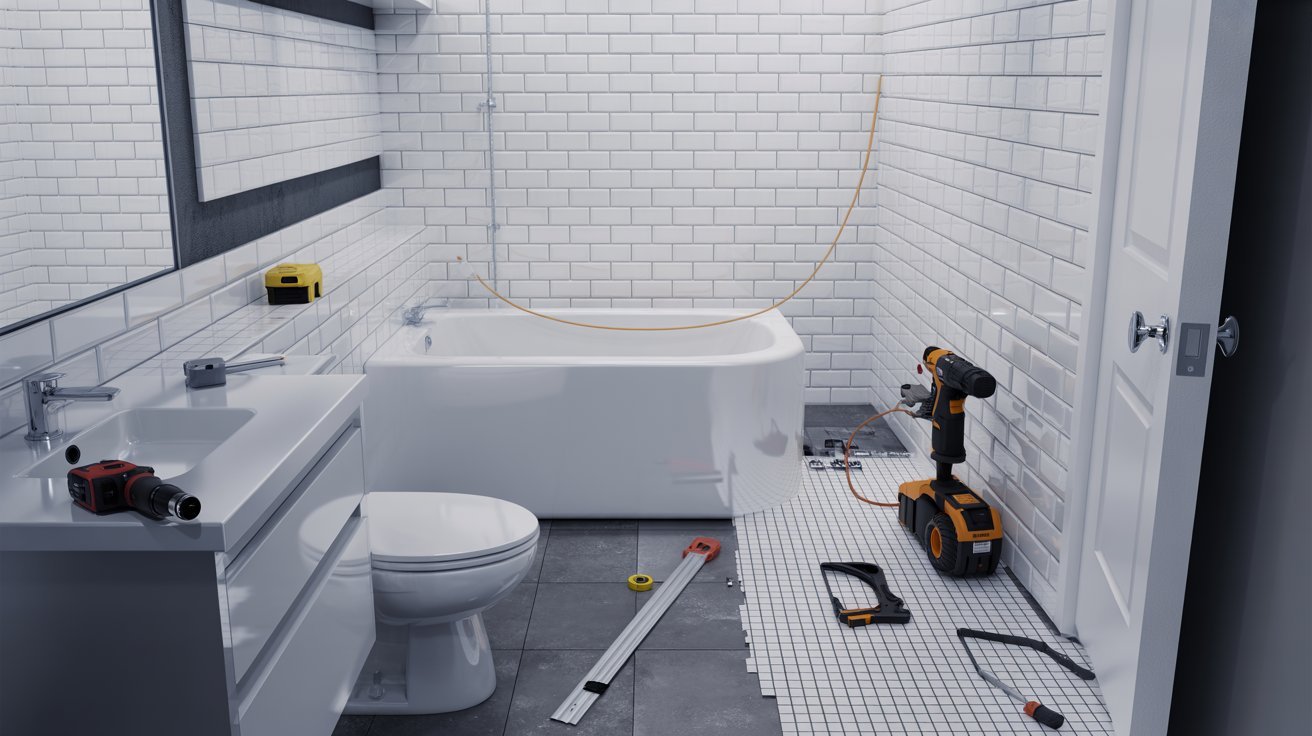
Tools and Materials for Installing a Backsplash in the Kitchen
Having the right tools before you start saves time and avoids frustration later.
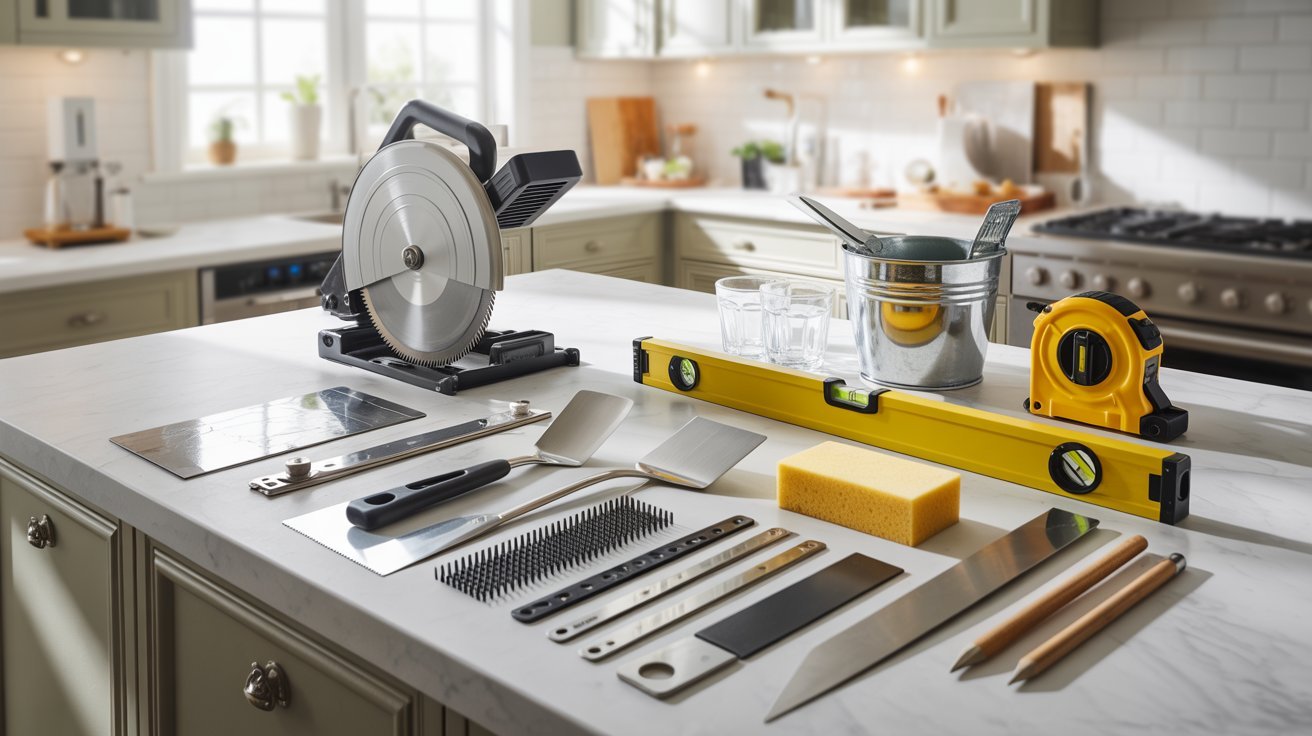
Essential Tools
You will need a tile cutter or wet saw, a level, measuring tape, a notched trowel, a grout float, tile spacers, a sponge and bucket, a utility knife, and a pencil or marker.
Required Materials
Pick up your tiles, thin-set mortar or tile adhesive, grout, caulk, and grout sealer before you begin. Having everything ready saves you from stopping mid project.
Optional: Peel and Stick Tiles
Peel and stick tiles skip the mortar and grout entirely. They work best on smooth, clean walls and are a great pick for beginners.
How to Install a Backsplash in the Kitchen Step by Step
Installing a kitchen backsplash is easier than you think. This step by step guide walks you through the whole process.
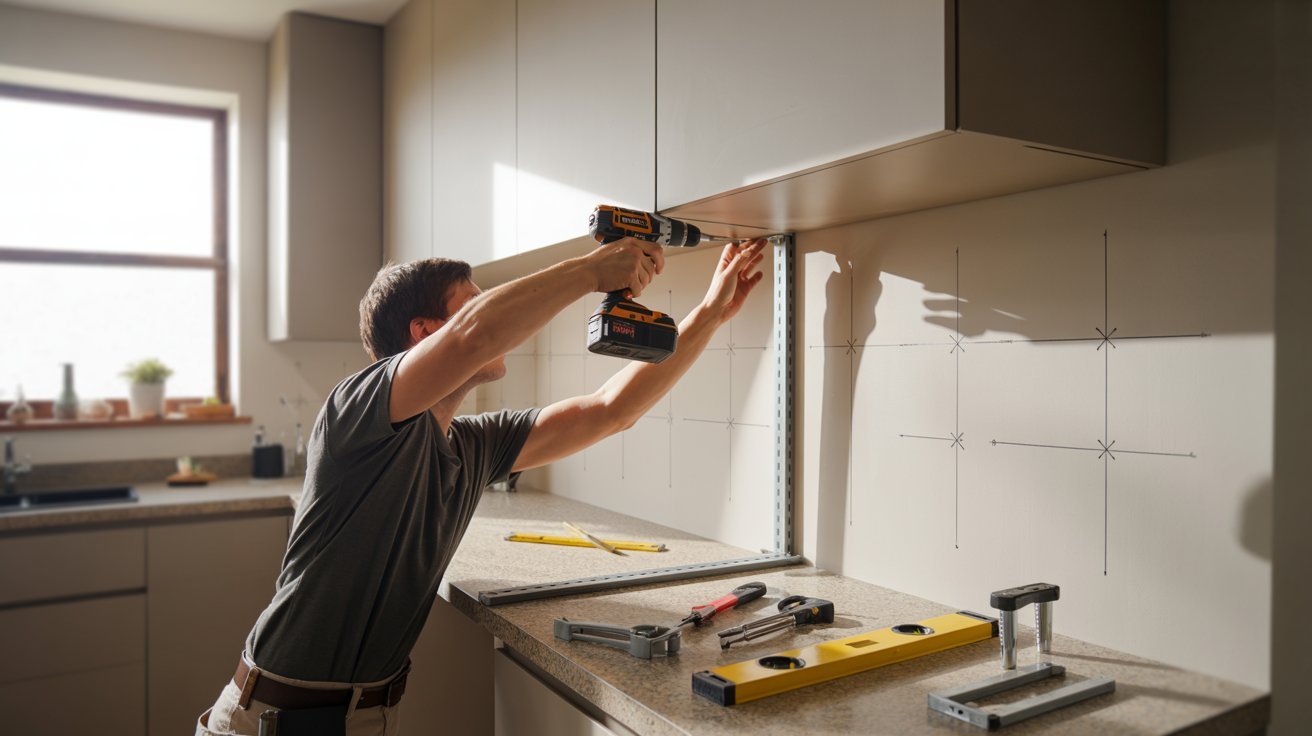
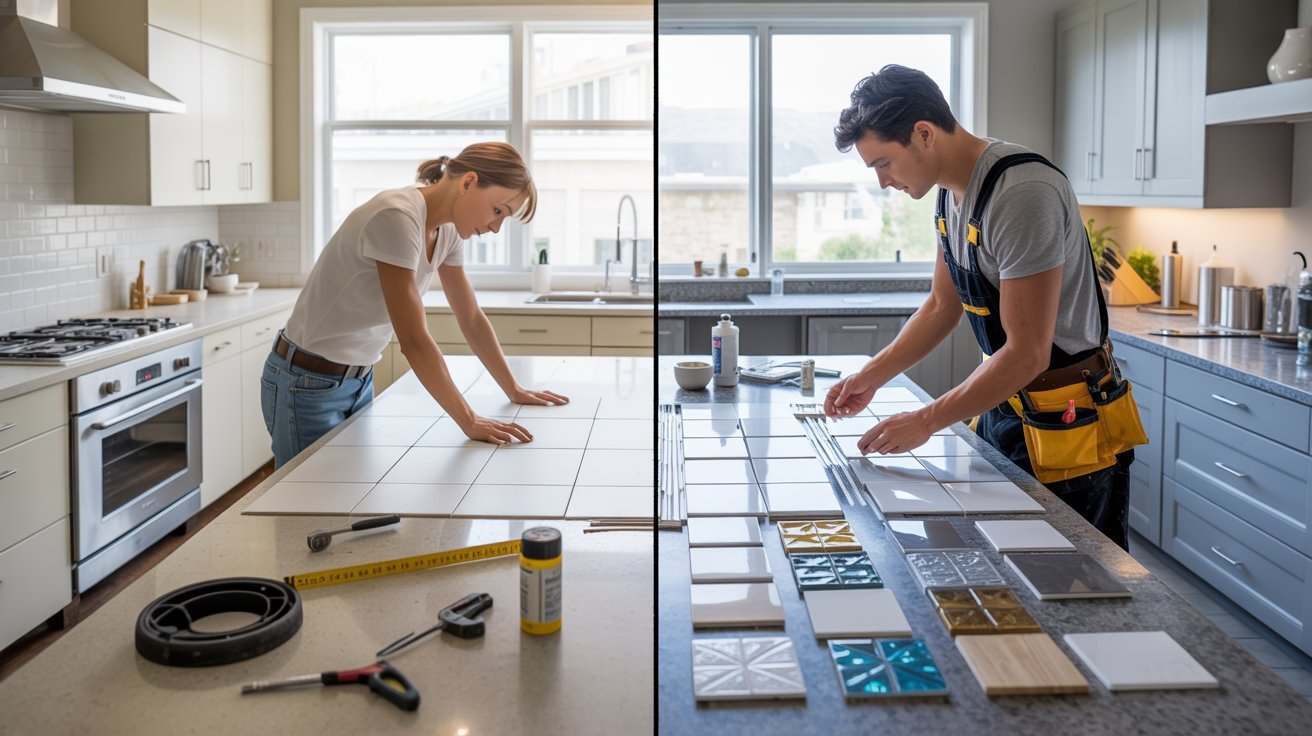
Step 1: Plan the Tile Layout
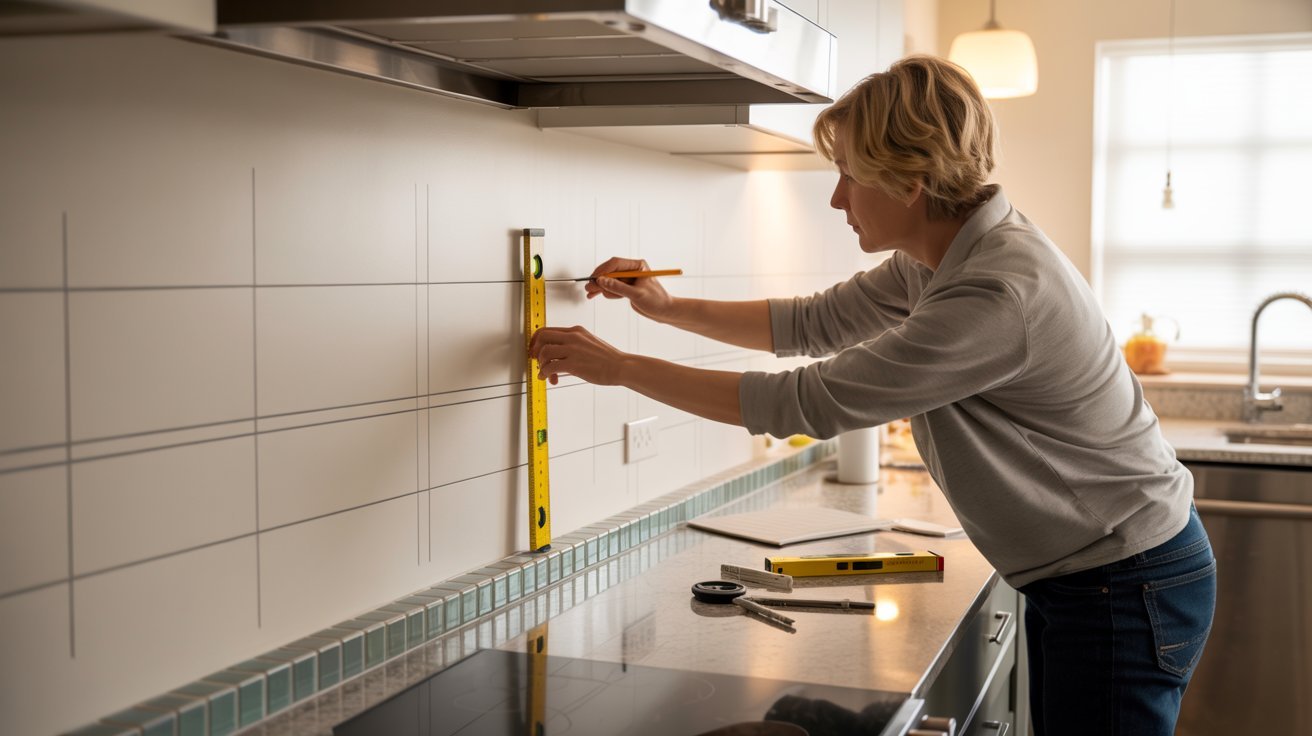
Find the center point of your wall. Draw vertical and horizontal guidelines using a pencil and level. Dry fit a row of tiles before applying adhesive to check alignment and adjust for edge cuts.
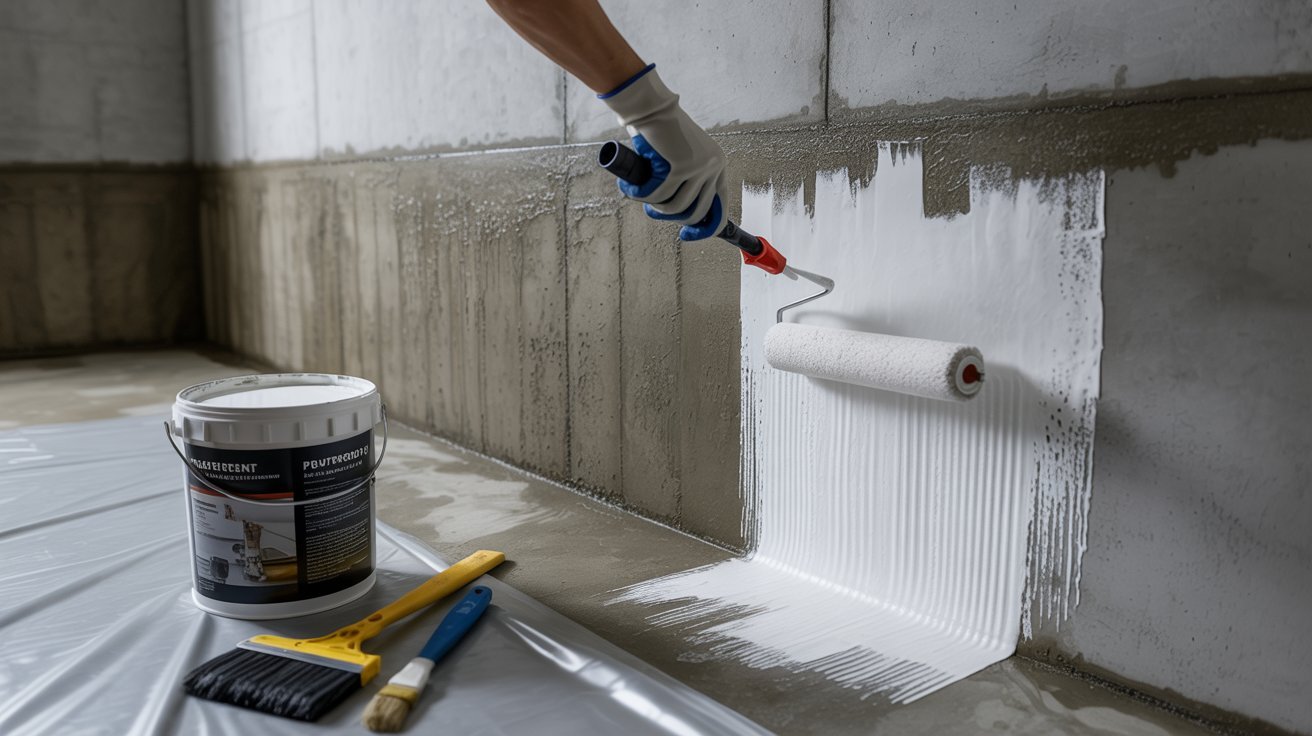
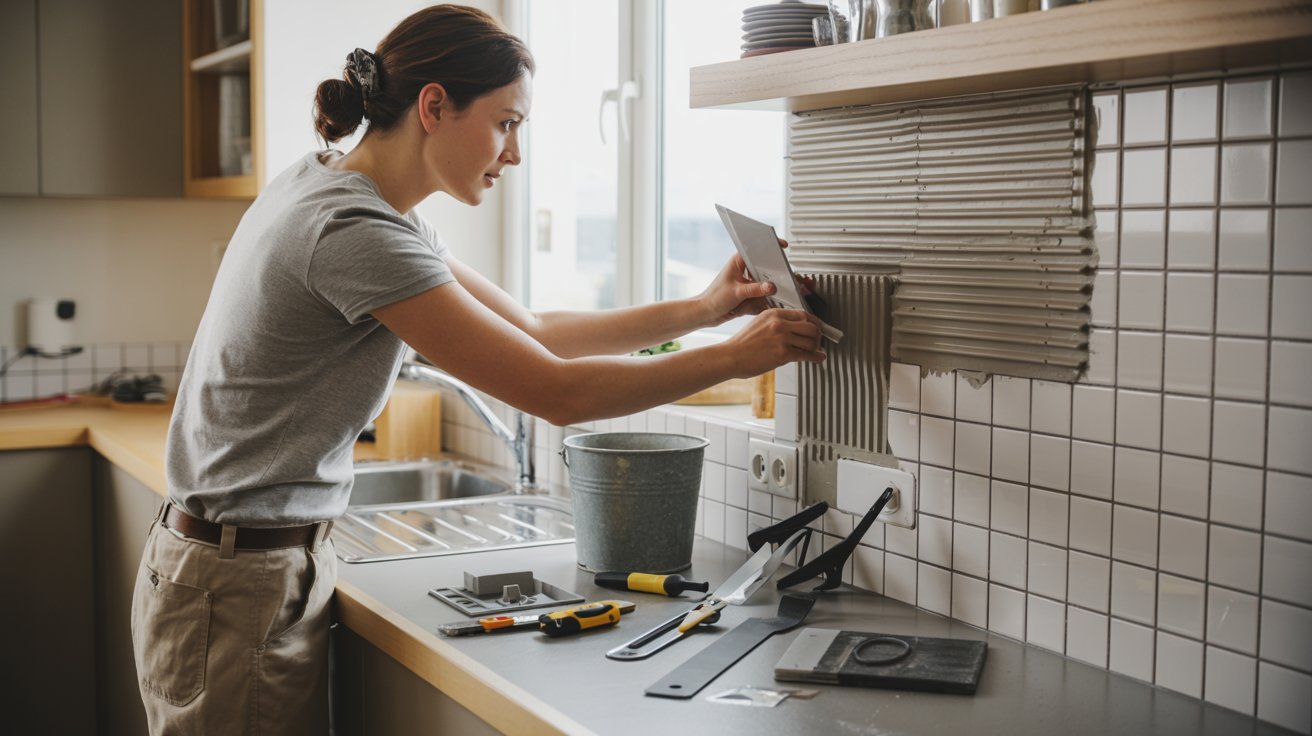
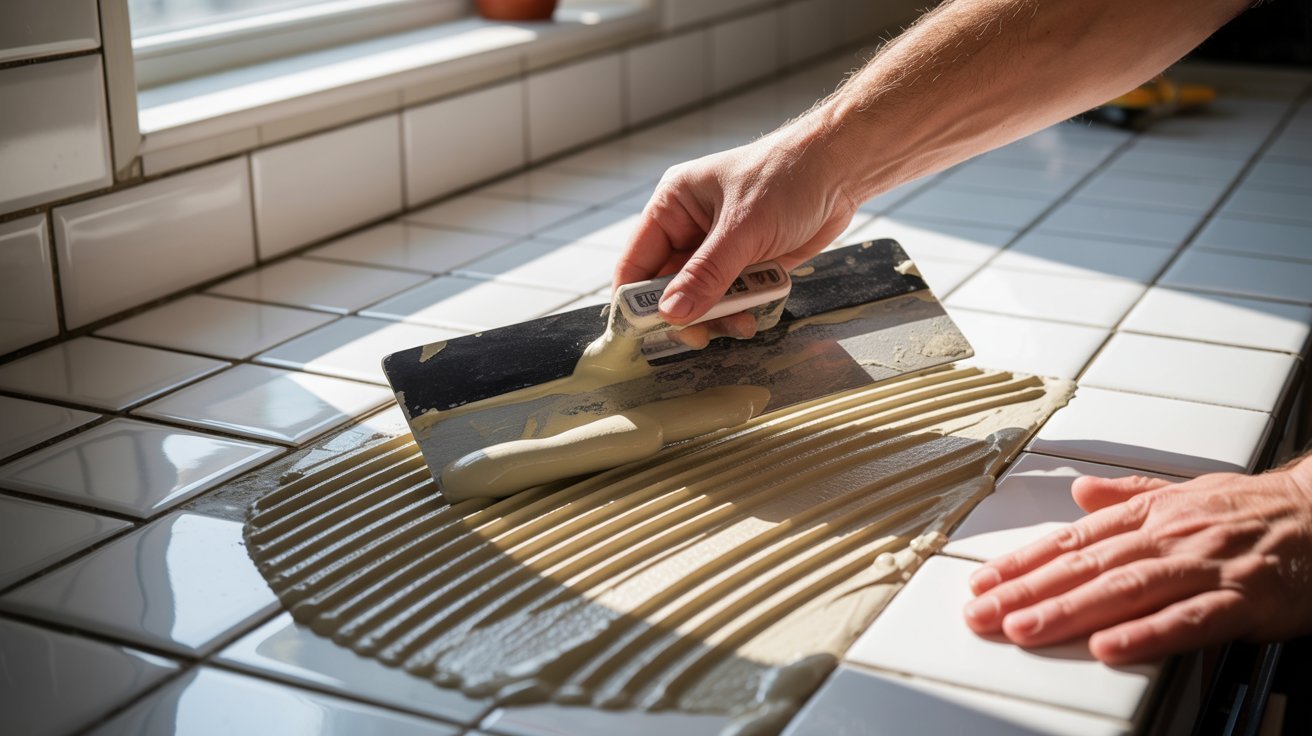
Step 2: Apply Mortar or Adhesive
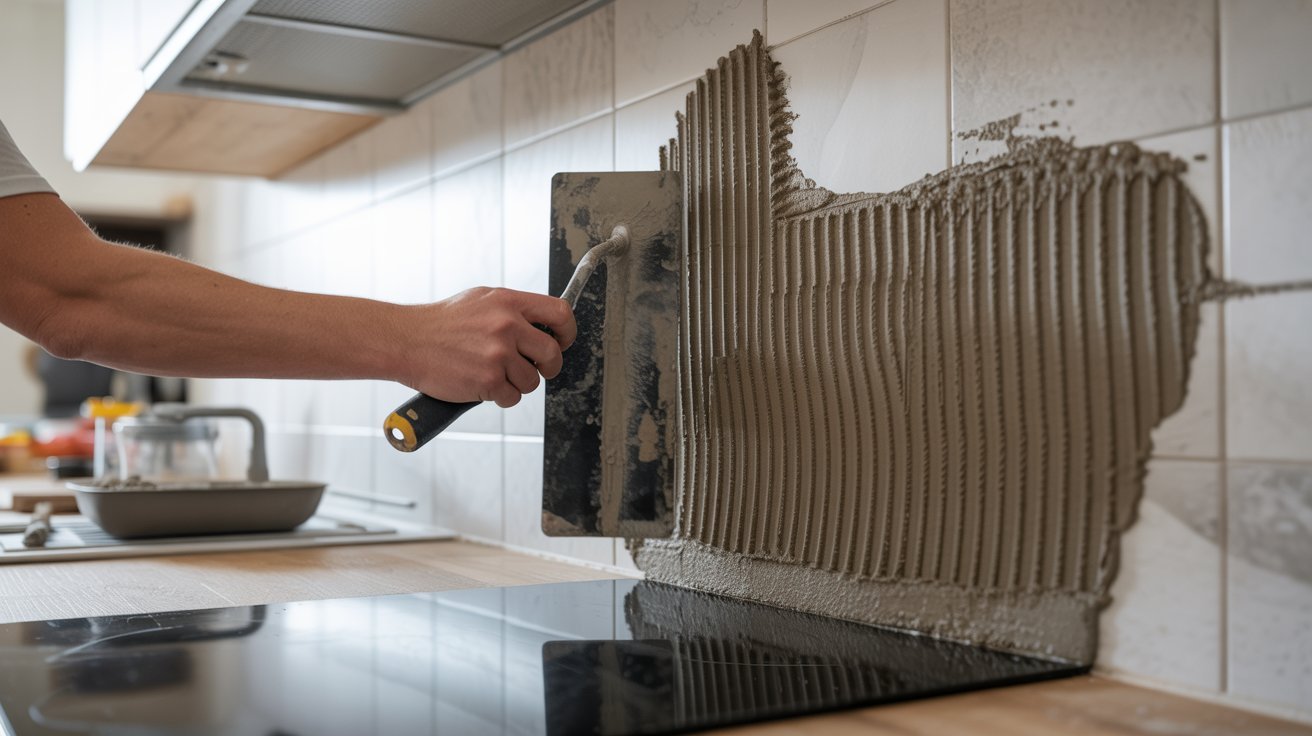
Spread thin-set mortar using a notched trowel at a 45 degree angle. Work in small two to three square foot sections so the mortar does not dry out before you place tiles.
Step 3: Install the Tiles
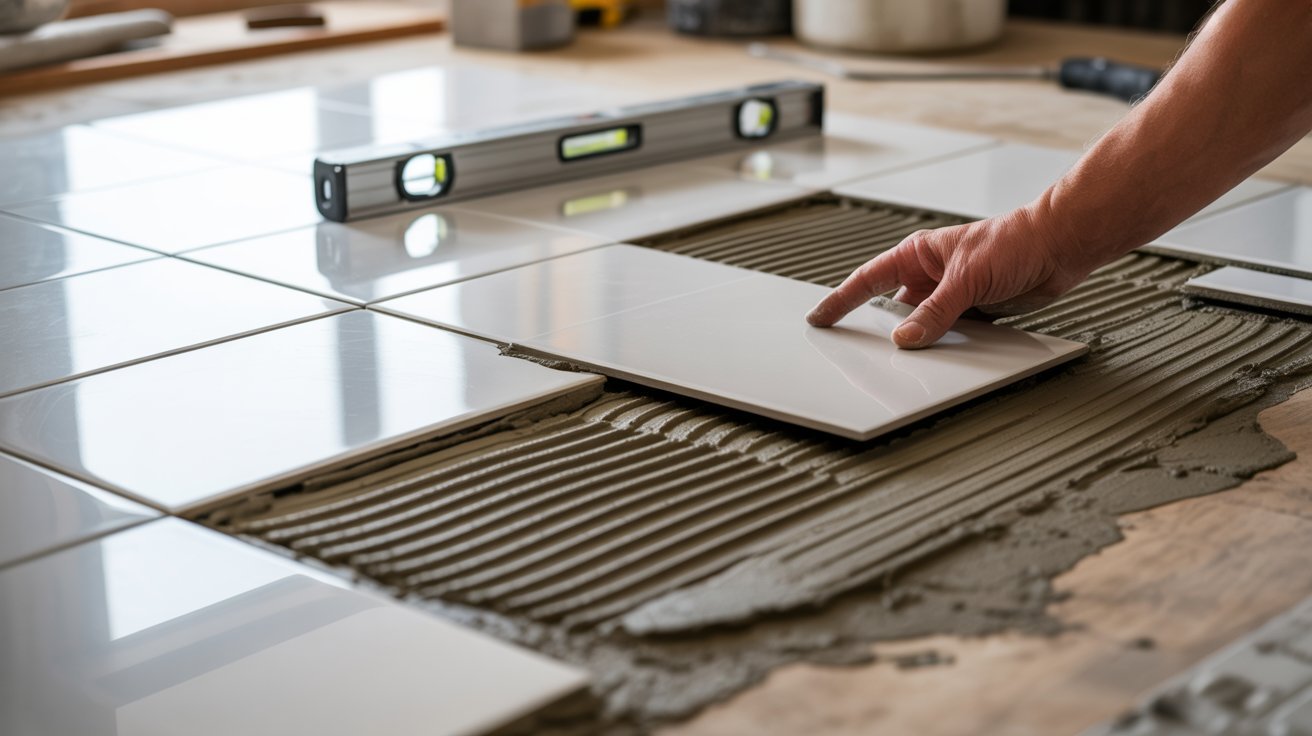
Press each tile firmly into the mortar with a slight twist. Place spacers between tiles to keep gaps even. Use your level often and step back to check alignment as you go.
Step 4: Cut Tiles for Edges and Corners
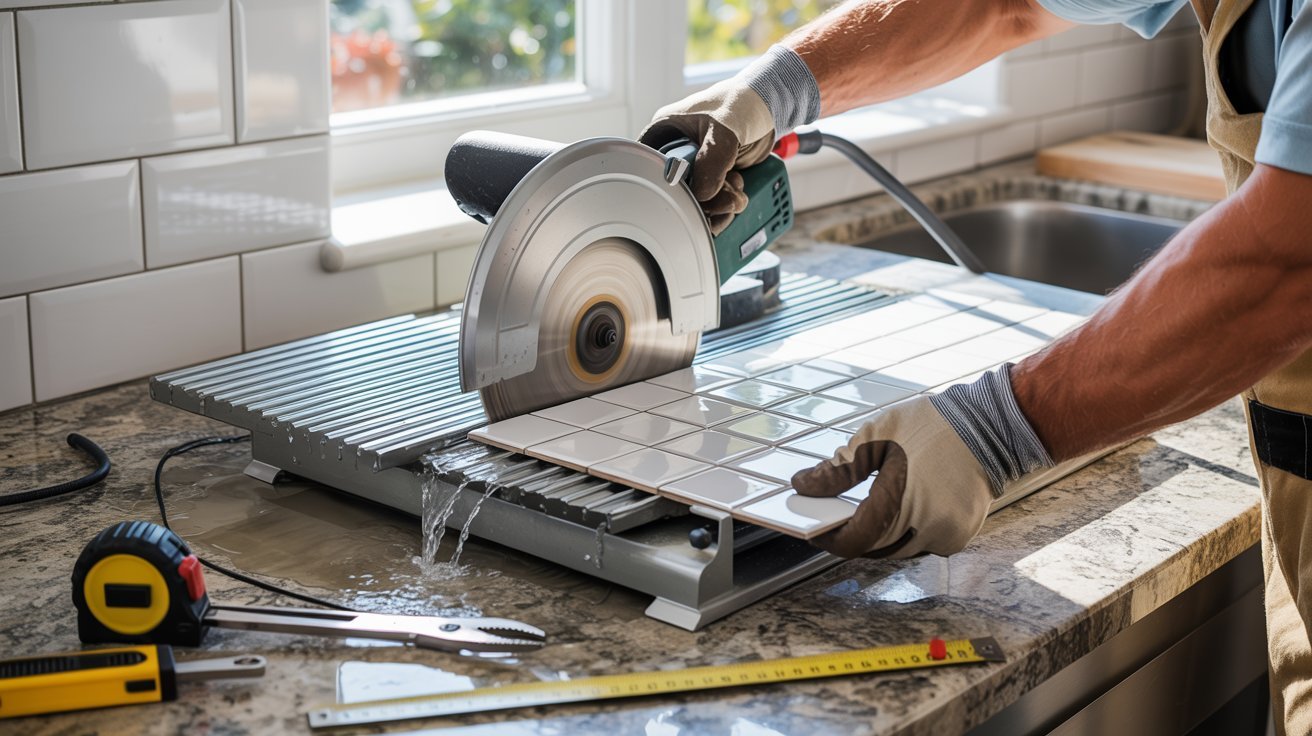
Use a tile cutter or wet saw for straight cuts. Use tile nippers for curves near outlets. Measure each cut individually and smooth rough edges with a tile file before placing.
Step 5: Let Tiles Set and Dry
Leave tiles untouched for 12 to 24 hours. Do not grout until the mortar has fully cured.
Step 6: Apply Grout Evenly
Remove spacers. Press grout into joints using a rubber float at a 45 degree angle. Work diagonally across the tiles to fill every gap completely.
Step 7: Clean Tiles and Remove Grout Haze
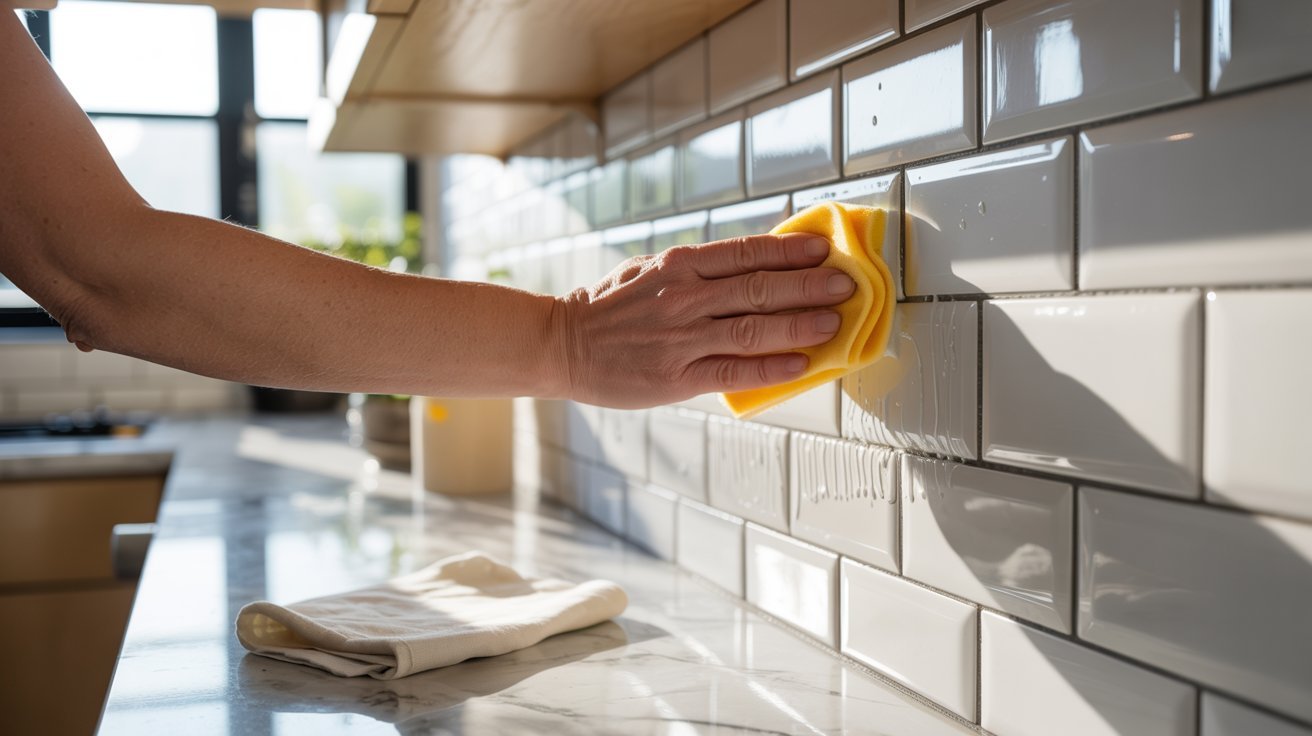
Wipe tiles with a damp sponge after 15 to 20 minutes. Once fully dry, buff off any white haze with a dry cloth or grout haze remover.
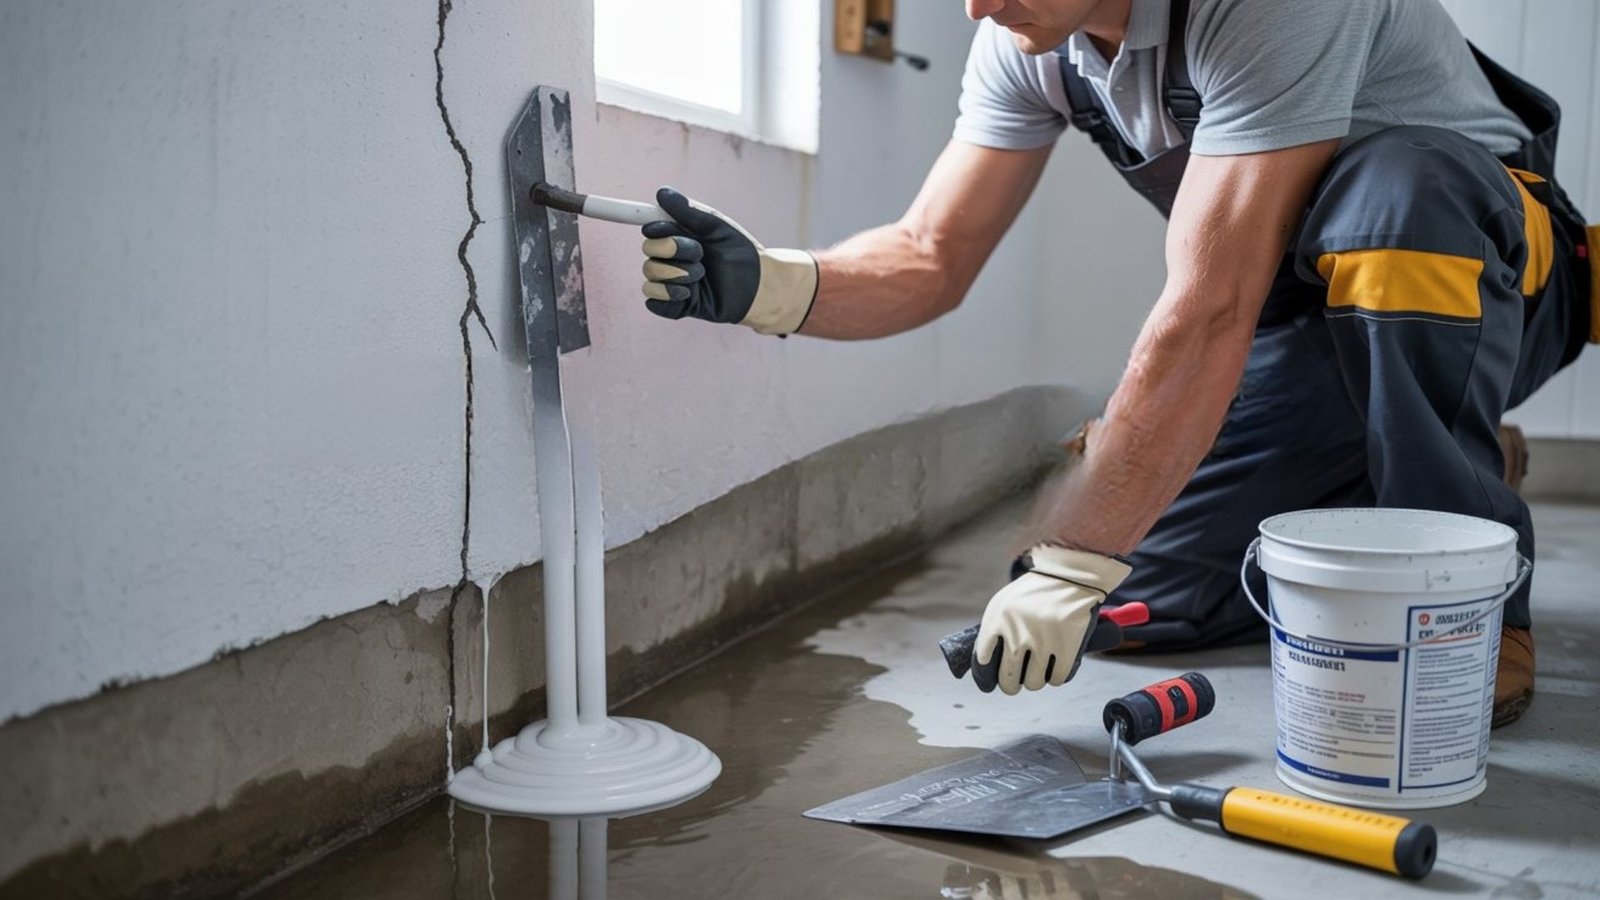
Step 8: Seal and Finish the Backsplash
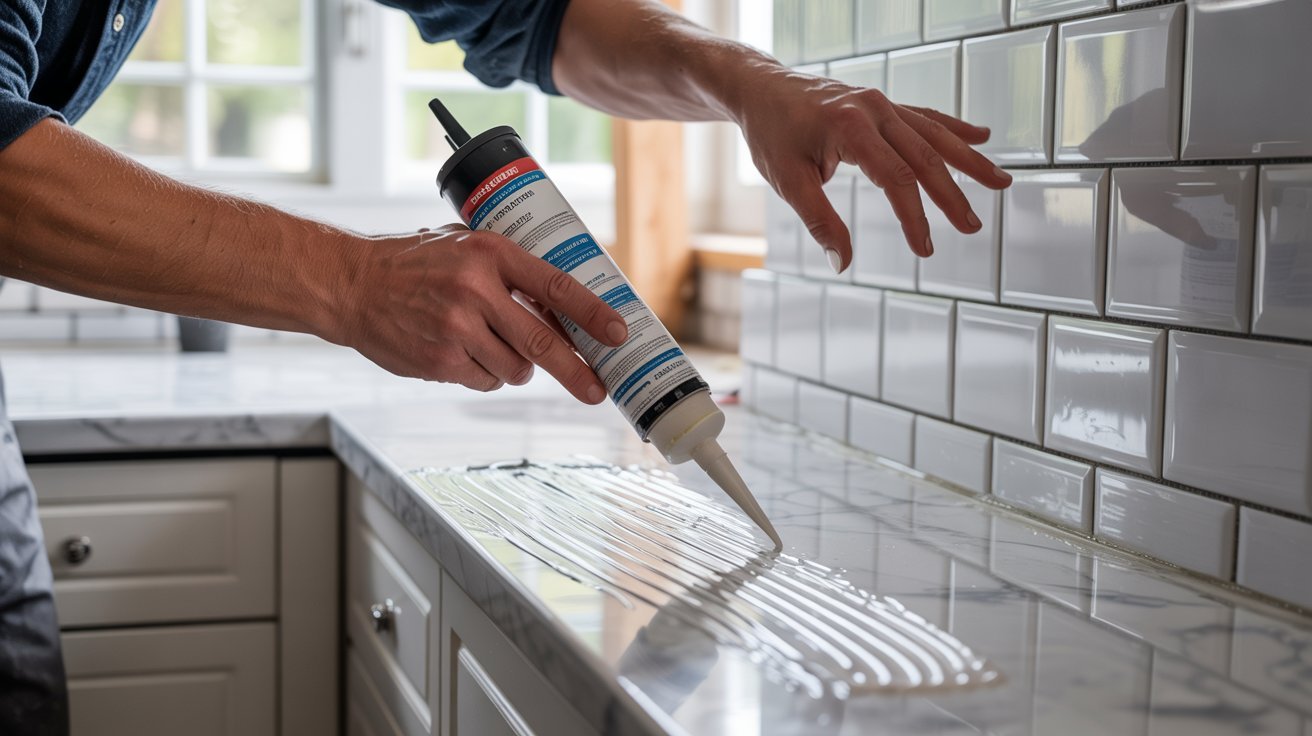
Apply grout sealer after 48 to 72 hours. Caulk edges where the backsplash meets the countertop and cabinets to block moisture.
Common Mistakes When Installing a Backsplash in the Kitchen
Avoiding these mistakes can save you time, money, and a lot of frustration.
Planning and Measurement Mistakes
Not measuring correctly leads to buying too few tiles or running out mid project. Always double check your numbers and add extra for cuts and waste. Skipping layout planning can also leave you with awkward cuts at the edges.
Installation Mistakes
Not using tile spacers leaves you with uneven grout lines. Applying too much mortar at once is another problem if it dries before you place the tiles, they will not stick properly.
DIY Beginner Mistakes
Cutting tiles without the right tools leads to chipped, uneven edges. Always invest in a quality tile cutter and buy 10 to 15 percent more tiles than your measurements call for.
How Much Does It Cost to Install a Backsplash in the Kitchen
Knowing the cost upfront helps you plan your budget and avoid surprises.
DIY vs Professional Cost
Doing it yourself costs less since you only pay for materials. Hiring a professional costs more but saves time and gives you a polished finish without the guesswork.
Material Cost Breakdown
Ceramic tiles are the most budget-friendly option and work well for most kitchens. Glass and stone tiles cost more but offer a higher-end look and better durability.
Labor Cost Factors
Professionals typically charge per square foot for installation. Extra costs can come from removing an old backsplash, prepping the wall surface, or dealing with complex layouts around outlets and corners.
Expert Tips for Installing a Backsplash in the Kitchen
These small habits separate a smooth install from a stressful one.
- Always use a level, even one slightly off, tile throws the whole row out of alignment
- Work in small sections so the mortar does not dry out before you place tiles
- Use white mortar under light colored or glass tiles to avoid dark patches showing through
- Buy 10 to 15 percent extra tiles before you start matching dye lots, as it can be difficult later
- Pre-seal natural stone tiles before grouting to prevent staining
Conclusion
Installing a backsplash in the kitchen is one of those projects that feels big at first but gets easier once you start. I remember feeling unsure before my first tile project but working through each step made it all click.
You now have everything you need to do this right. Take it one step at a time, do not rush the drying stages, and trust the process.
If this guide helped you, drop a comment below and share how your backsplash turned out. I would love to hear about it!
Frequently asked questions
How to install a backsplash in the kitchen for beginners?
Start with peel and stick tiles for the easiest experience. If using mortar, plan your layout first, work in small sections, and use tile spacers for even gaps.
How long does it take to install a backsplash?
Most DIY installs take one to two days. Tile setting takes a few hours, but you need 12 to 24 hours for the mortar to cure before grouting.
Can I install a backsplash directly on drywall?
Yes, you can install a backsplash on drywall in dry areas. For areas near the sink or stove, use moisture-resistant drywall or cement board for better durability.
What is the easiest backsplash to install?
Peel-and-stick tiles are the easiest option for beginners. They require no mortar or grout and can be installed in a few hours with basic tools.
Do I need to seal my backsplash after installation?
Yes, sealing the grout is recommended. It protects against moisture and stains and keeps the backsplash looking clean longer. Apply sealer after the grout has cured for at least 48 to 72 hours.