I’ve been there – standing in a damp basement, staring at wet walls and wondering what to do next. If you’re dealing with the same thing, you’re in the right spot.
This guide covers waterproofing basement walls from inside in a way that actually makes sense. No fluff, no contractor jargon. Just clear, simple steps you can follow at home. I’ll walk you through prep, crack repair, sealing, and drainage solutions that work.
I’ve done this myself and seen real results, so you can trust what’s here. Let’s get your basement dry for good.
What You Need to Know Before Waterproofing Basement Walls From Inside
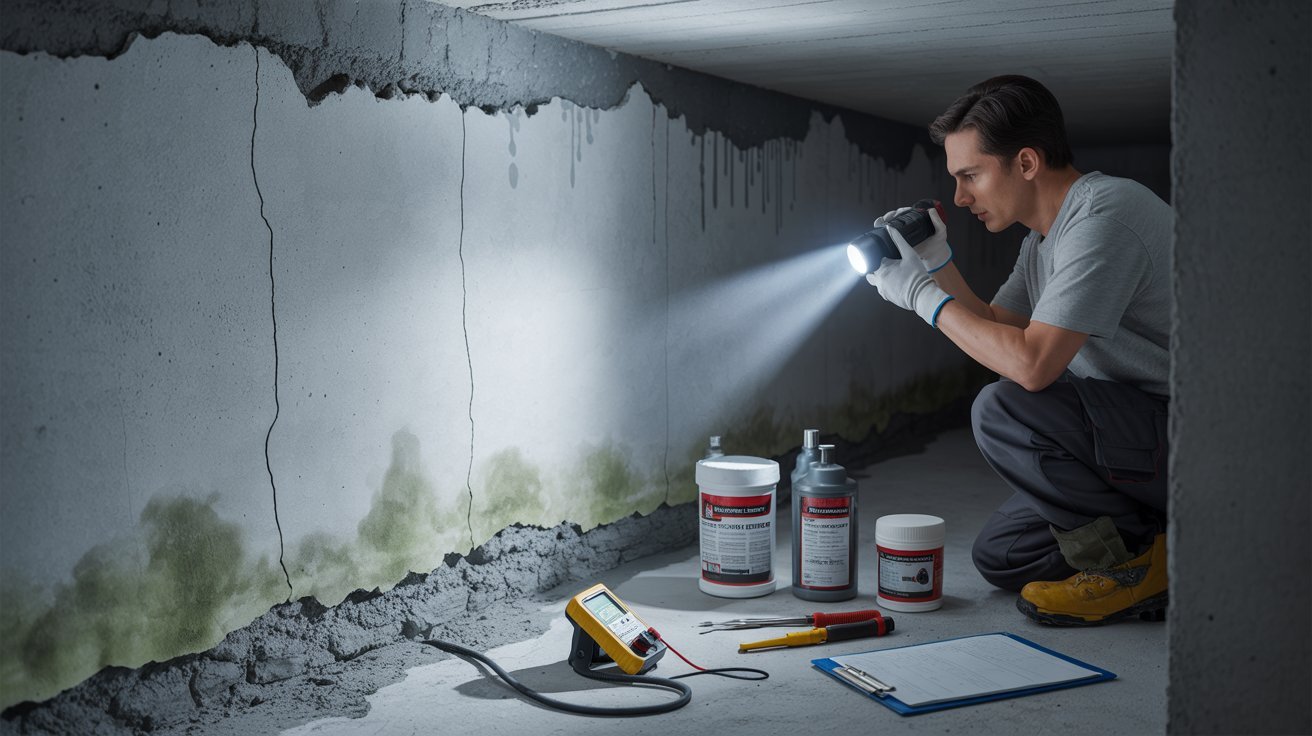
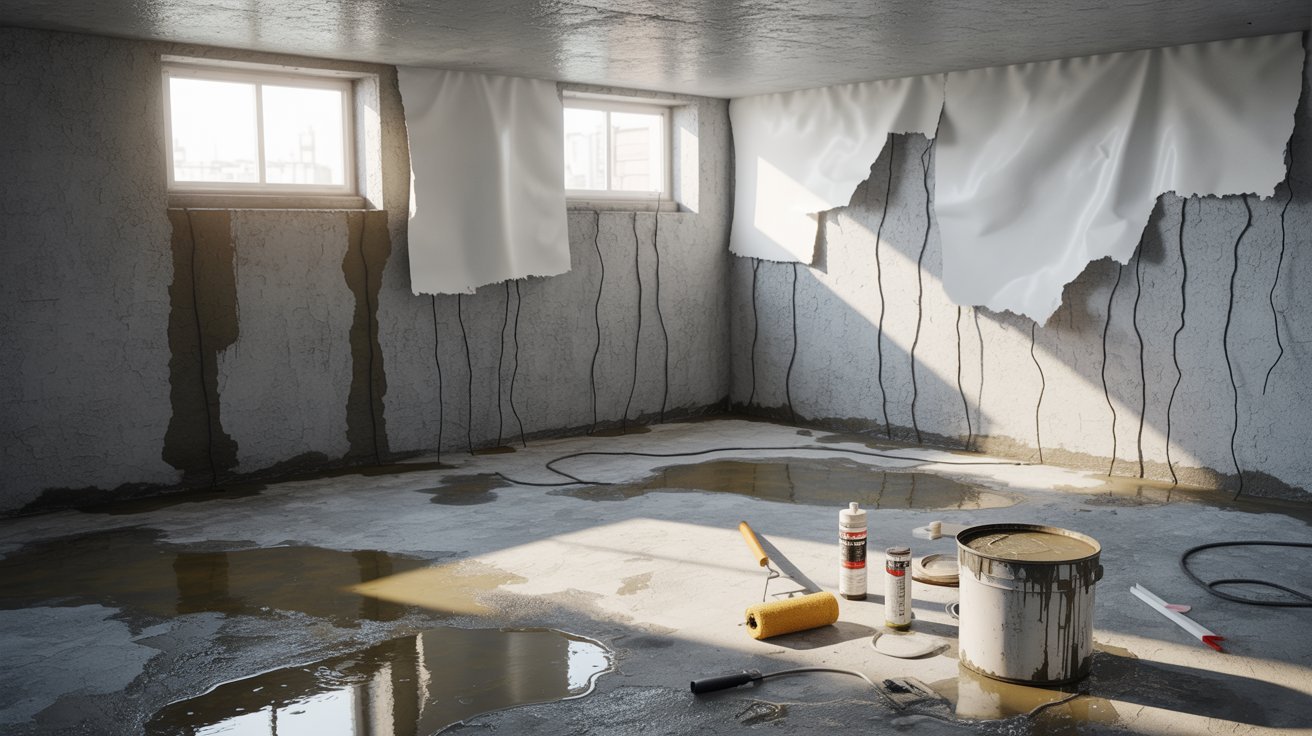
Basement moisture usually comes from groundwater pressure pushing through walls, rain runoff pooling near the foundation, condensation forming on cool concrete, or a crack in the wall or floor letting water in directly.
Watch for white chalky stains, musty smells, peeling paint, visible cracks, or puddles after heavy rain. Two or more of these signs mean it’s time to act.
Interior waterproofing works best for slow seepage and small cracks. It won’t fix major foundation damage, so serious issues still need a pro.
Waterproofing Basement Walls From Inside DIY: Tools
Having the right tools and knowing what not to do will save you time, money, and a redo job down the road.
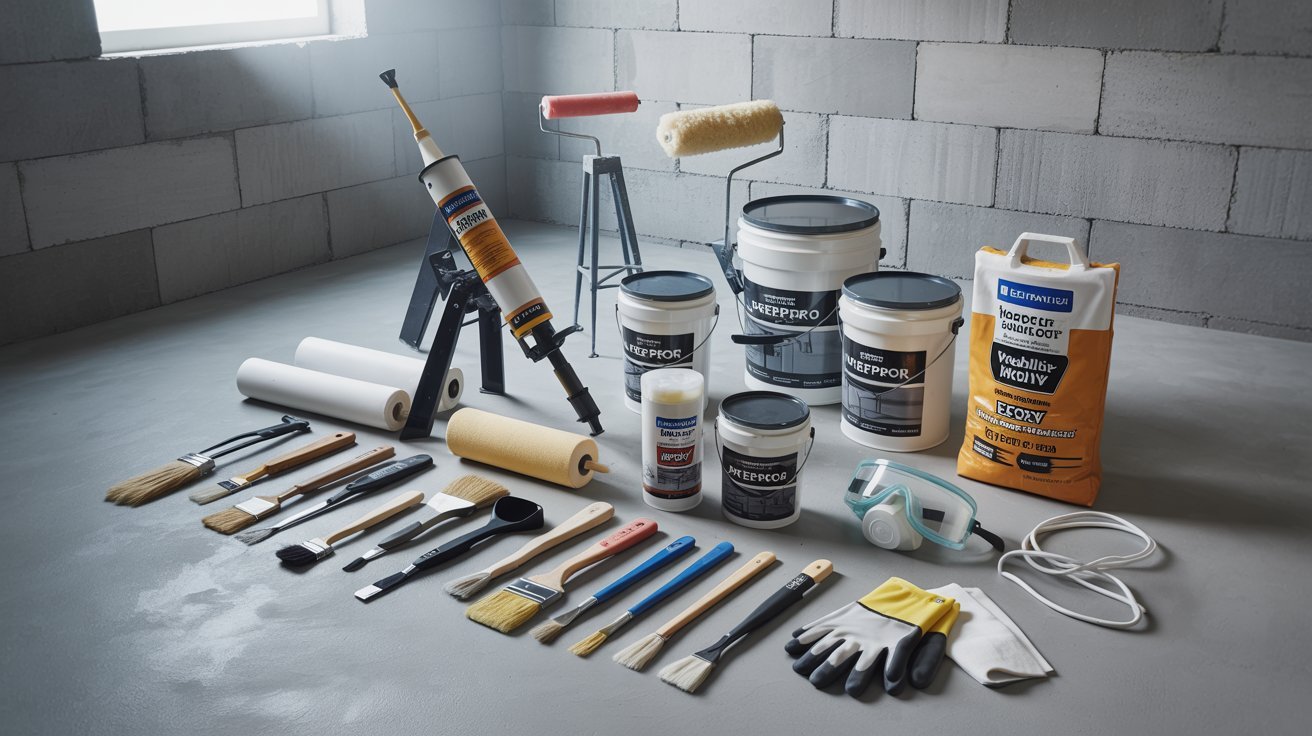
Essential Tools and Materials
- Stiff wire brush and scrub brush
- Hydraulic cement or epoxy crack filler
- Waterproof masonry sealant or paint
- Thick-nap paint roller and brushes
- Caulk gun and waterproof caulk
- Dehumidifier and fans
How to Waterproof Basement Walls From Inside (Step-by-Step DIY)
Follow these seven steps in order – skipping any one of them can reduce how well the whole job holds up.
Step 1: Prepare and Clear the Basement Area

Move all furniture, boxes, and belongings out. You need open access to every wall. Open windows and doors or run a fan to improve airflow.
Good ventilation helps the walls dry faster and keeps the air safer while you work with sealants and coatings.
Step 2: Clean and Dry the Walls Thoroughly
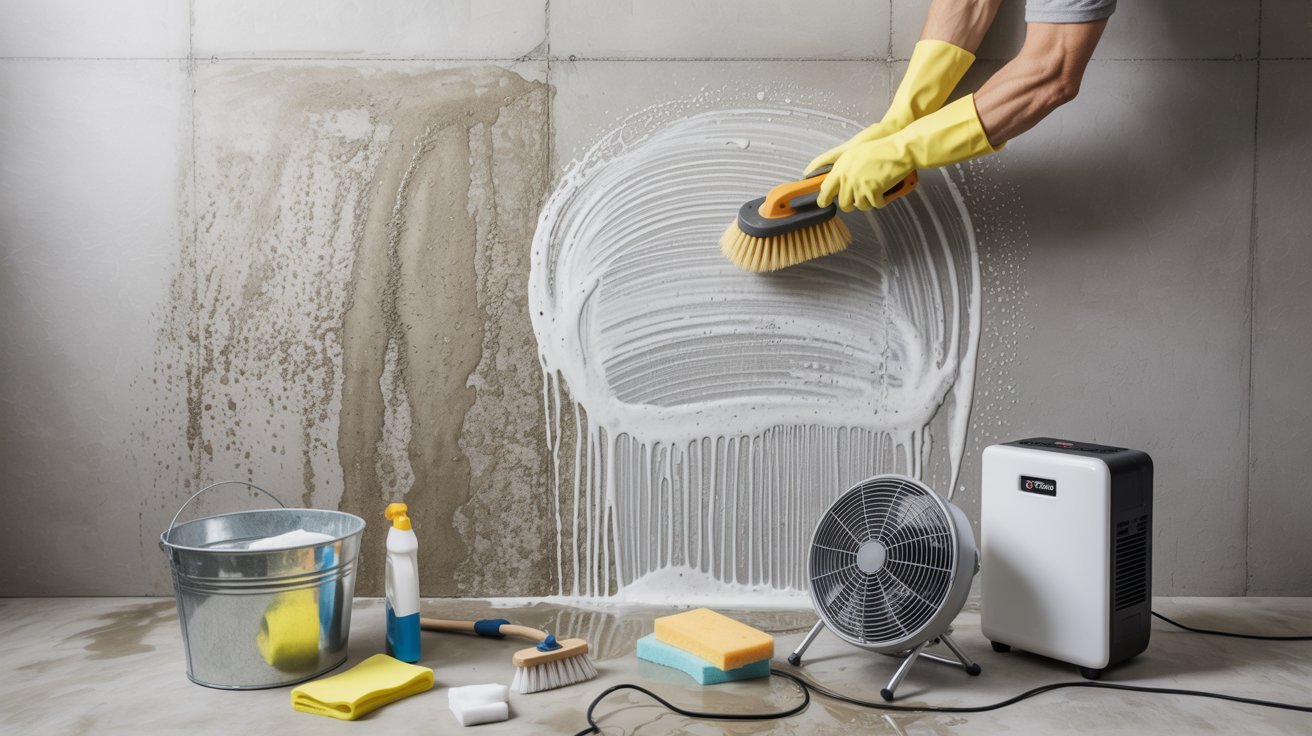
Scrub the walls with a stiff brush and a cleaning solution. Remove all mold, dirt, and loose paint. Any coating you apply later will only bond well to a clean surface.
Let the walls dry completely – this can take 24 to 48 hours depending on your setup. Use a dehumidifier to speed things up.
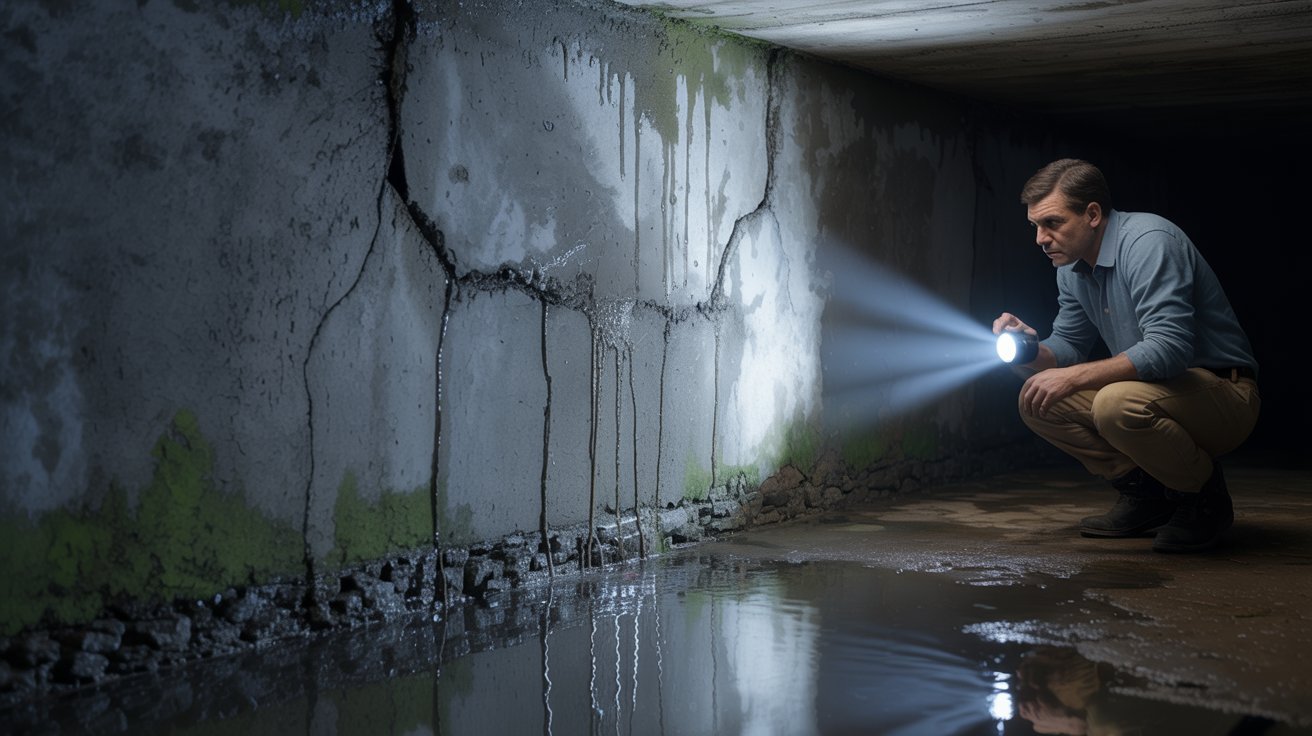
Step 3: Inspect for Cracks and Problem Areas
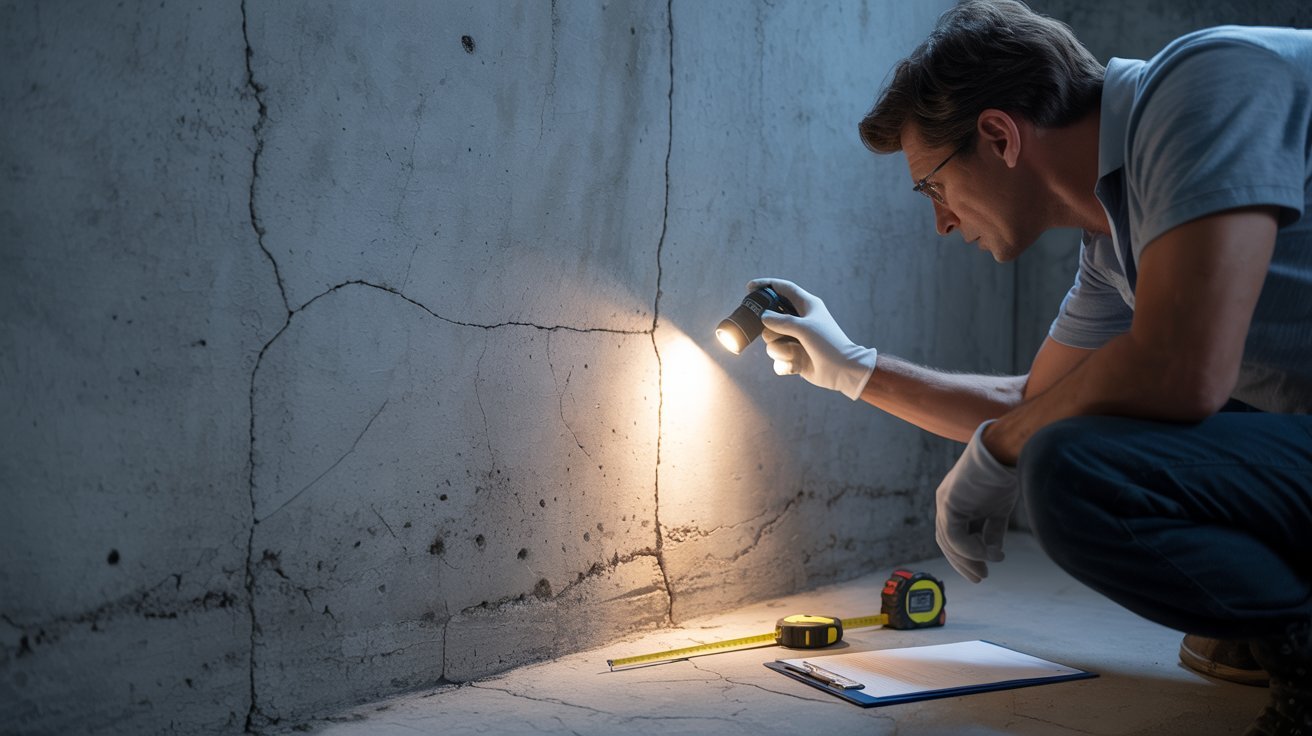
Go over every inch of the walls with a flashlight. Mark cracks and gaps with chalk. Pay extra attention to:
- Corners and floor-wall joints
- Around pipes and utility openings
- Any area with staining or moisture buildup
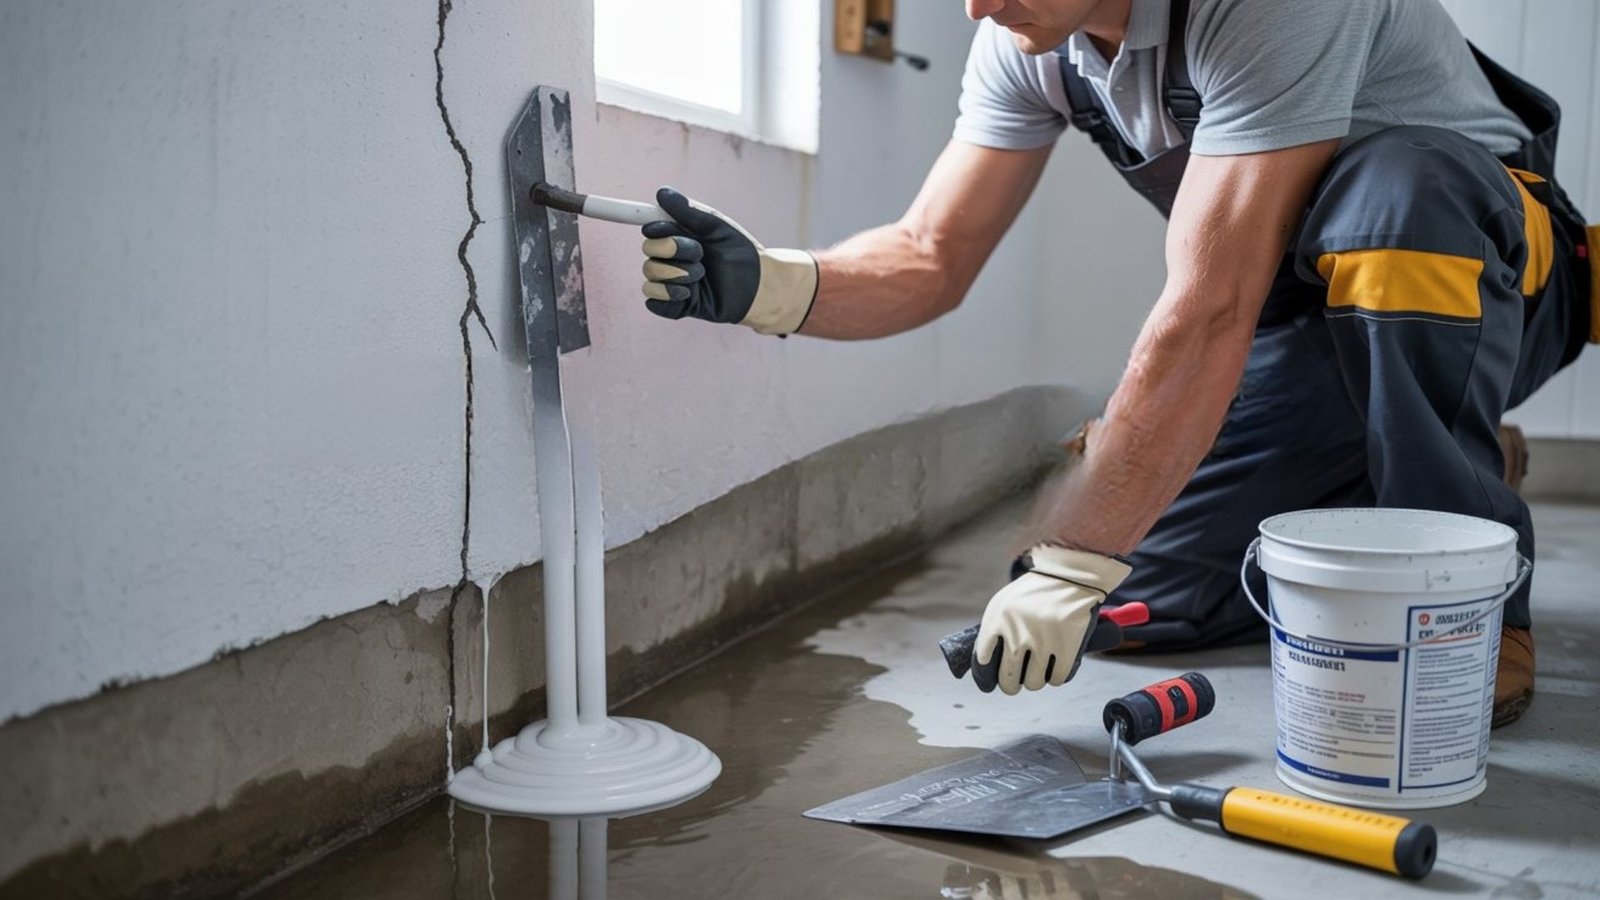
Step 4: Repair Cracks with Cement or Epoxy
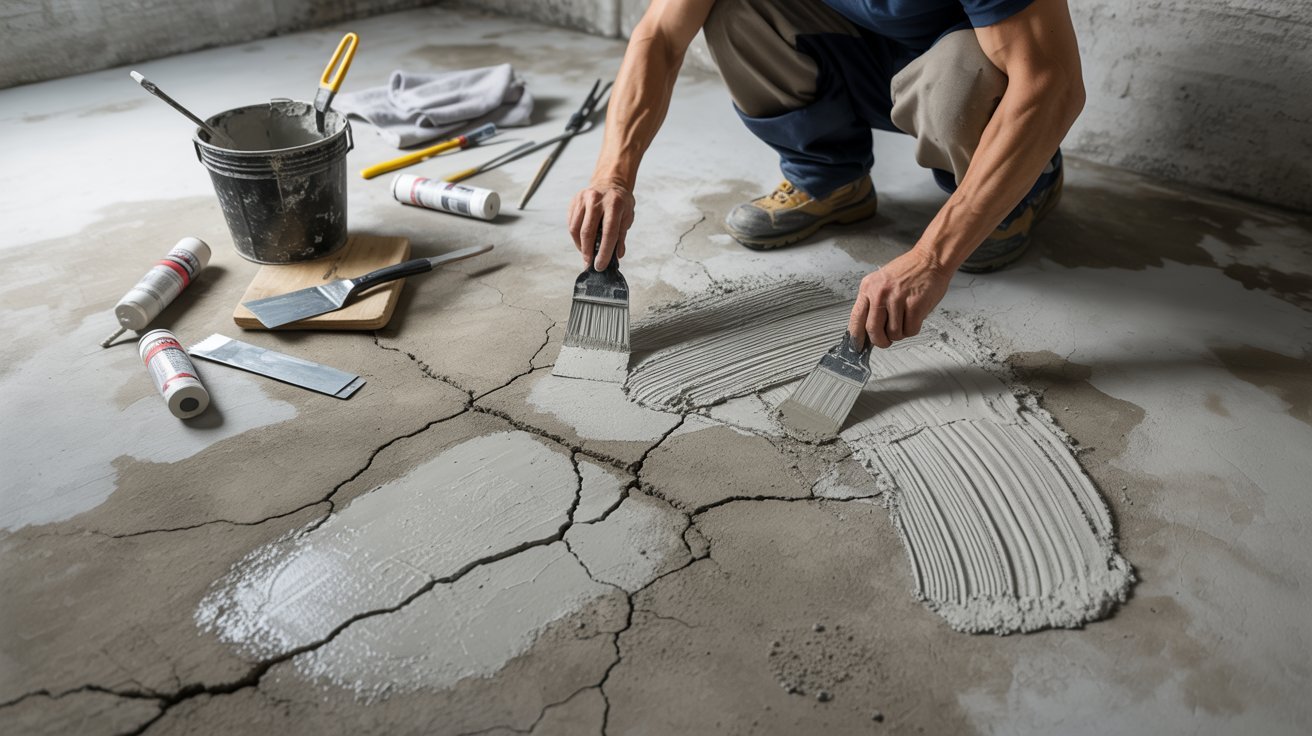
Small hairline cracks? Use a hydraulic cement or an epoxy crack filler. Widen the crack slightly with a chisel first – this helps the filler bond better.
Pack the material in firmly and let it cure fully before moving on. Don’t rush this step. A poorly sealed crack will let water back in.
Step 5: Seal Windows, Doors, and Joints
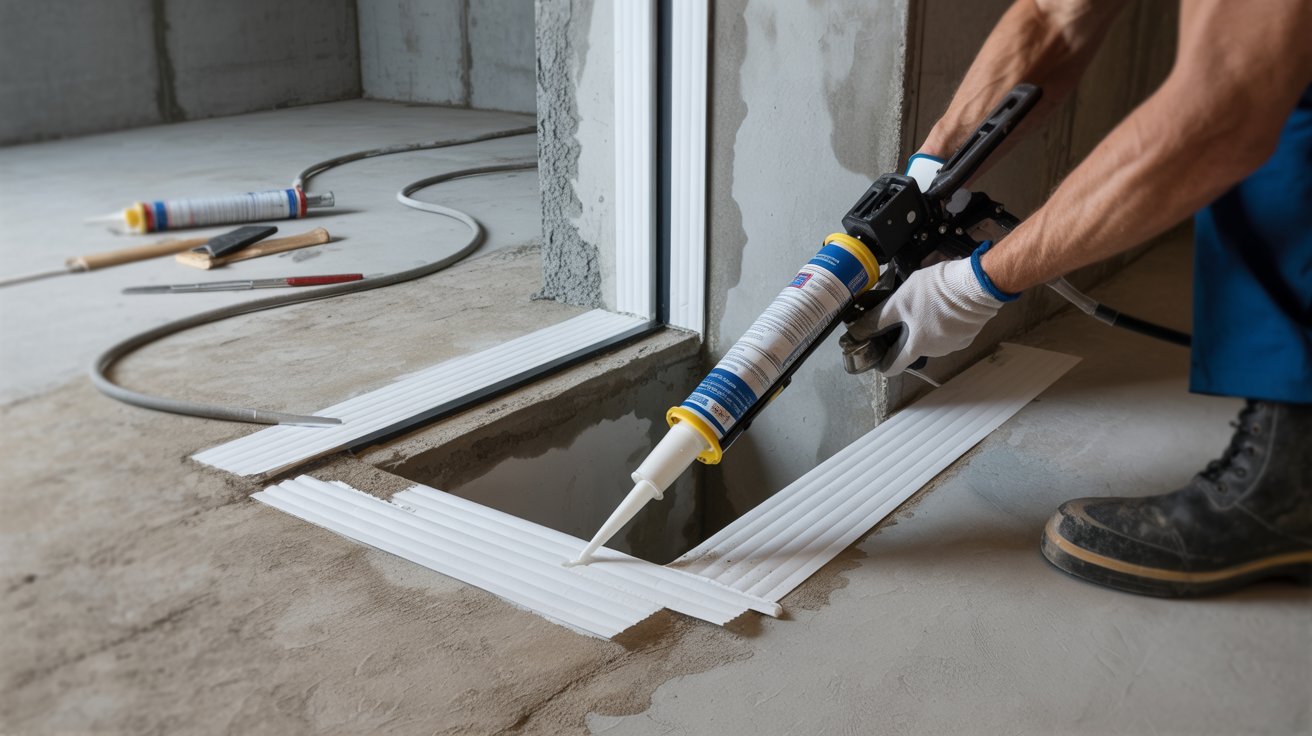
Use a waterproof caulk or polyurethane sealant around window frames, door frames, and the joint where the wall meets the floor.
These are common entry points that people often skip. Run a bead of sealant smoothly and press it in with your finger or a caulk tool.
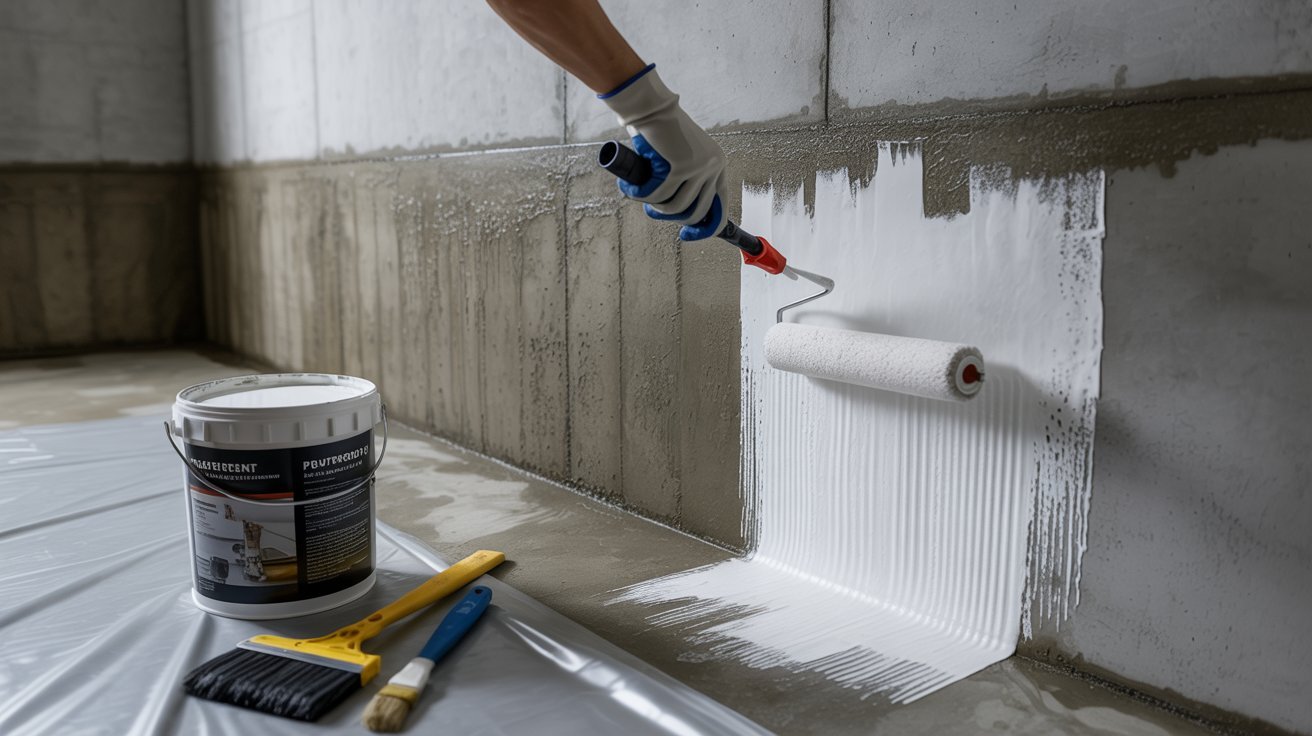
Step 6: Apply Waterproof Coating or Sealant
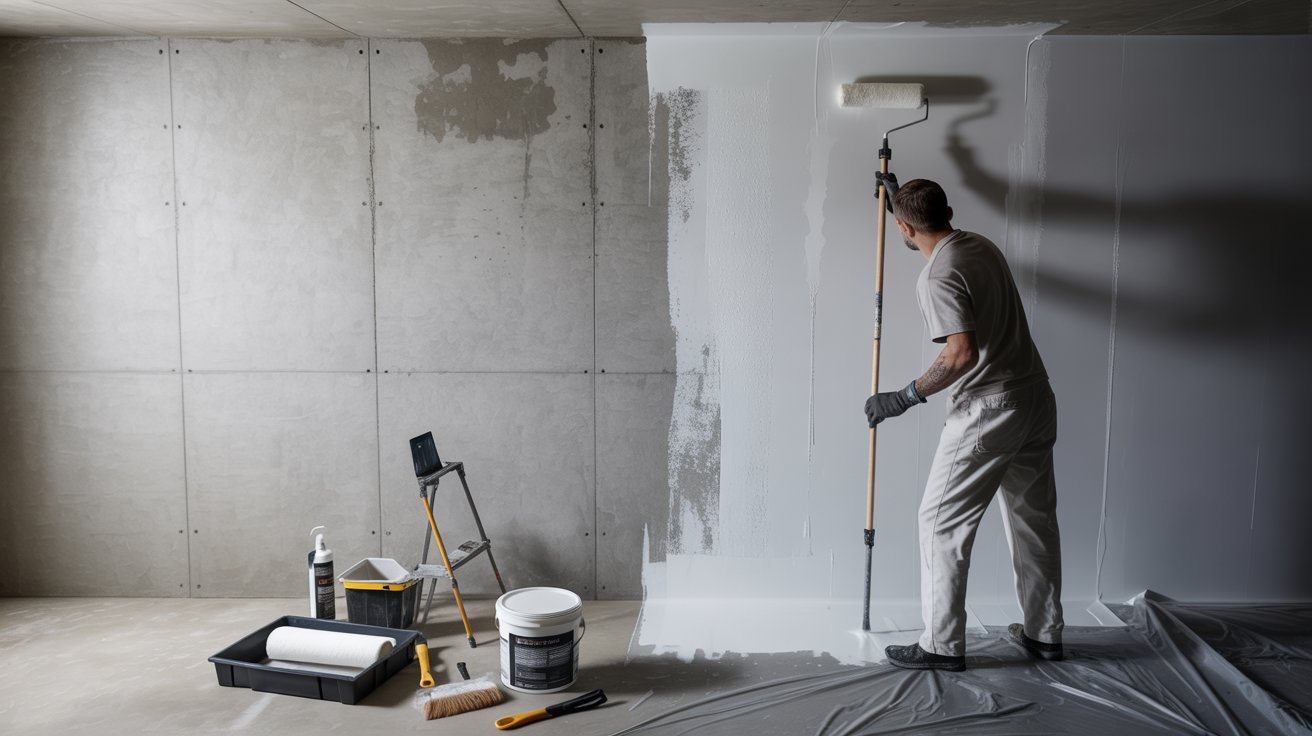
Now it’s time for the main coating. Use a masonry waterproofing paint or a thick sealant designed for basement walls.
Apply it with a thick-nap roller or a brush. Work it into the pores of the concrete. Most products need two coats – let the first coat dry fully before applying the second.
Popular options include Drylok, RadonSeal, or Ames’ products. Read the label carefully and follow the instructions.
Step 7: Install Interior Drainage or Sump Pump

If water pressure is a recurring problem, a sump pump or interior drainage channel is a smart addition.
These systems collect water that seeps in and redirect it away from the foundation. A sump pump sits in a pit in the floor and pumps water out automatically.
This step is especially useful in areas with heavy rainfall or high water tables.
Waterproofing Basement Walls From Inside DIY: Mistakes to Avoid
- Skipping the wall cleaning step
- Applying sealant to a damp surface
- Missing cracks near joints or pipes
- Using regular interior paint instead of masonry waterproofer
- Not addressing the outdoor drainage issue alongside the interior fix
Waterproofing Basement Walls From Inside Cost Breakdown
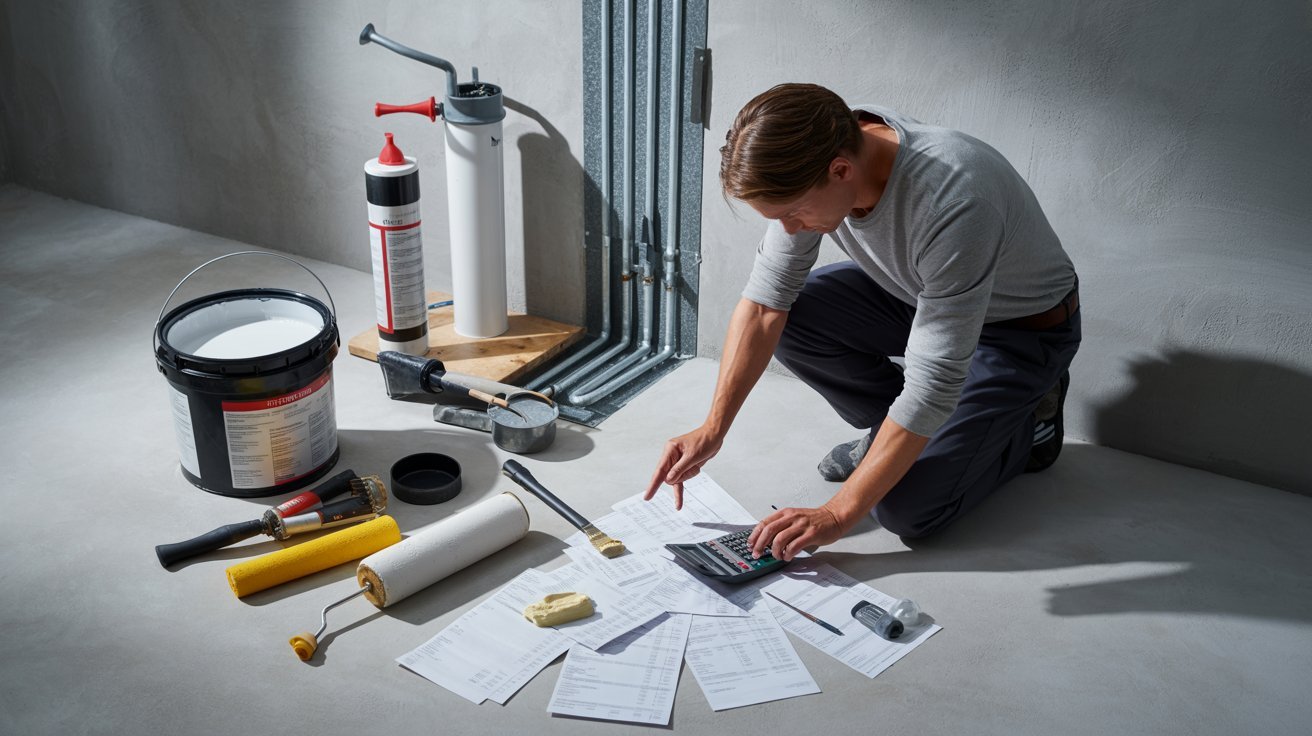
A basic DIY waterproofing job runs between $200 and $600, covering sealant, crack repair materials, caulk, tools, and an optional sump pump.
Hiring a professional typically costs between $2,000 and $10,000 or more. Exterior waterproofing with excavation sits at the higher end, while interior systems like French drains fall in the mid range.
Final costs depend on your basement size, the extent of cracking or damage, the type of system used, labor rates in your area, and whether mold remediation is needed before work begins.
When Waterproofing Basement Walls From Inside Is Not Enough
Interior fixes have limits – here’s how to know when the problem needs a bigger solution.
Signs of Serious Water Problems
Interior waterproofing won’t cut it if you’re dealing with:
- Bowing or cracking walls (structural damage)
- Flooding during every rainstorm
- Water coming up through the floor slab
- Large mold colonies covering multiple walls
These are signs of a deeper issue that needs a structural engineer or waterproofing contractor.
Role of Drainage Systems and Exterior Fixes
In serious cases, exterior waterproofing is the more permanent solution. This involves excavating around the foundation, applying a waterproof membrane to the outside walls, and installing drainage tile.
It’s expensive – but it treats the problem at the source. Interior drainage systems like a French drain can manage ongoing seepage even when exterior fixes aren’t possible.
Tips to Keep Your Basement Dry After Waterproofing
Maintenance matters – these habits will help your waterproofing job last for years, not months.
- Clean gutters at least twice a year to stop overflow near your foundation
- Point downspouts at least 6 feet away from the house
- Make sure the ground slopes away from your foundation, not toward it
- Run a dehumidifier regularly and keep humidity below 50%
- Check ventilation and insulation in summer to stop condensation on walls
Conclusion
Tackling waterproofing basement walls from the inside on your own is totally doable. I’ve seen the difference it makes – going from a damp, musty space to one you can actually use every day.
Follow the steps in order, don’t skip the prep work, and pair your interior sealing with good outdoor drainage for the best results. Small efforts now save you from bigger, costlier problems later.
The sooner you act, the better. Got questions or tips from your own project? Drop them in the comments below – I’d genuinely love to hear how it goes for you.
Frequently Asked Questions
What causes basement walls to leak?
The most common causes are groundwater pressure pushing through walls, rain runoff pooling near the foundation, condensation on cool concrete, and cracks in the wall or floor letting water in directly.
Can I waterproof my basement walls myself?
Yes. Interior waterproofing is a DIY-friendly project for slow seepage and small cracks. As long as there’s no major structural damage, you can handle it with basic tools and the right materials.
How much does DIY basement waterproofing cost?
A basic DIY job typically runs between $200 and $600, covering sealant, crack filler, caulk, tools, and an optional sump pump.
How long do the walls need to dry before I apply sealant?
Allow 24 to 48 hours for the walls to dry fully after cleaning. Using a dehumidifier can speed this up.
When should I call a professional?
Call a pro if you notice bowing or cracked walls, flooding after every rainstorm, water coming up through the floor slab, or large mold colonies. These point to structural issues that go beyond DIY fixes.