Renovating your home is exciting, but it can quickly feel overwhelming. I’ve been there, staring at a messy space with no idea where to start. That’s why having a step-by-step home renovation checklist makes all the difference.
In this blog, I’ll walk you through every stage, from planning and budgeting to the final cleanup. You’ll know exactly what to do and when to do it.
With over a decade of home improvement content behind me, I’ve helped thousands of homeowners avoid costly mistakes. Let’s get your renovation on the right track.
Why You Need a Step-by-Step Home Renovation Checklist

Most failed renovations come down to one thing; no plan. Without one, costs balloon, timelines stretch, and small decisions pile up fast.
Many homeowners focus on the fun parts, like paint colors and countertops, but forget about permits, contractor schedules, and material lead times. These gaps cause serious delays. A step-by-step home renovation checklist fixes that.
It breaks your project into clear, manageable steps. You know what comes first, what runs parallel, and when to call in a pro. It keeps everyone aligned and nothing gets missed.
Tools You Need to Install Shiplap in a Bathroom
Having the right tools makes the entire install faster and cleaner. Here’s what you need.
Measuring and Marking Tools
- Tape measure
- Level
- Chalk line
- Pencil
- Speed square
Cutting Tools for Clean, Precise Boards
- Miter saw
- Jigsaw (for cuts around outlets and fixtures)
Fastening and Finishing Tools
- Nail gun
- Brad nails (1.5 to 2 inch)
- Hammer
- Nail set
Sealing and Painting Supplies
- Quality primer
- High-moisture interior paint
- Paintbrush or roller
- Caulk
- Caulk gun
Step-by-Step Home Renovation
Here’s a bird’s-eye view of all the phases your renovation project will go through from start to finish.
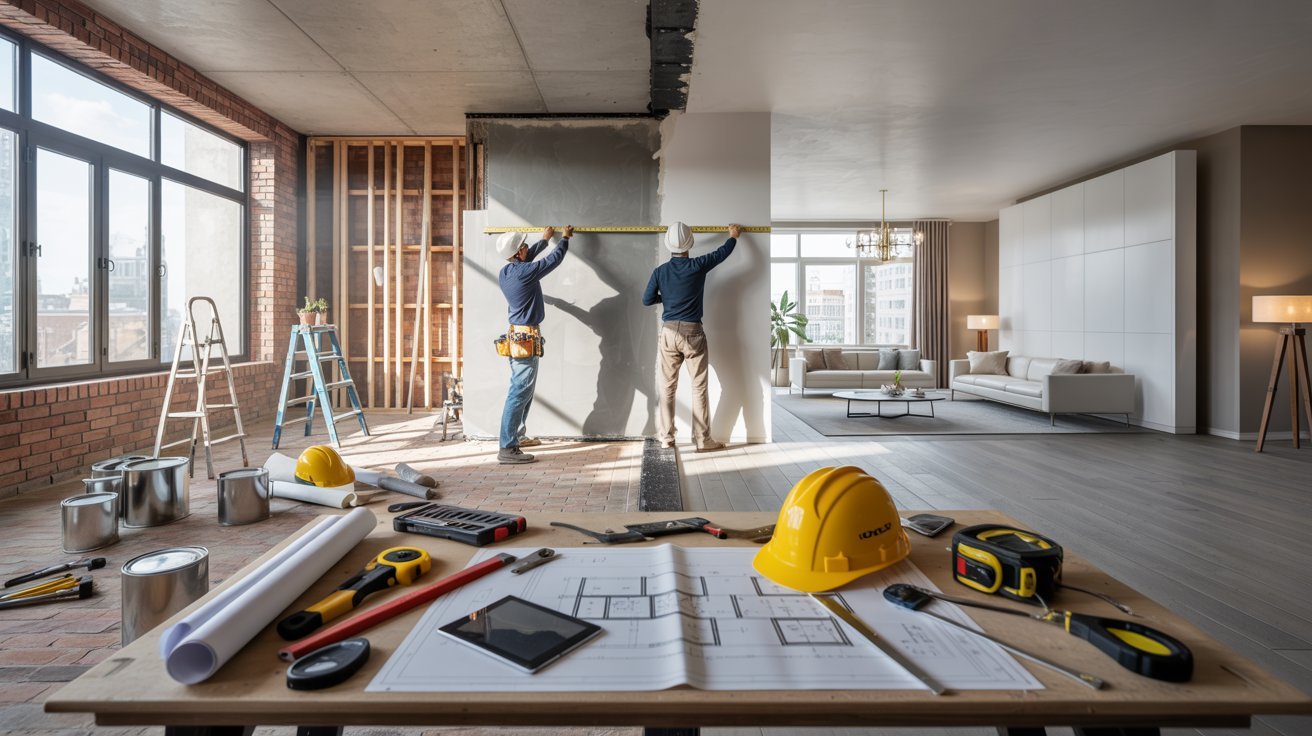
Step 1: Planning, Budgeting, and Approvals

Start by setting a clear budget and defining exactly what you want out of the renovation. Hire your contractor, architect, or designer early so everyone is aligned before work begins.
This is also the time to apply for permits covering any structural, electrical, or plumbing changes. Without the right approvals in place, you risk fines and costly project shutdowns.
Getting this step right saves you from the most expensive mistakes later.
Step 2: Preparing the Site and Structure
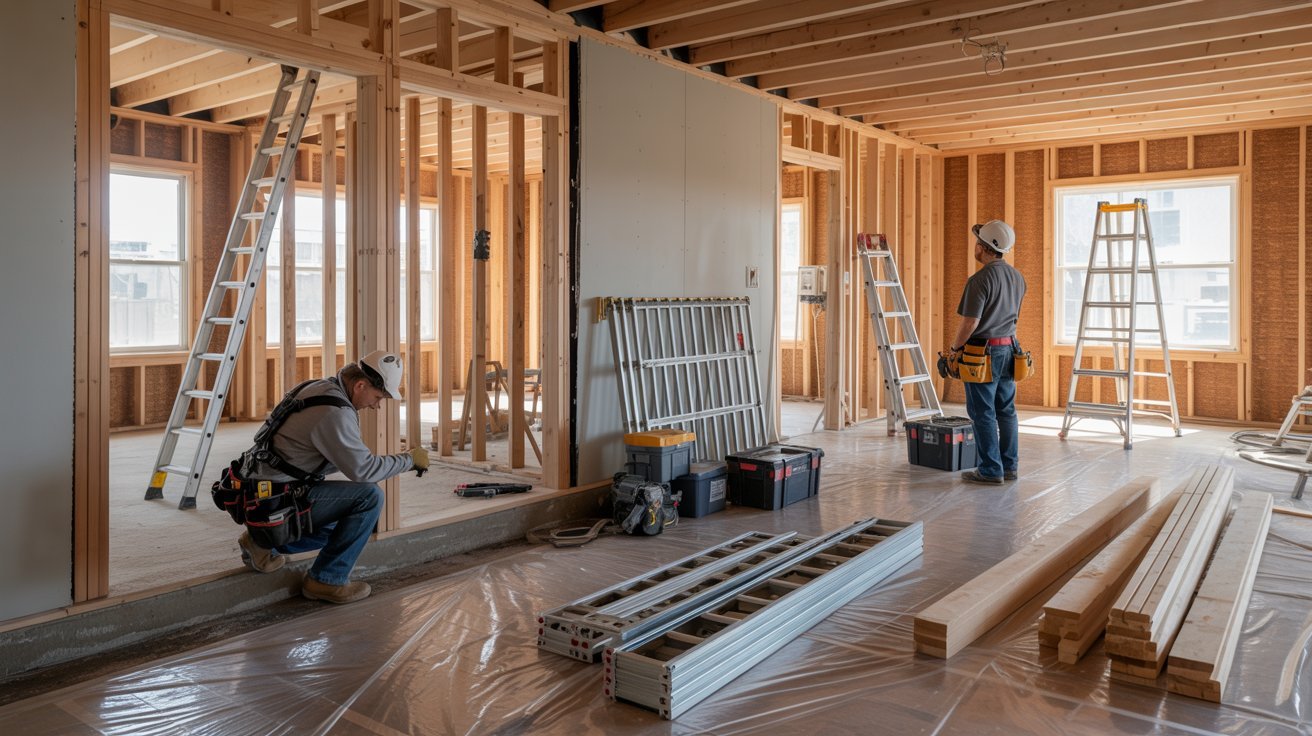
Before any building starts, the space needs to be cleared and made safe for workers and materials.
Check the existing structure carefully for water damage, mold, or any stability issues that need fixing first. Order your materials early to avoid delays once work is underway.
Make sure utilities are properly shut off or rerouted where needed. A well-prepared site keeps the rest of the project moving without unnecessary stops.
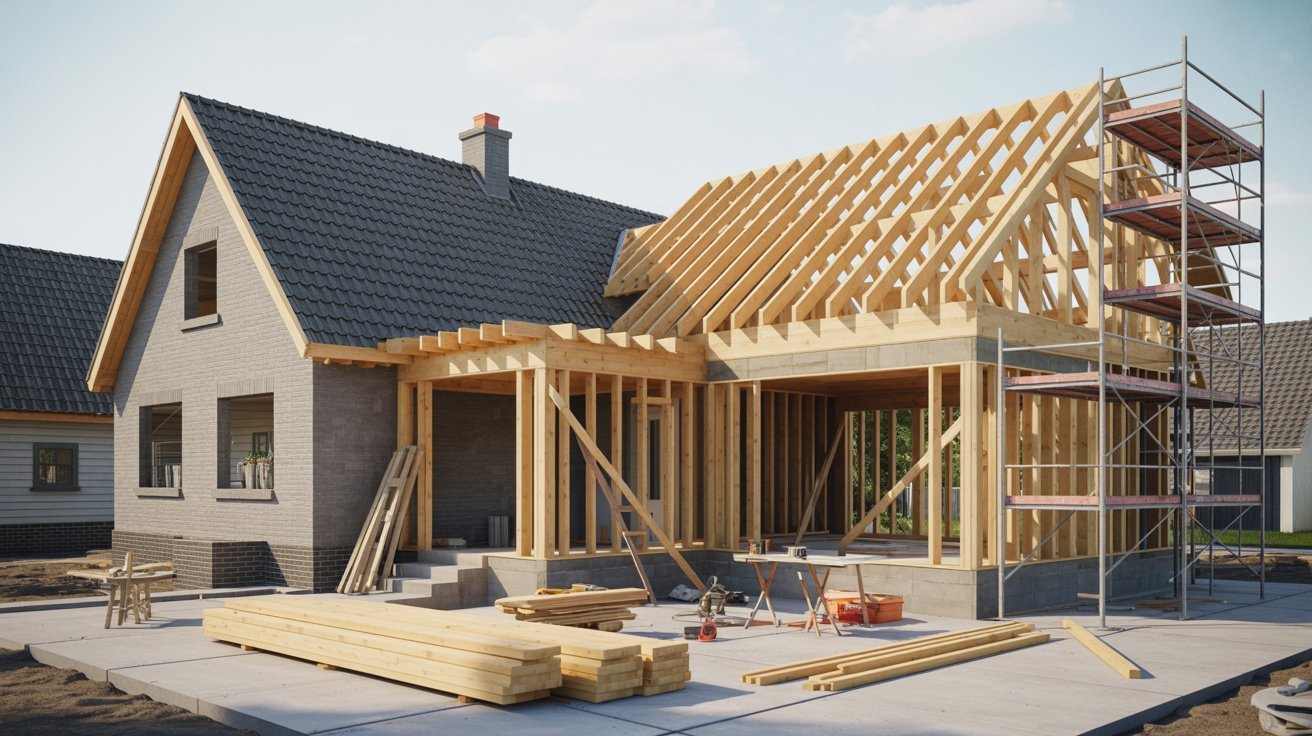
Step 3: Demolition and Core Construction Work
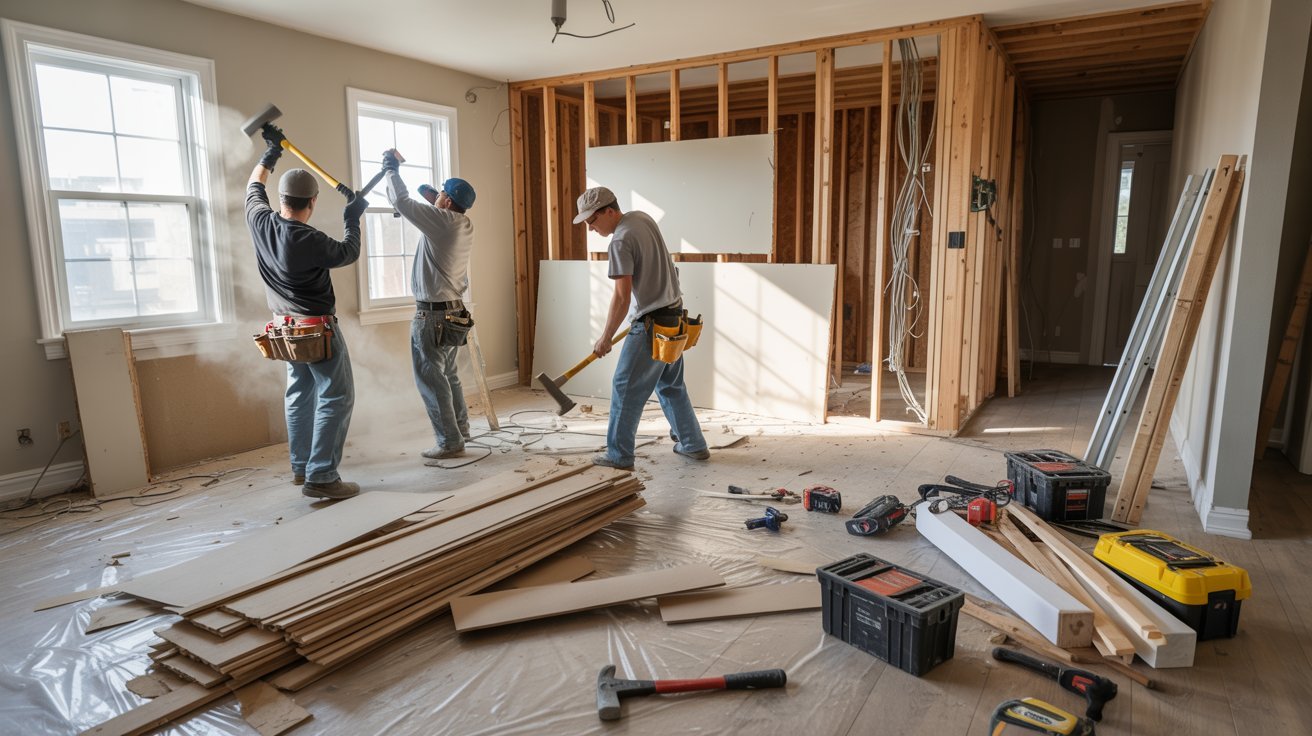
This is where old materials come down and the new framework goes up. Rough plumbing, electrical wiring, and HVAC systems all get installed during this phase.
Everything needs to be in place and pass inspection before walls are closed up. Skipping inspections here can mean tearing walls back open later, which costs time and money.
It’s the messiest part of the job, but also one of the most important to get right.
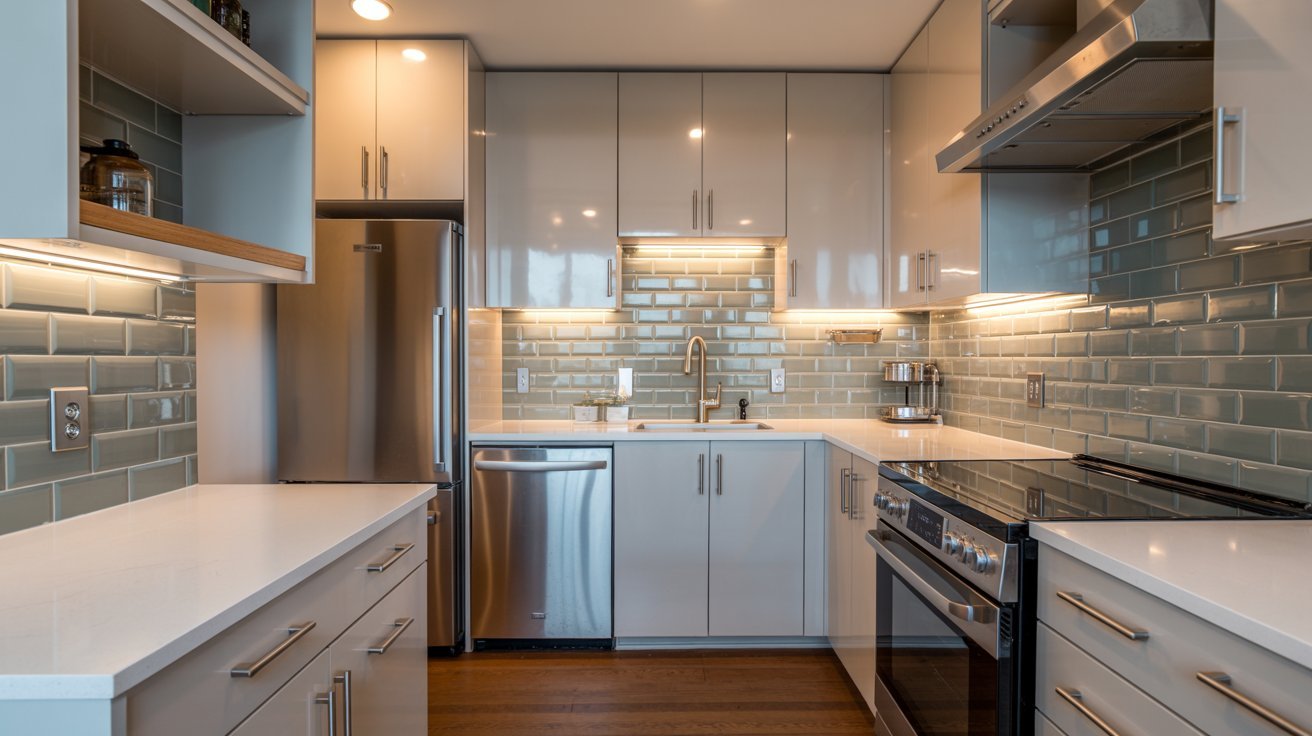
Step 4: Interior Installation and Finishing
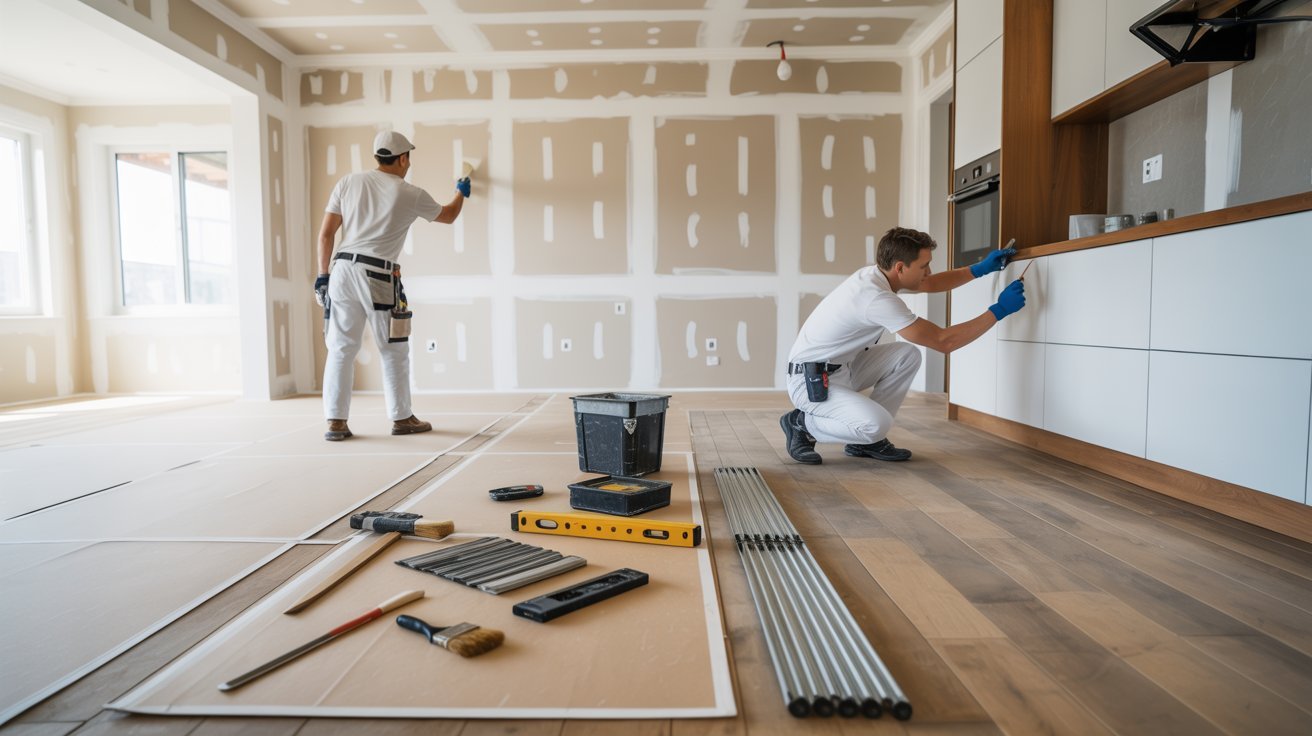
With the structure done, work moves to insulation, drywall, flooring, cabinetry, and fixtures. This is the phase where the space finally starts to look like what you planned.
Follow the correct sequence here since doing things out of order leads to rework and damage. Paint goes on after drywall is finished and before trim and fixtures are fully set.
Take your time with the details because this is what you and everyone else will see every day.
Step 5: Final Inspection and Post-Renovation Tasks
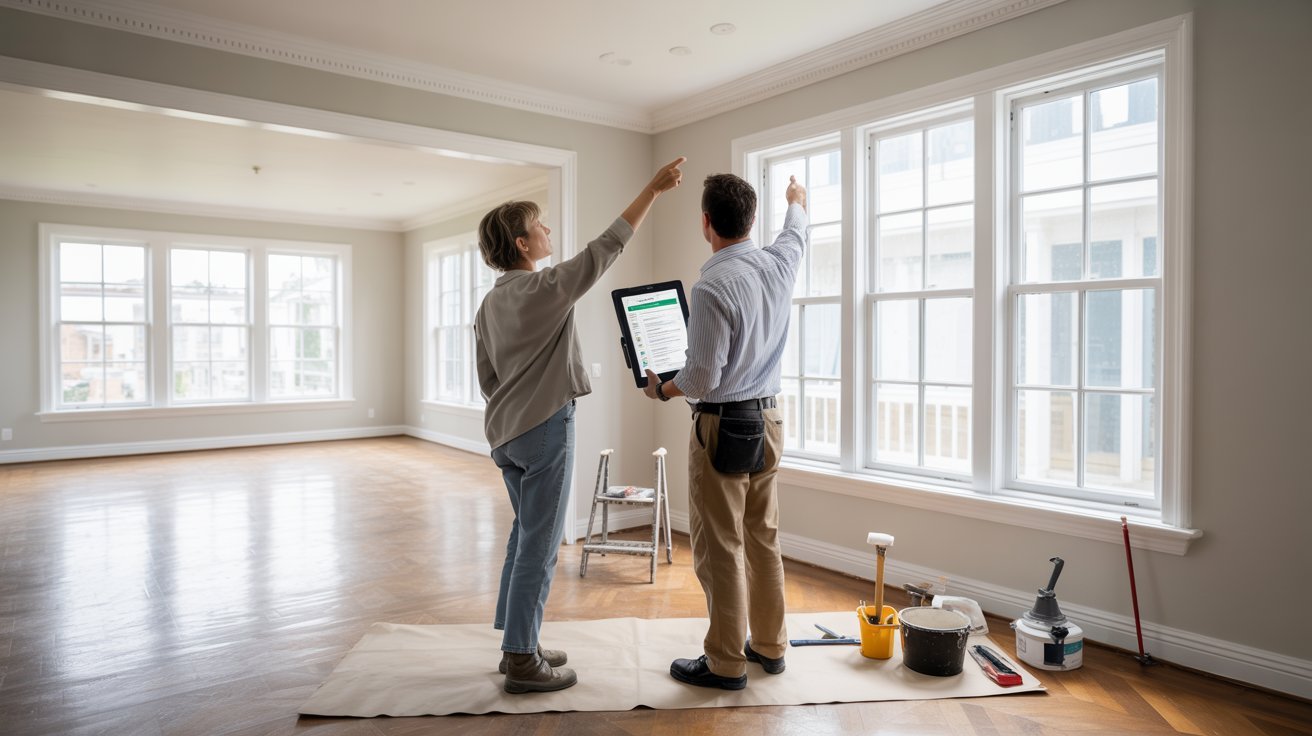
Do a full walkthrough with your contractor and go through every item on the punch list. Check that all fixtures, finishes, and systems are working exactly as they should.
Get official sign-off on all open permits before making any final payments. Document everything with photos and keep all warranties and receipts in one place.
The project is only truly finished when every detail has been checked and approved.
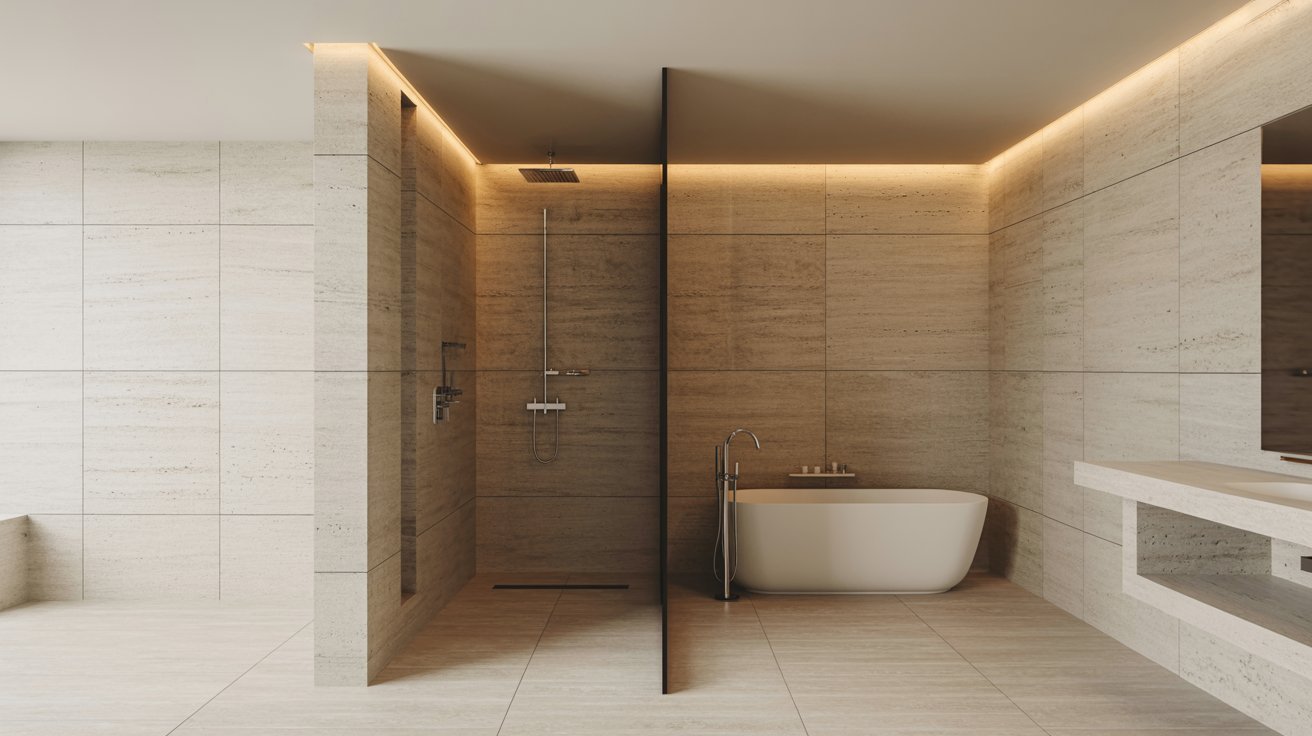
Common Shiplap Bathroom Mistakes to Avoid
- Always install a vapor barrier first. Skipping it leads to mold and rot behind the boards.
- Avoid standard pine in humid bathrooms. Use PVC shiplap or cedar for better moisture resistance.
- Caulk every edge, gap, and end cut. Paint alone will not keep moisture out.
- Keep shiplap away from the shower and tub. Direct water contact will ruin wood fast.
- Let the wood sit in the bathroom for 48 hours before installing. Skipping this causes warping and shifting later.
Tips to Follow Your Step-by-Step Home Renovation Checklist
- Always keep a 10–20% budget buffer for unexpected costs like water damage or supply delays.
- Check in with your contractor regularly and speak up early if something looks off.
- Follow the correct renovation sequence. Never start drywall before the electrical is inspected.
- If doing a full-home renovation, arrange temporary housing before work begins.
- Track progress against your checklist at every stage to stay on schedule.
Conclusion
I’ve tackled a renovation or two myself, and the difference a solid checklist makes is real. You stop second-guessing and start making actual progress. A step-by-step home renovation checklist keeps your budget, timeline, and stress levels in check.
Start with planning, follow each phase in order, and don’t rush the details. The effort you put in upfront pays off in a home that truly reflects what you wanted. Ready to get started?
Leave a comment below, share this post with a friend, or check out our other home improvement guides.
Frequently Asked Questions
What is the first step in a home renovation checklist?
The first step is planning. Set your budget, define your goals, and consult a contractor before touching anything in your home.
How long does a full home renovation take?
It depends on the size and scope of the project. Most full-home renovations take anywhere from 3 to 12 months to complete.
Do I really need permits for a home renovation?
Yes, most structural, electrical, and plumbing changes require permits. Skipping them can lead to fines or serious issues when selling your home.
How do I stay on budget during a renovation?
Get detailed quotes upfront, track every expense closely, and always keep a 10 to 20% buffer set aside for unexpected costs.
Can I live at home during a renovation?
It depends on the scope of work. For major renovations, it’s often safer and far less stressful to make temporary living arrangements beforehand.