I’ve seen what a slow basement leak can do to a home. It starts small – a damp patch, a musty smell – and before you know it, you’re dealing with mold, damaged walls, and costly repairs.
In this guide, I’ll walk you through basement water leak repair from start to finish. You’ll learn what causes leaks, how to spot the early signs, how to fix them yourself, and when to call a pro. I’ve dealt with this firsthand and only share steps that actually work.
Let’s get your basement dry for good.
Understanding Basement Water Leak Repair Basics
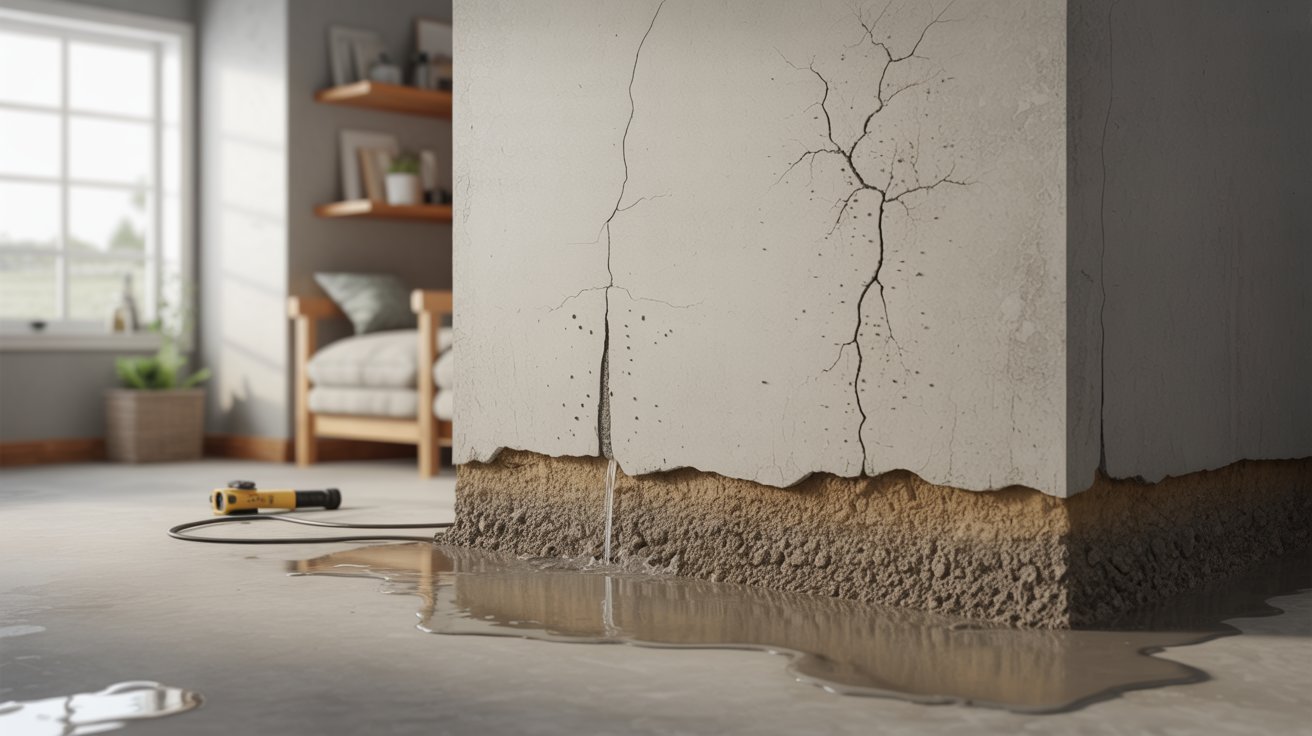
Most basement leaks come down to poor drainage, foundation cracks from settling, or hydrostatic pressure pushing water in from outside.
Over time, even a small crack lets moisture through, and rain or snowmelt only makes it worse. Before reaching for sealant, watch for the warning signs.
Damp spots on walls or floors, peeling or bubbling paint, white powdery residue, a persistent musty smell, and visible foundation cracks all point to a real problem. If you spot any of these, act fast. Waiting only makes the damage worse.
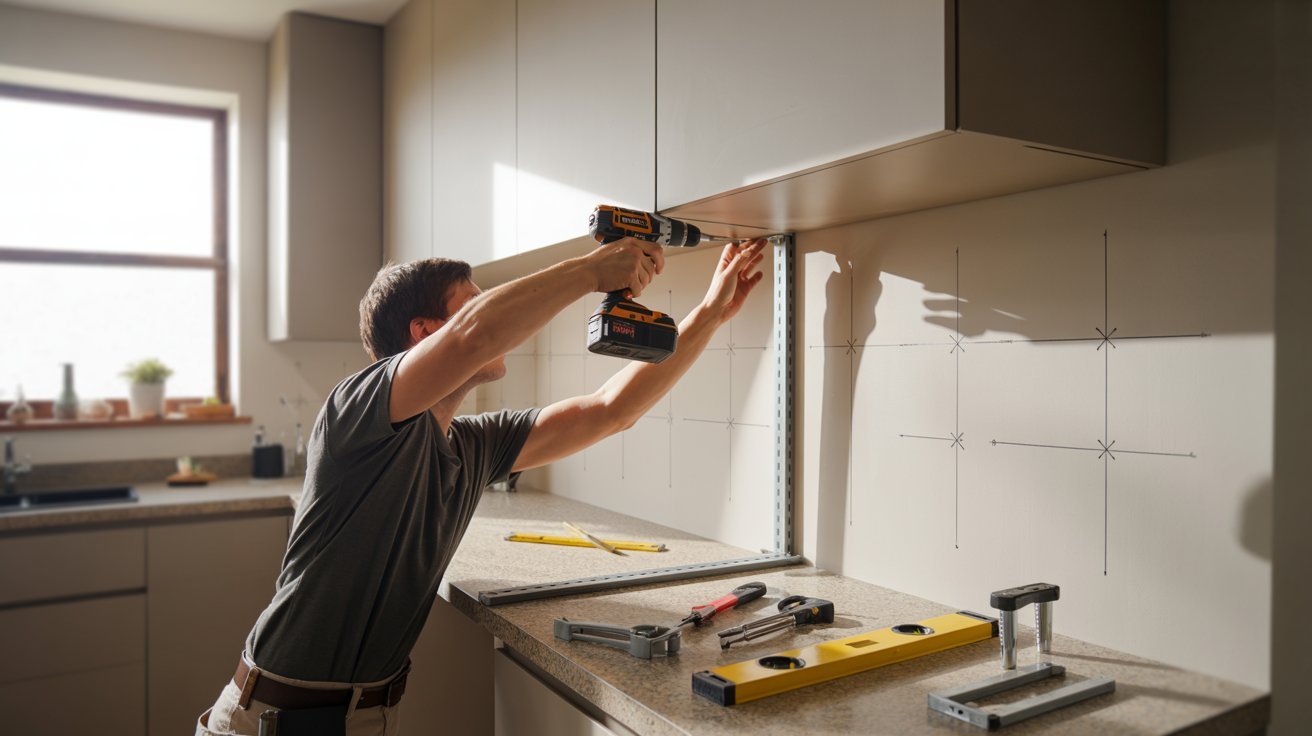
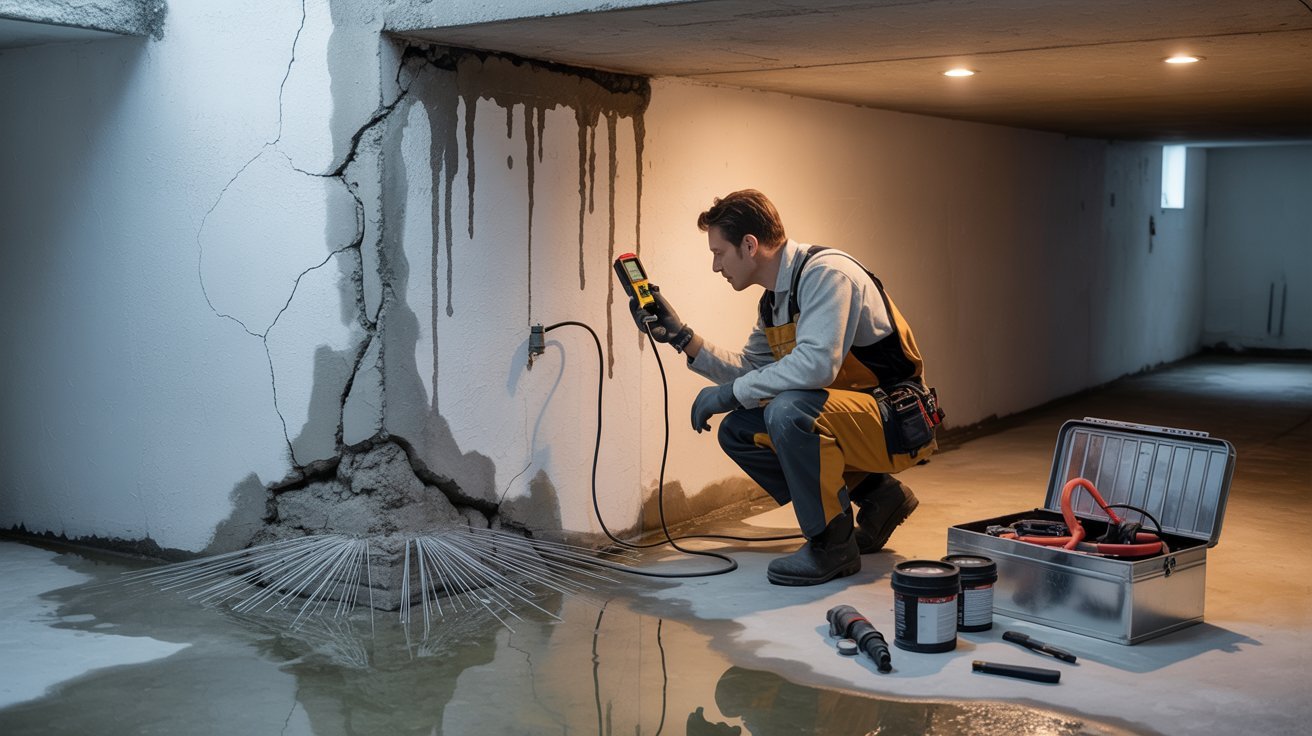
Tools, Materials, and Basement Water Leak Repair Cost
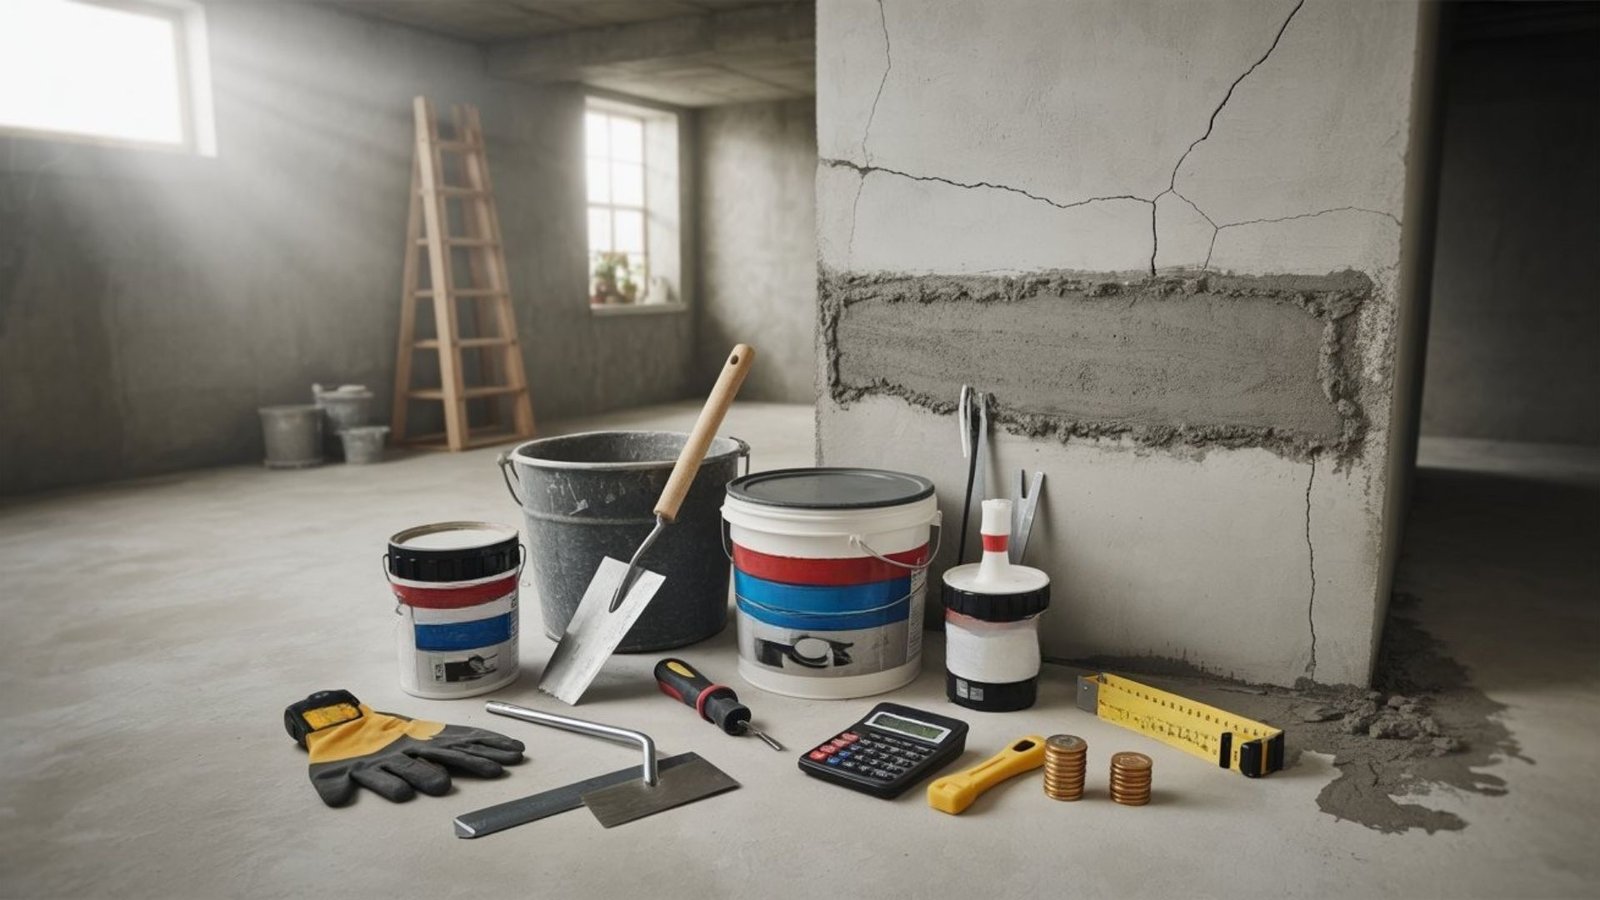
A quick breakdown of what you’ll need and what it’ll cost you.
Essential DIY Tools and Materials
- Hydraulic cement
- Two-part epoxy injection kit
- Waterproof masonry sealant
- Wire brush and chisel
- Safety goggles and gloves
- Shop vacuum for cleanup
Most of these are available at hardware stores for under $100 total.
Basement Water Leak Repair Cost Breakdown
DIY repair typically runs between $50 and $300, depending on the size of the crack and which materials you use.
Professional repair can range from $500 to $3,000 or more, depending on severity. For major foundation issues, the cost can climb higher.
If the leak is minor and localized, DIY is often the smart, cost-effective route. But for recurring or structural issues, hiring a pro is worth every dollar.
Step-by-Step Basement Water Leak Repair Guide
Follow these steps in order for the best results.
Step 1 – Identify the Leak Source
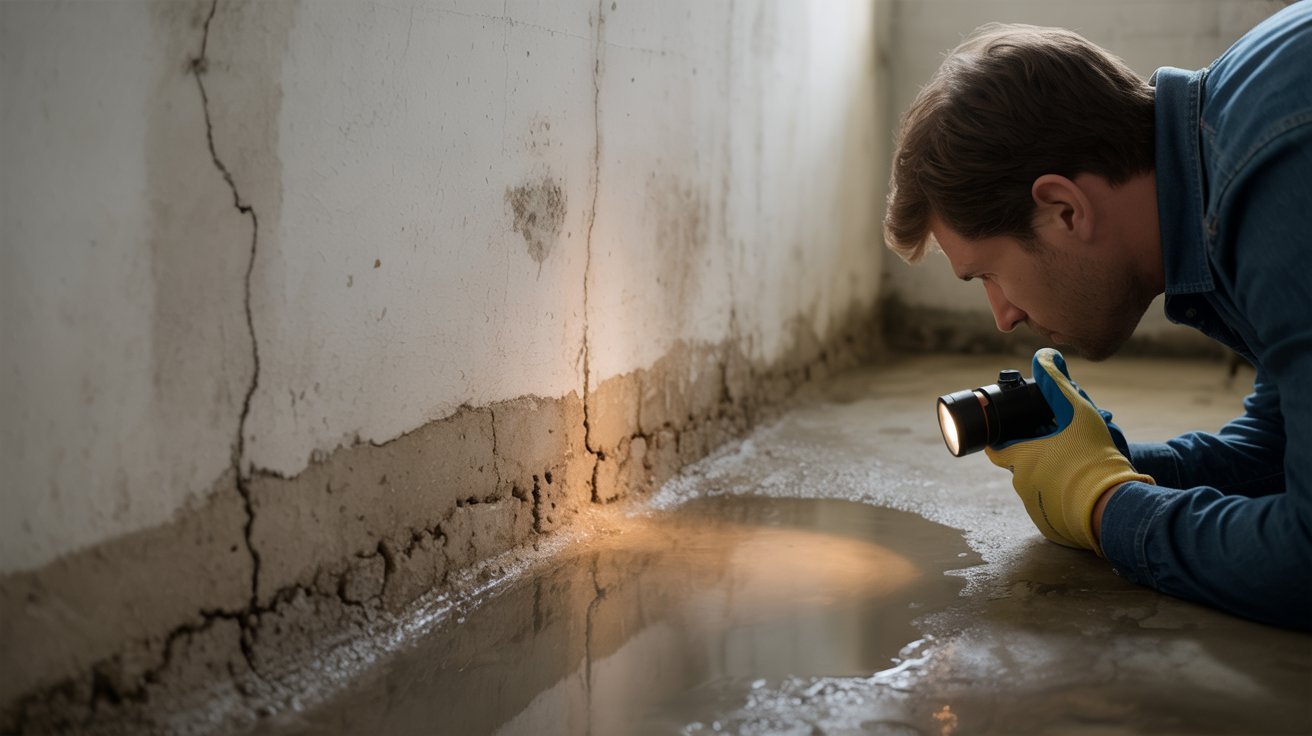
First, figure out where the water is actually coming from.
Run a simple test: tape a piece of plastic wrap flat against the damp wall for 24 hours.
If moisture forms on the wall side, it’s seeping through the foundation. If it’s on the room side, you may have a condensation problem.
Also check for plumbing leaks nearby – dripping pipes can mimic foundation seepage.
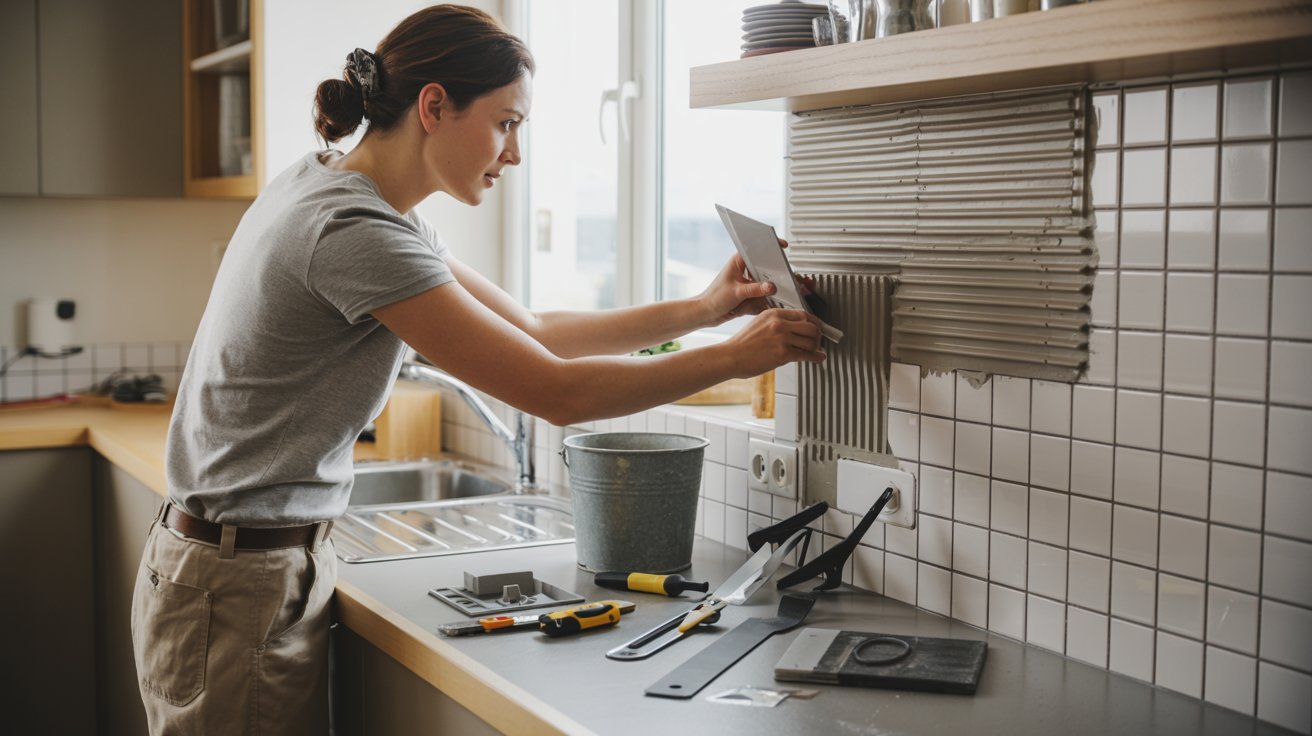
Step 2 – Prepare the Surface Properly
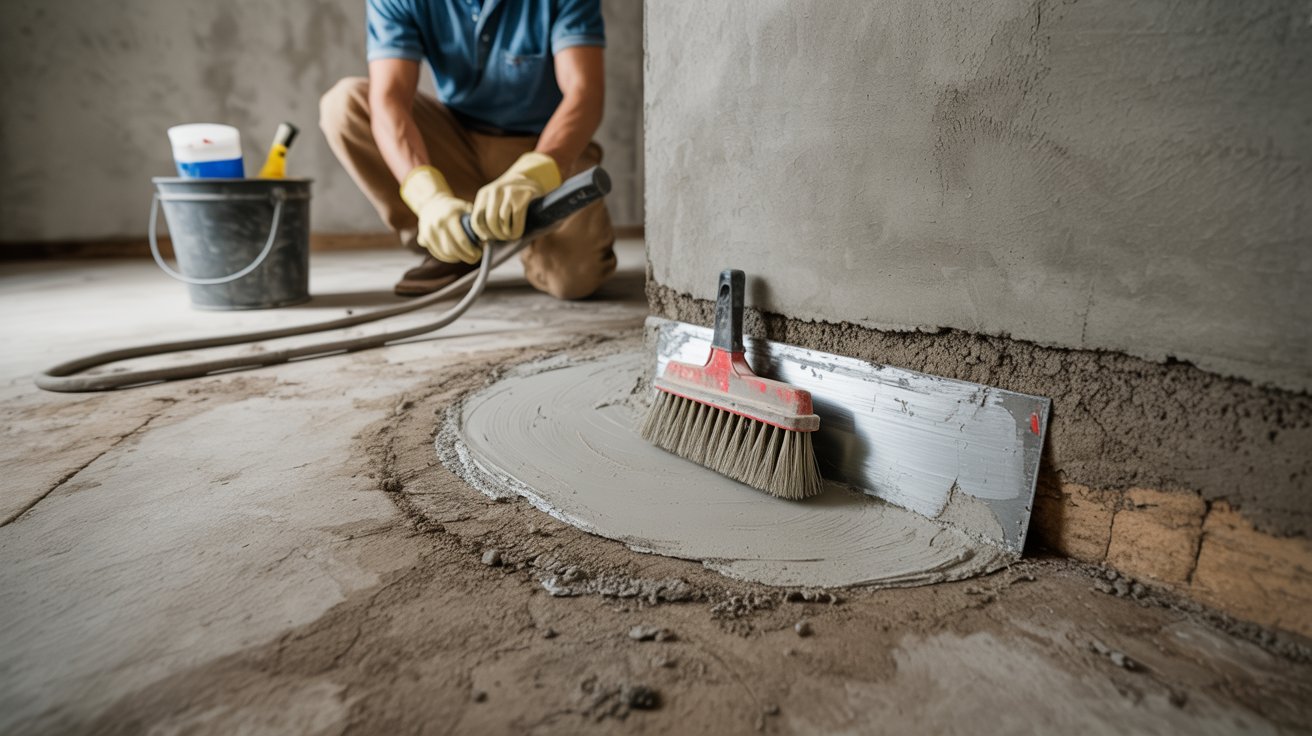
Before any product goes on, the surface needs to be clean and dry. Scrape off old sealant, loose paint, or crumbling concrete.
Use a wire brush to clean out the crack. Let the area dry fully before moving on. Skipping this step means your repair won’t hold.
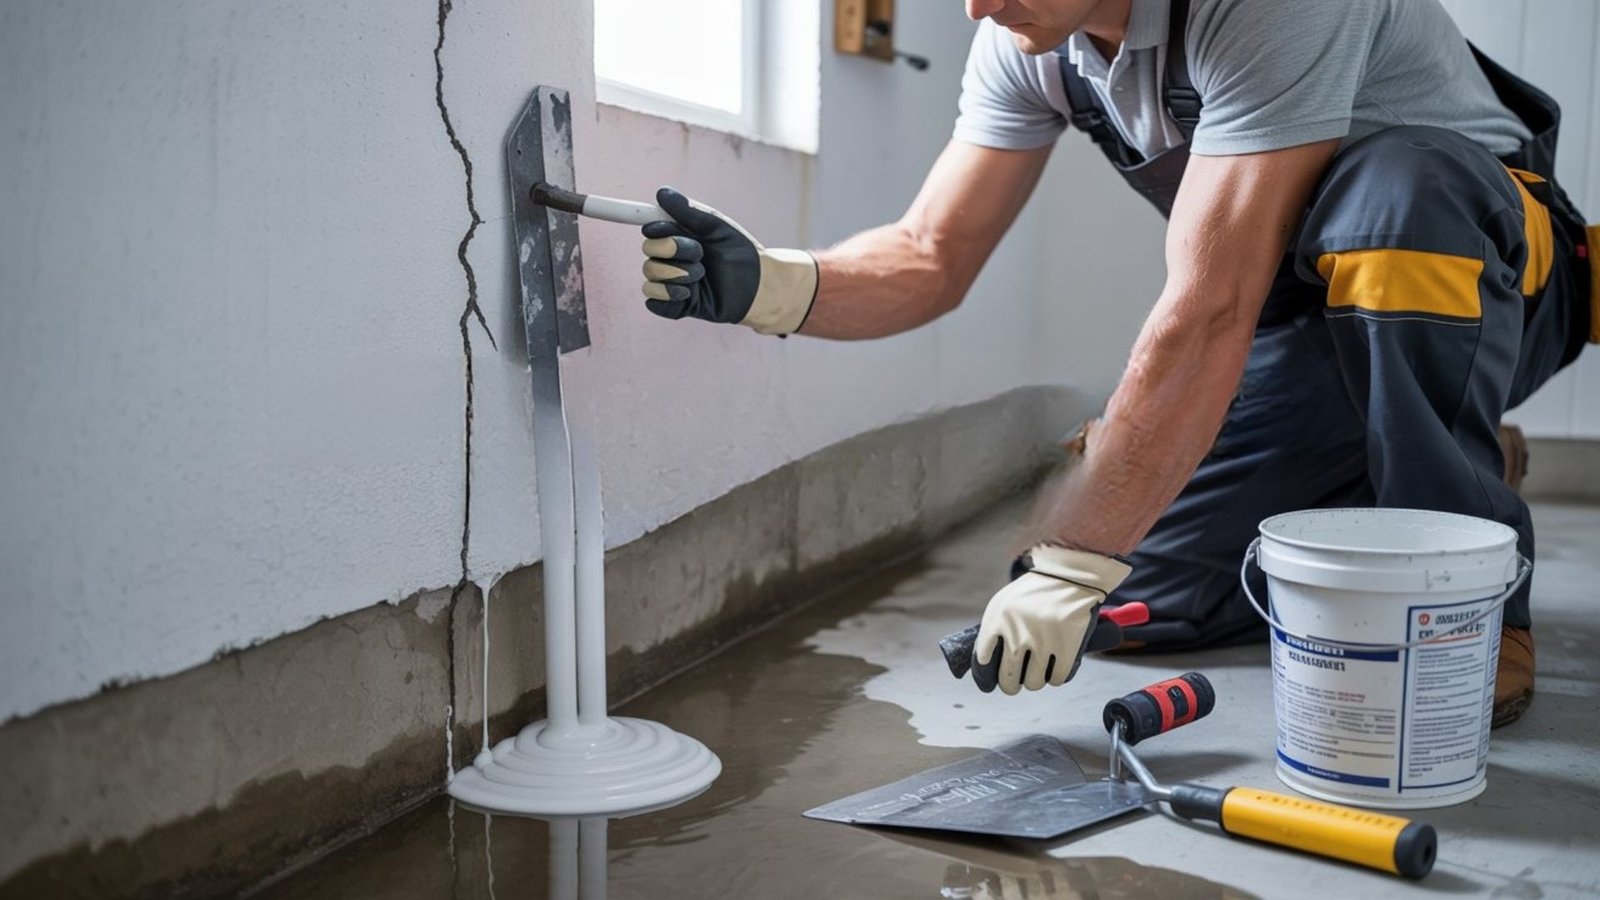
Step 3 – Seal Cracks with Hydraulic Cement
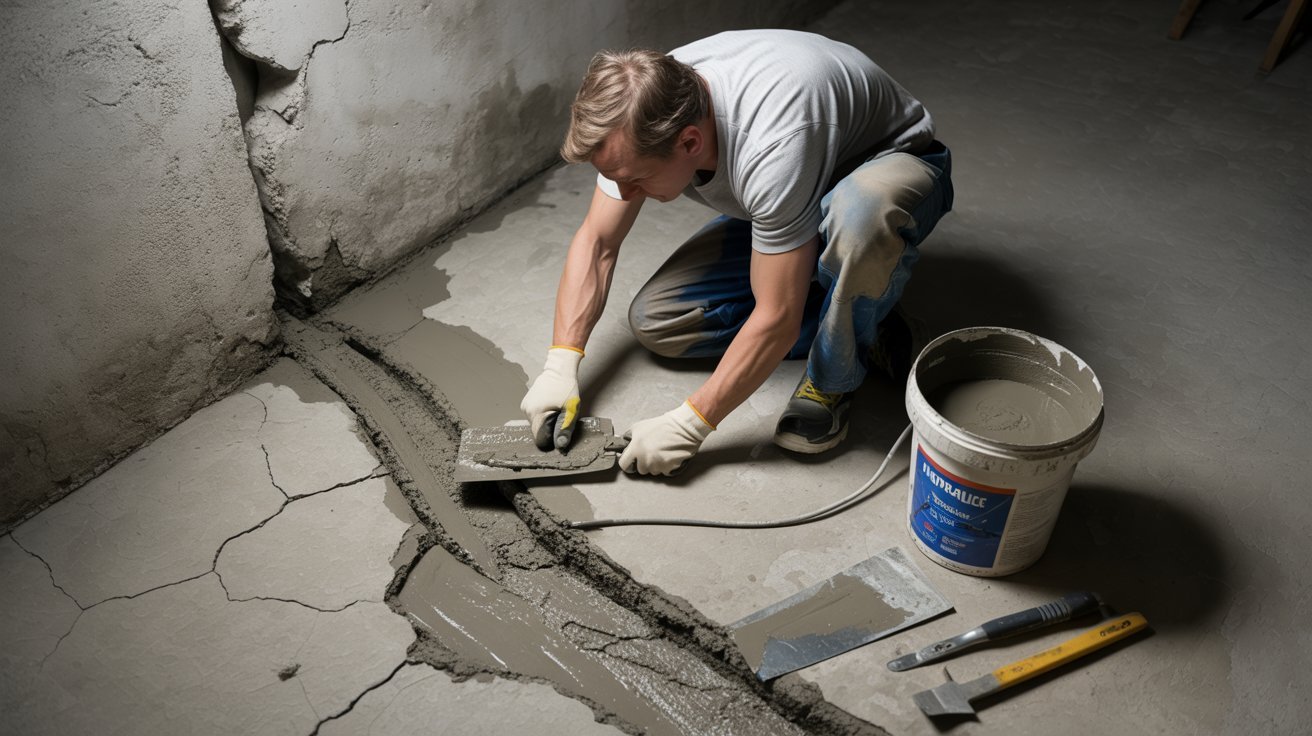
For active leaks – cracks that are currently wet or dripping – hydraulic cement is your best bet. Mix it to a thick putty, then press it firmly into the crack.
It sets fast, even underwater, and stops water almost immediately. Hold it in place for a few minutes while it cures.
Step 4 – Use Epoxy for Small Cracks
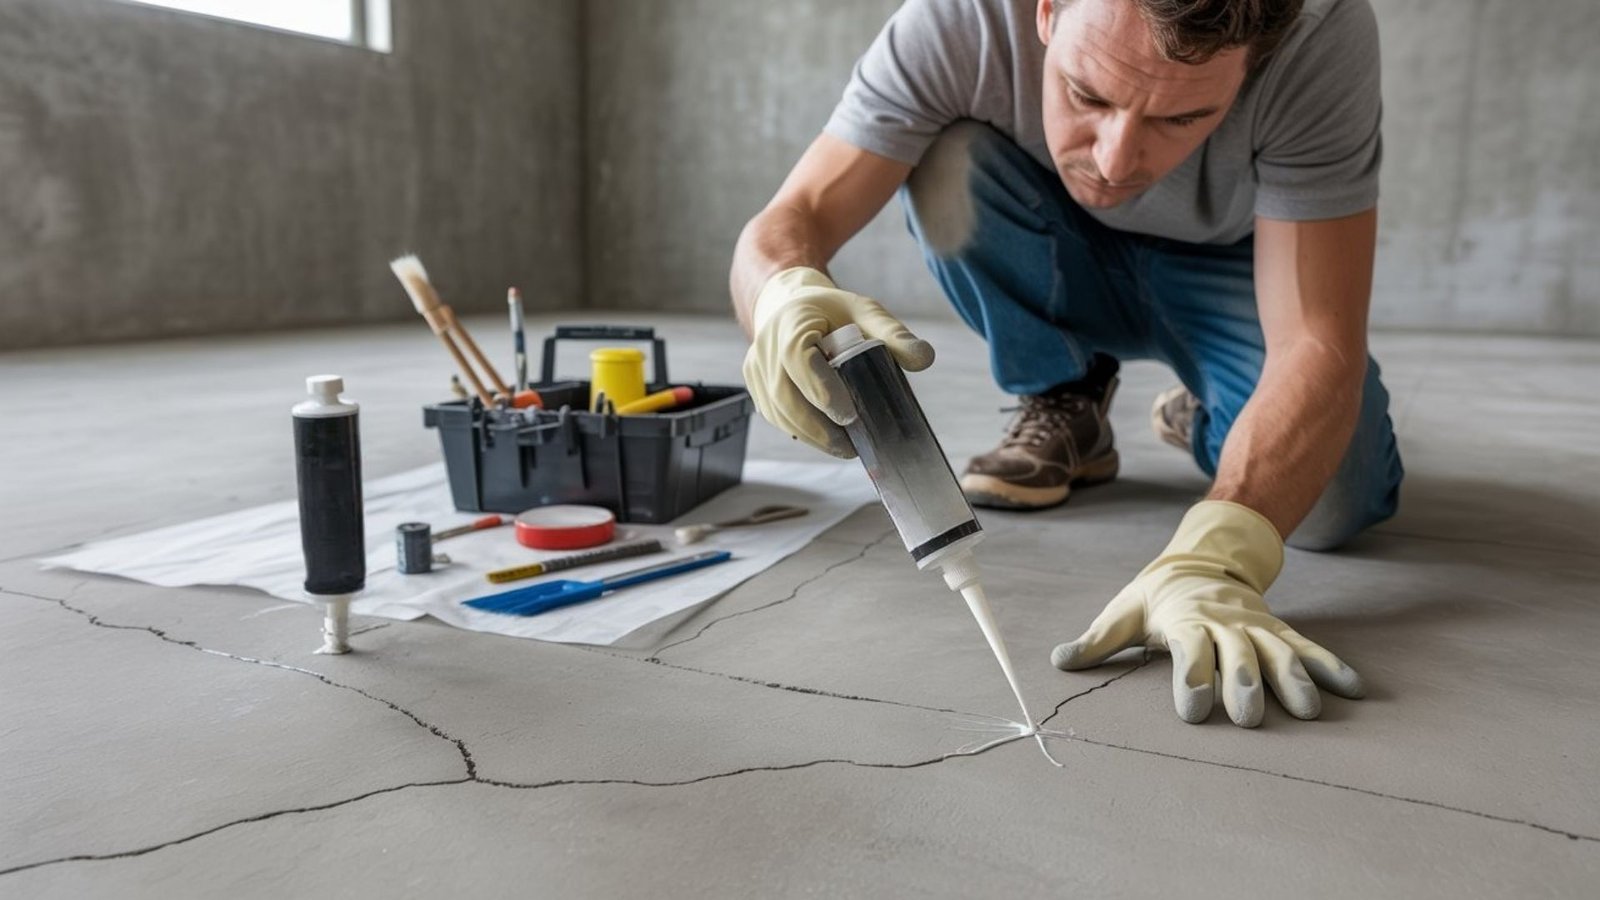
For dry, small cracks, two-part epoxy injection works well. It fills the crack completely and bonds with the concrete. It’s flexible enough to handle slight movement, which makes it a solid long-term fix.
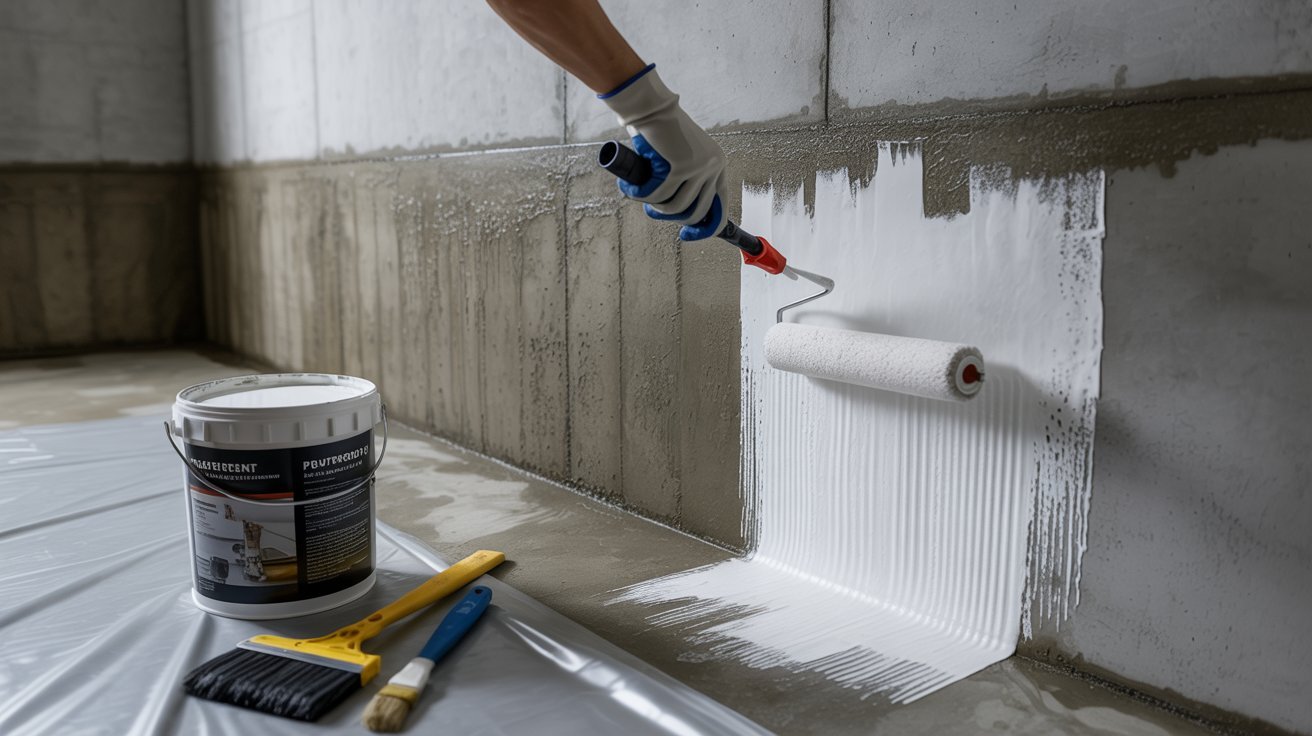
Step 5 – Apply Waterproof Coating
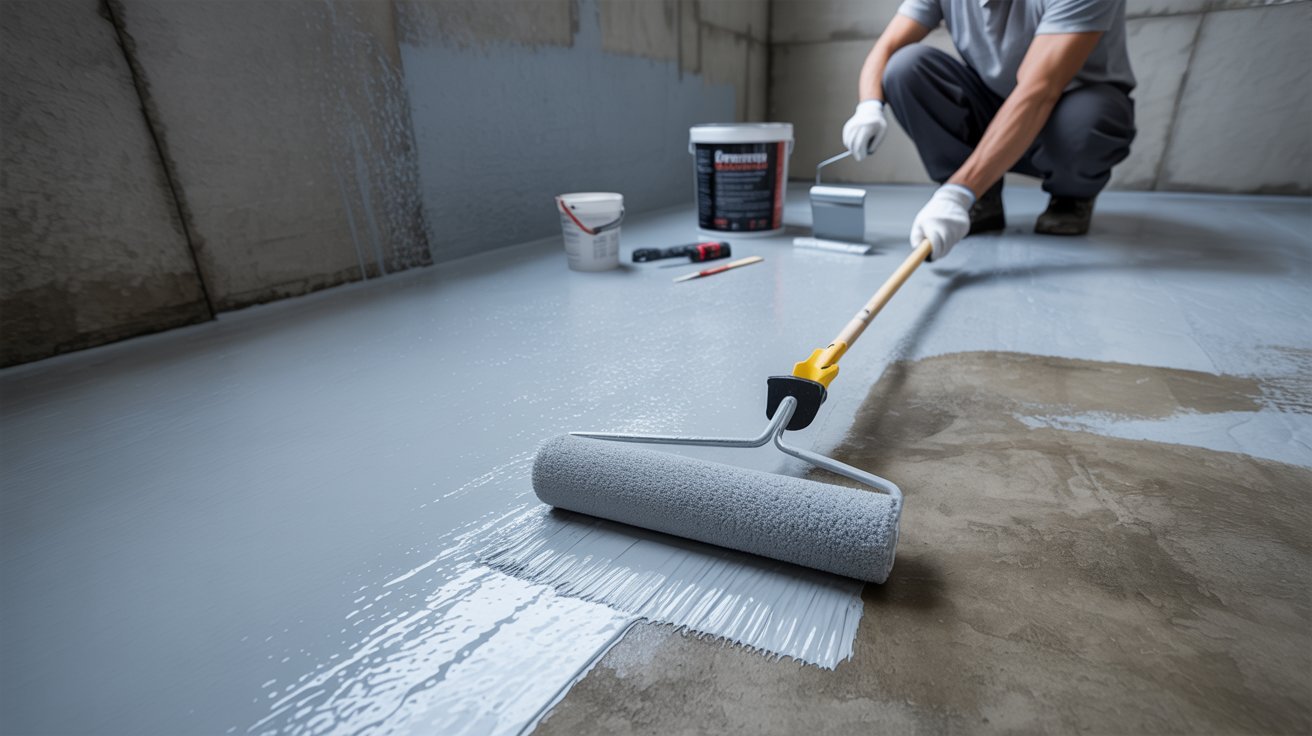
Once cracks are sealed, apply a waterproof coating over the entire wall as an added layer of protection.
Use a thick masonry brush and apply two coats. Let each coat dry fully. This step keeps moisture from working through the concrete over time.
Preventing Future Basement Water Leaks
A little prevention goes a long way toward keeping your basement dry.
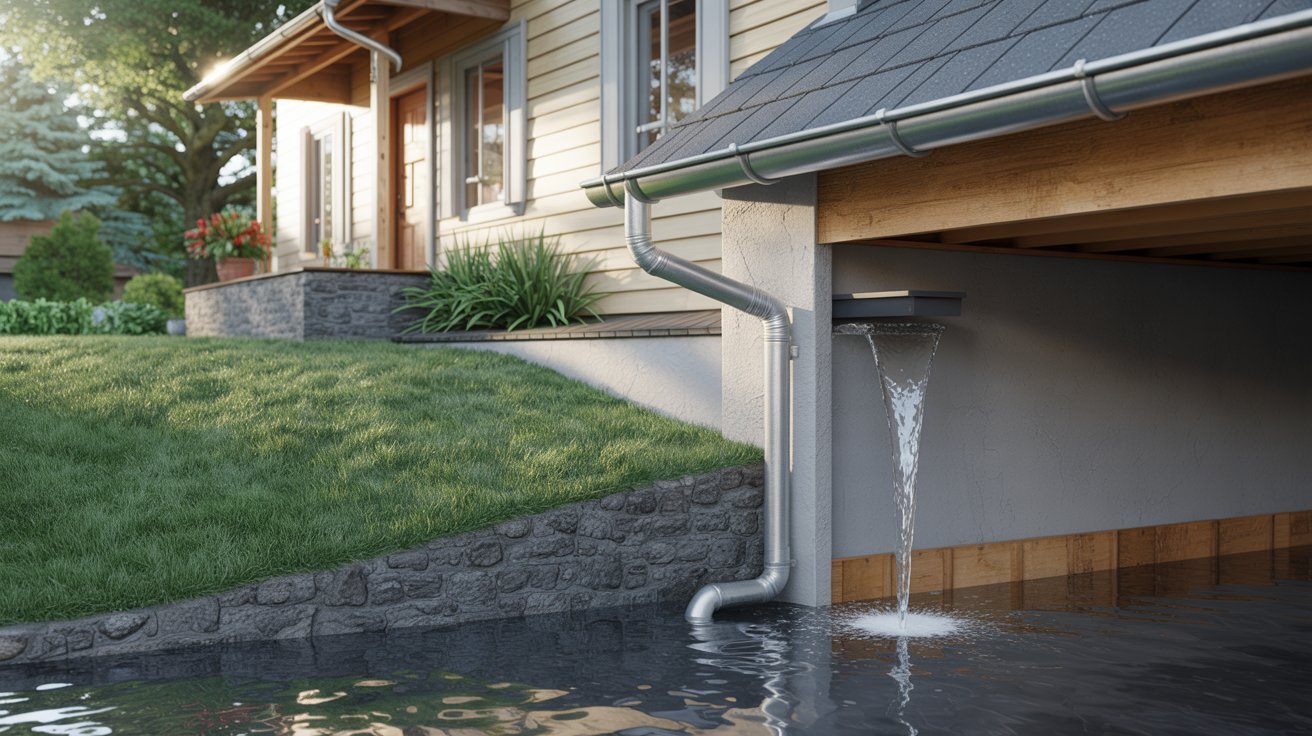
Improve Drainage Around Your Home
Water pooling near your foundation is a recipe for leaks.
Here’s how to fix that:
- Regrade the soil so it slopes away from the house – at least 6 inches over 10 feet
- Clean your gutters regularly so they don’t overflow near the foundation
- Extend downspouts at least 6 feet away from the house
Reduce Hydrostatic Pressure
If your yard holds water after rain, consider:
- Installing a French drain around the foundation perimeter
- Adding a sump pump in the basement
- Placing window well covers to stop water from pooling against below-grade windows
Basement Water Leak Repair Near Me: When to Call Professionals
Some jobs go beyond what a DIY fix can handle. Call a professional if you notice cracks wider than 1/4 inch, bowing walls, recurring leaks in the same spot, or water coming up through the floor.
These point to serious structural or drainage problems. When choosing a repair company, look for licensed and insured contractors, strong Google or BBB reviews, a written itemized estimate, and a warranty on their work.
Avoid any company that refuses to give a written quote or pressures you into same-day decisions.
Tips to Maintain a Dry and Leak-Free Basement
Stay ahead of moisture problems with a few regular habits.
- Check walls and floors for new cracks or damp spots every few months
- Look at window wells after heavy rain for pooling water
- Test your sump pump regularly to make sure it activates properly
- Inspect the soil grade outside and keep it sloping away from the house
- Check gutters and downspout extensions for blockages or damage
Conclusion
Dealing with a wet basement isn’t fun, but it’s fixable. I’ve walked you through every step of basement water leak repair – from spotting the signs to sealing cracks and knowing when to call for help. The key is acting early and staying consistent with upkeep.
If you caught this early, great. If not, it’s not too late. Start with one step today.
Found this helpful? Drop a comment below, share it with a friend, or check out our related home repair guides. Your dry basement starts now.
Frequently Asked Questions
How do I know if my basement leak is serious?
If you see bowing walls, large cracks, or the same spot keeps leaking after repair, it’s likely a structural issue. Get a professional assessment as soon as possible.
Can I fix a basement water leak myself?
Yes, for minor cracks and small seepage spots, DIY repair with hydraulic cement or epoxy works well. Larger or recurring leaks usually need professional attention.
How long does hydraulic cement take to set?
Hydraulic cement sets in about 3 to 5 minutes, depending on the mix. It cures fully within 24 hours, so avoid getting the area wet during that time.
What is the most effective waterproofing product for basements?
Masonry waterproof coatings work well for general moisture control. For active leaks, hydraulic cement is the most reliable first step before applying any coating.
How much does professional basement waterproofing cost?
Costs vary widely. Minor crack repairs typically start around $500. Full interior waterproofing systems with a sump pump can run $3,000 to $10,000 depending on your home’s size and the severity of the issue.